Upperarm Assembly (S3 + E1)
Builds the Left and Right upperarm assemblies (stations S3 + E1). Tools: Wire Strippers, RTV162 glue, T10 Torx Allen Wrench, T20 Torx Allen Wrench. Source: Notion – Axol Assembly Instructions (migrated 2026-07-14)
 builds Upperarm Assembly LeftALM-000227
Parts used
 4× RMD-X6-60 Motor
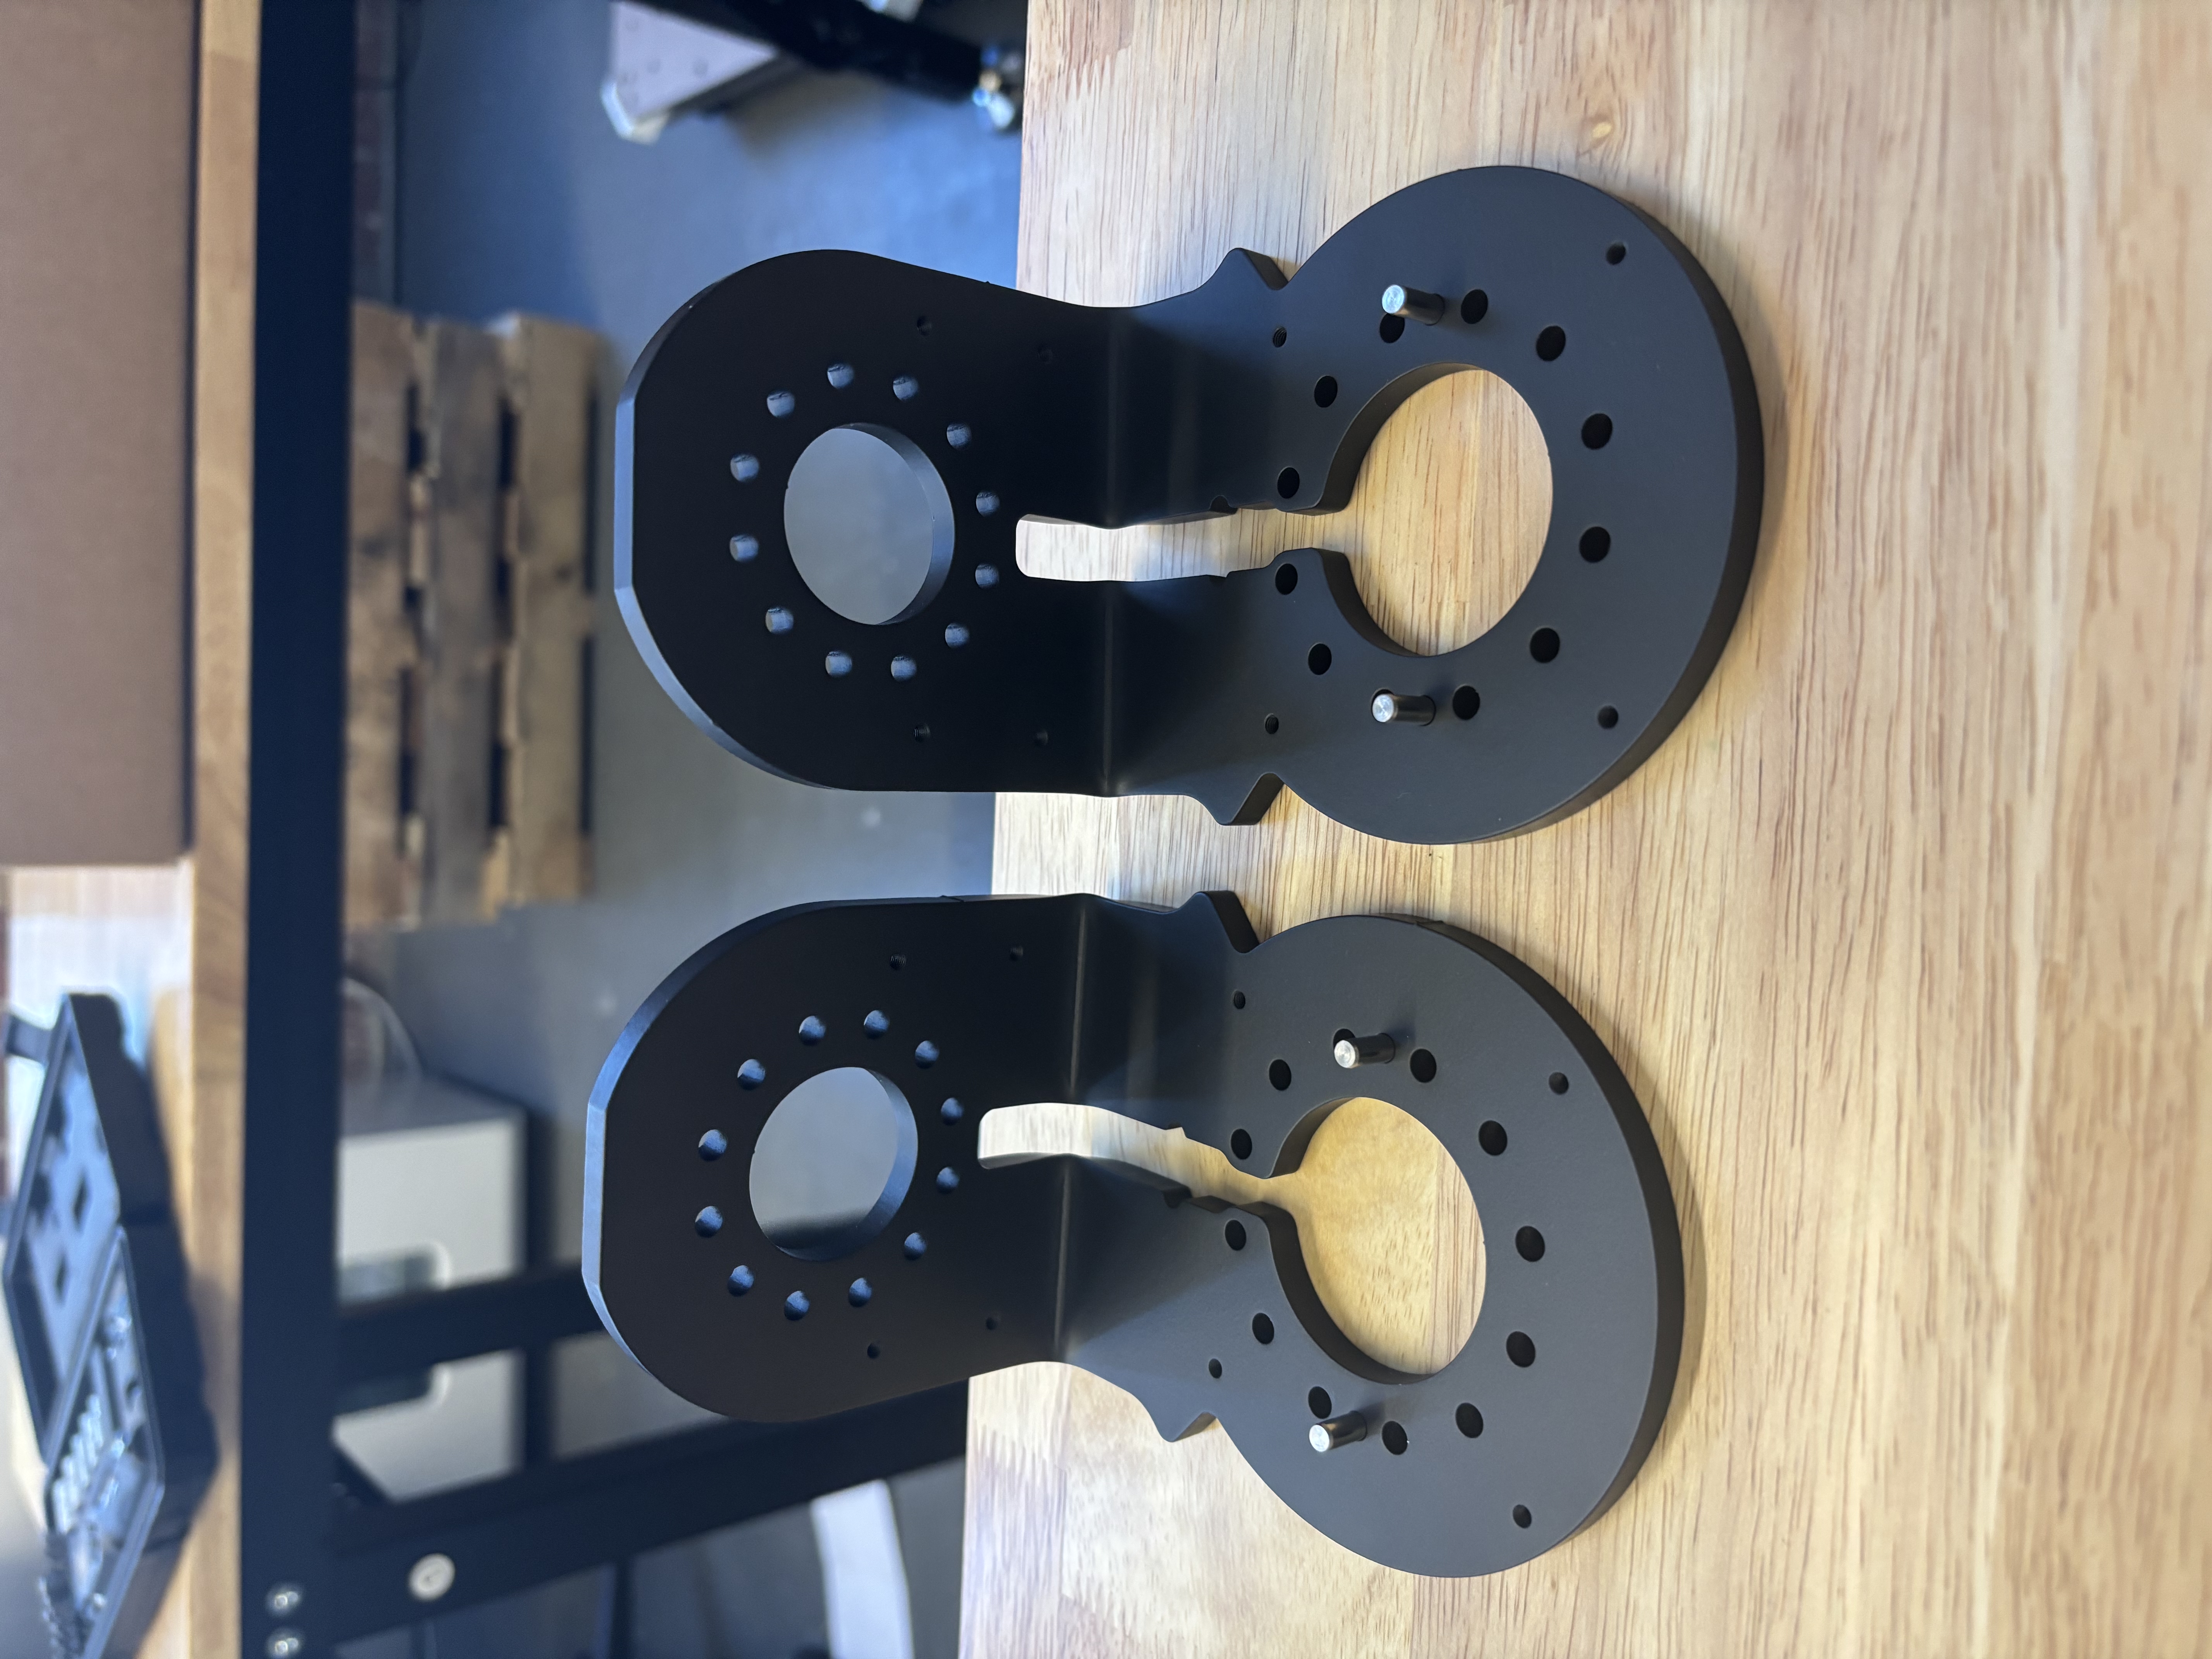
 2× S3 Bracket
 2× S3 TPU Inner Cover Right
 2× S3/E2 Endstop Coupler 3.175mm
 1× E1 Chassis L
 1× E1 Chassis Support L
 1× E1 Chassis R
 1× E1 Chassis Support R
 2× E1 Back Plate
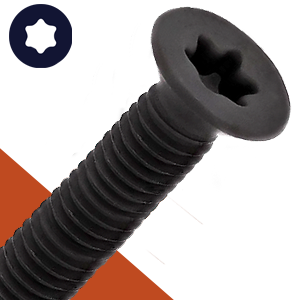 8× FH-TX-M3-10
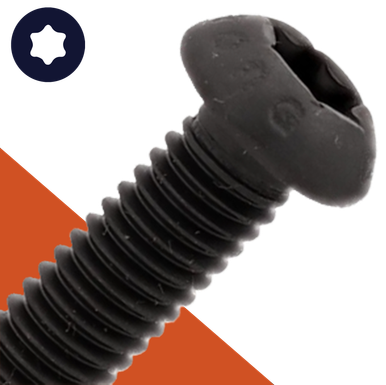 34× BH-TX-M3-10
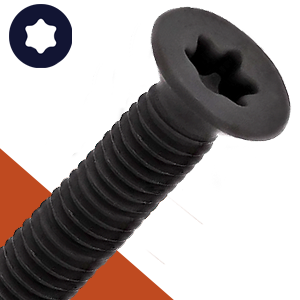 6× FH-TX-M3-12
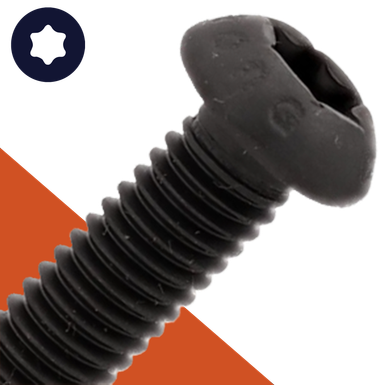 24× BH-TX-M4-16
 4× DP-R-04-14
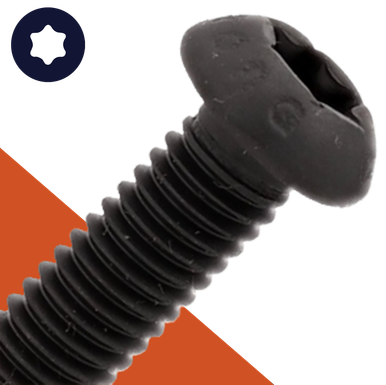 20× BH-TX-M4-08
 2× S3 -> E Cable
 16× Wago 221-412
Step 1
Install 4x DP-R-04-14 into the S3 Bracket. No hammering — use a towel on the press.
edit step
Step 2
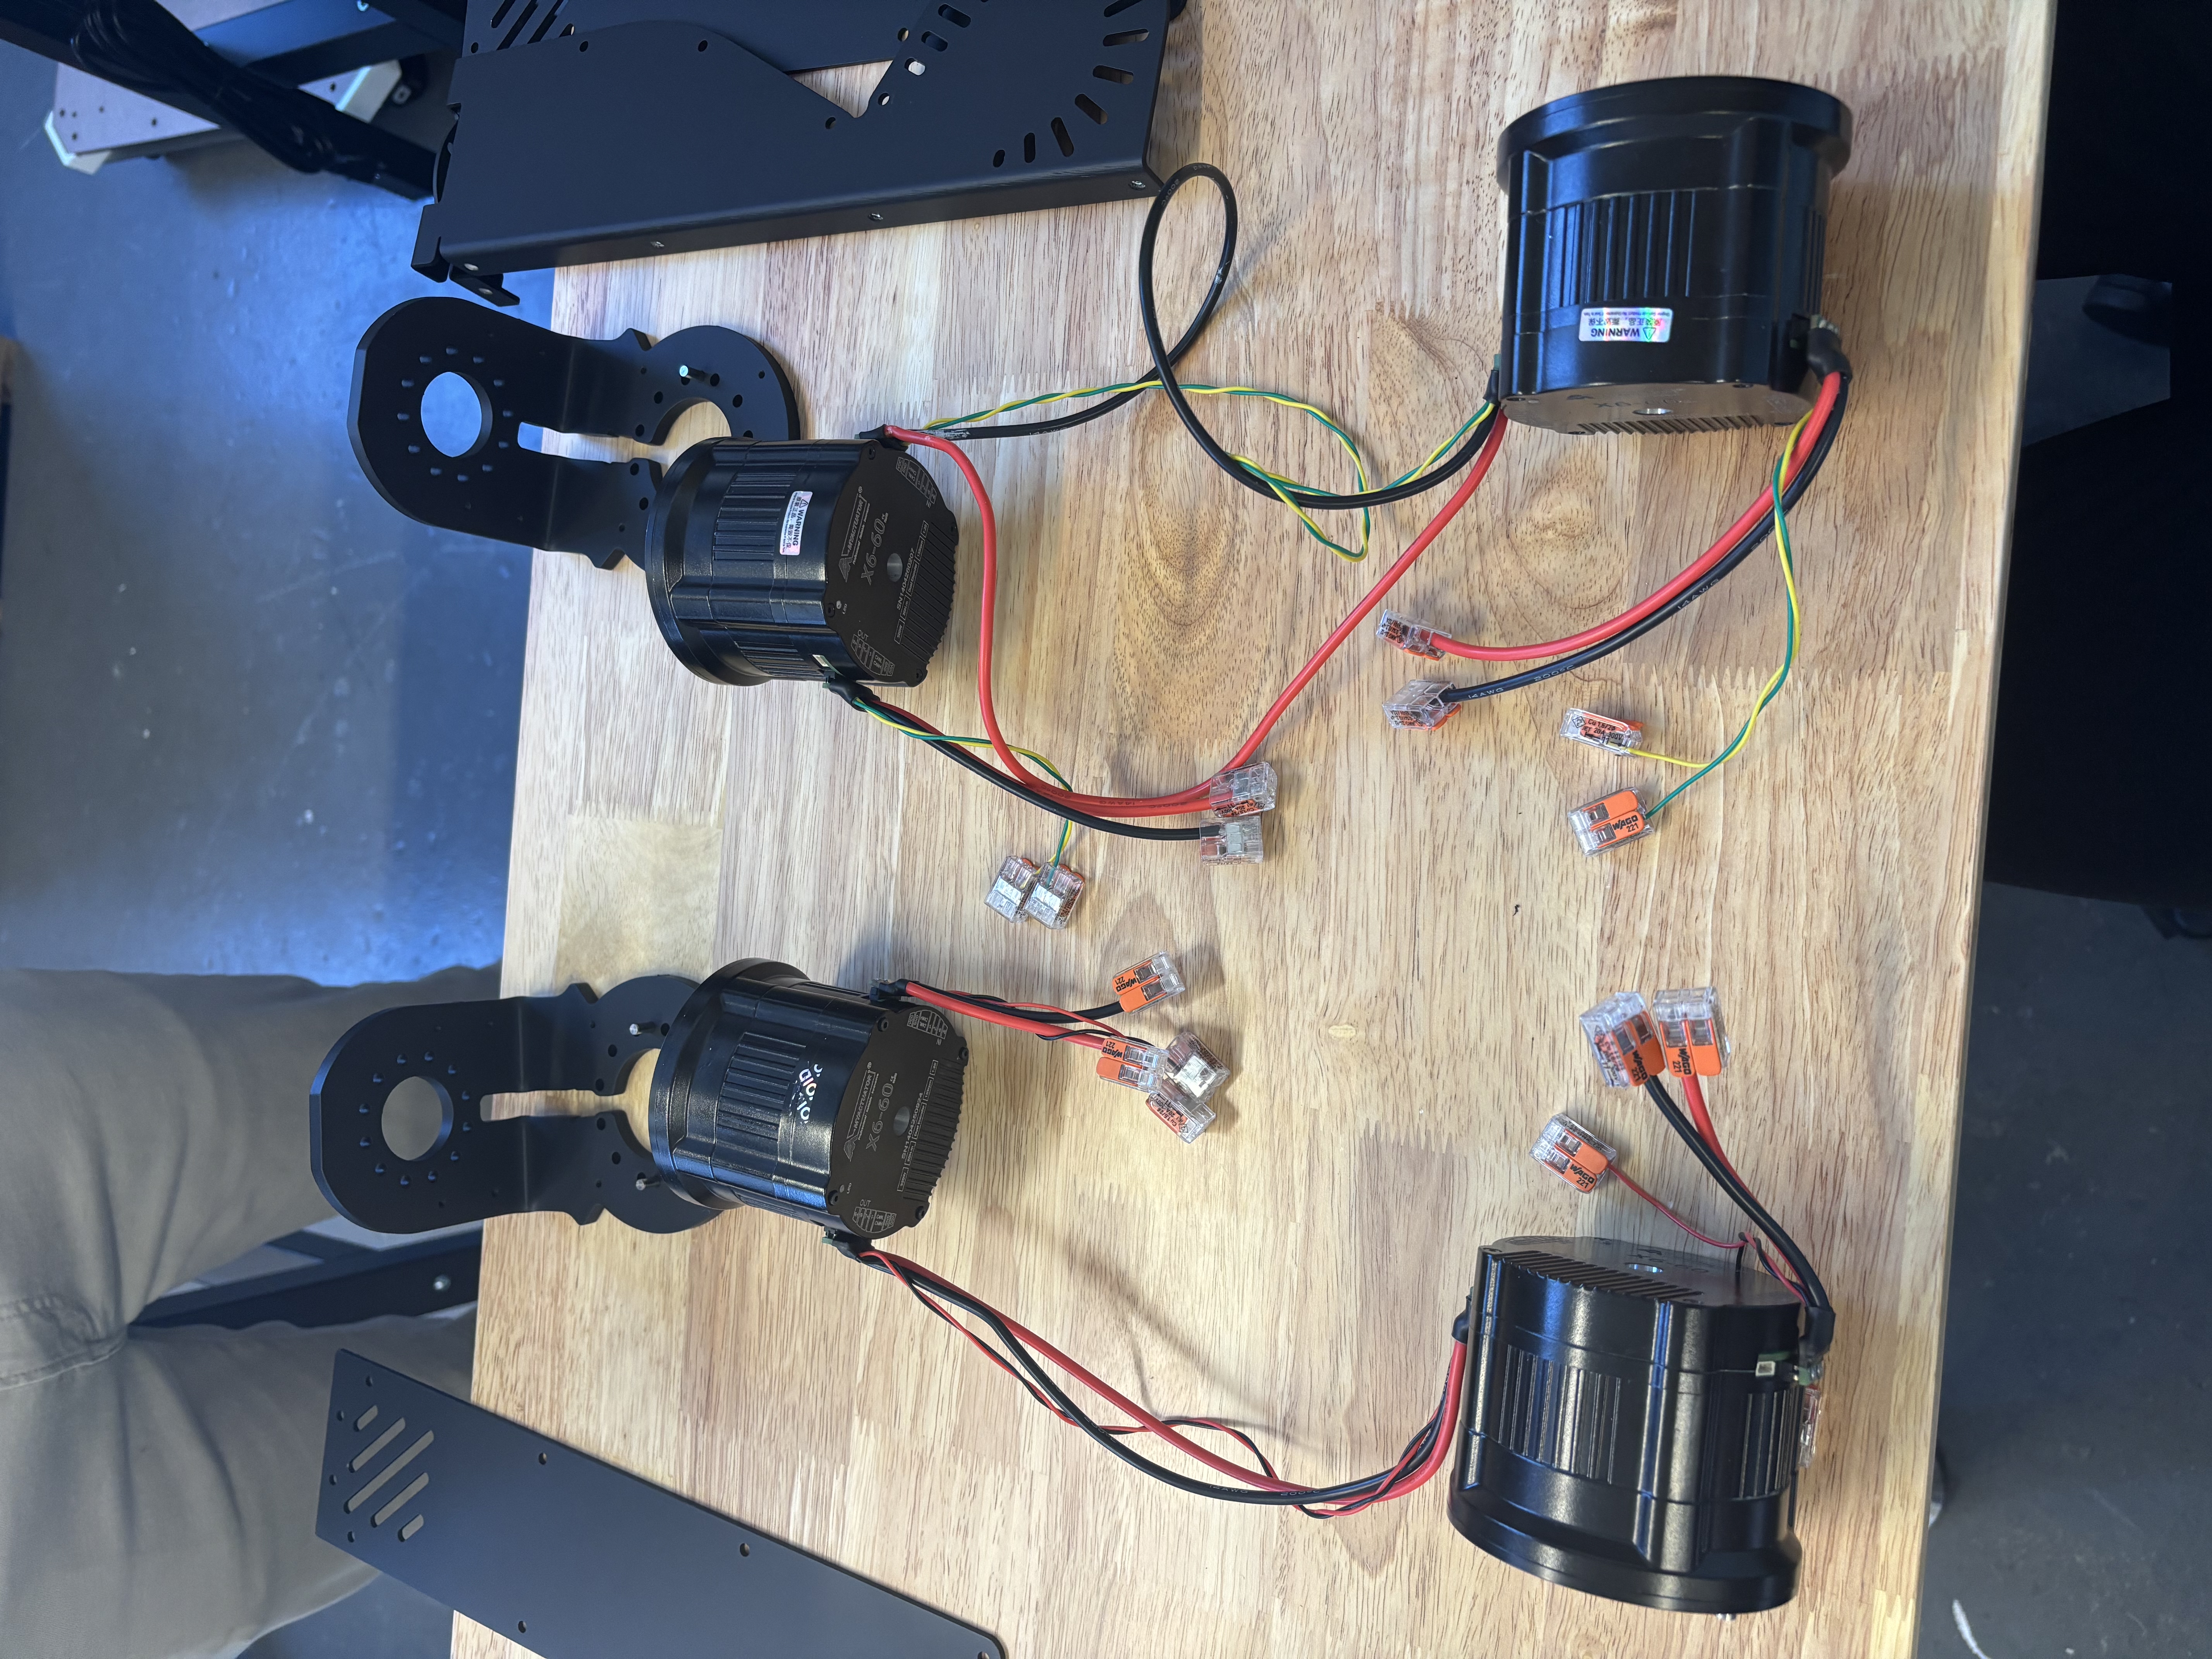
Install 2x S3 → E Cable, 2x S3 Pigtail Cable, 2x E Pigtail Cable. Align the motors as shown so the cables don't twist. Make sure the XT30 connector is fully seated in the receptacle, then apply RTV162 glue and gently heat it with a heat gun to slightly solidify it. Strip wires and install 16x Wago 221-412. Note the left/right difference of wire installation based on the E mirror.
edit step
Step 3
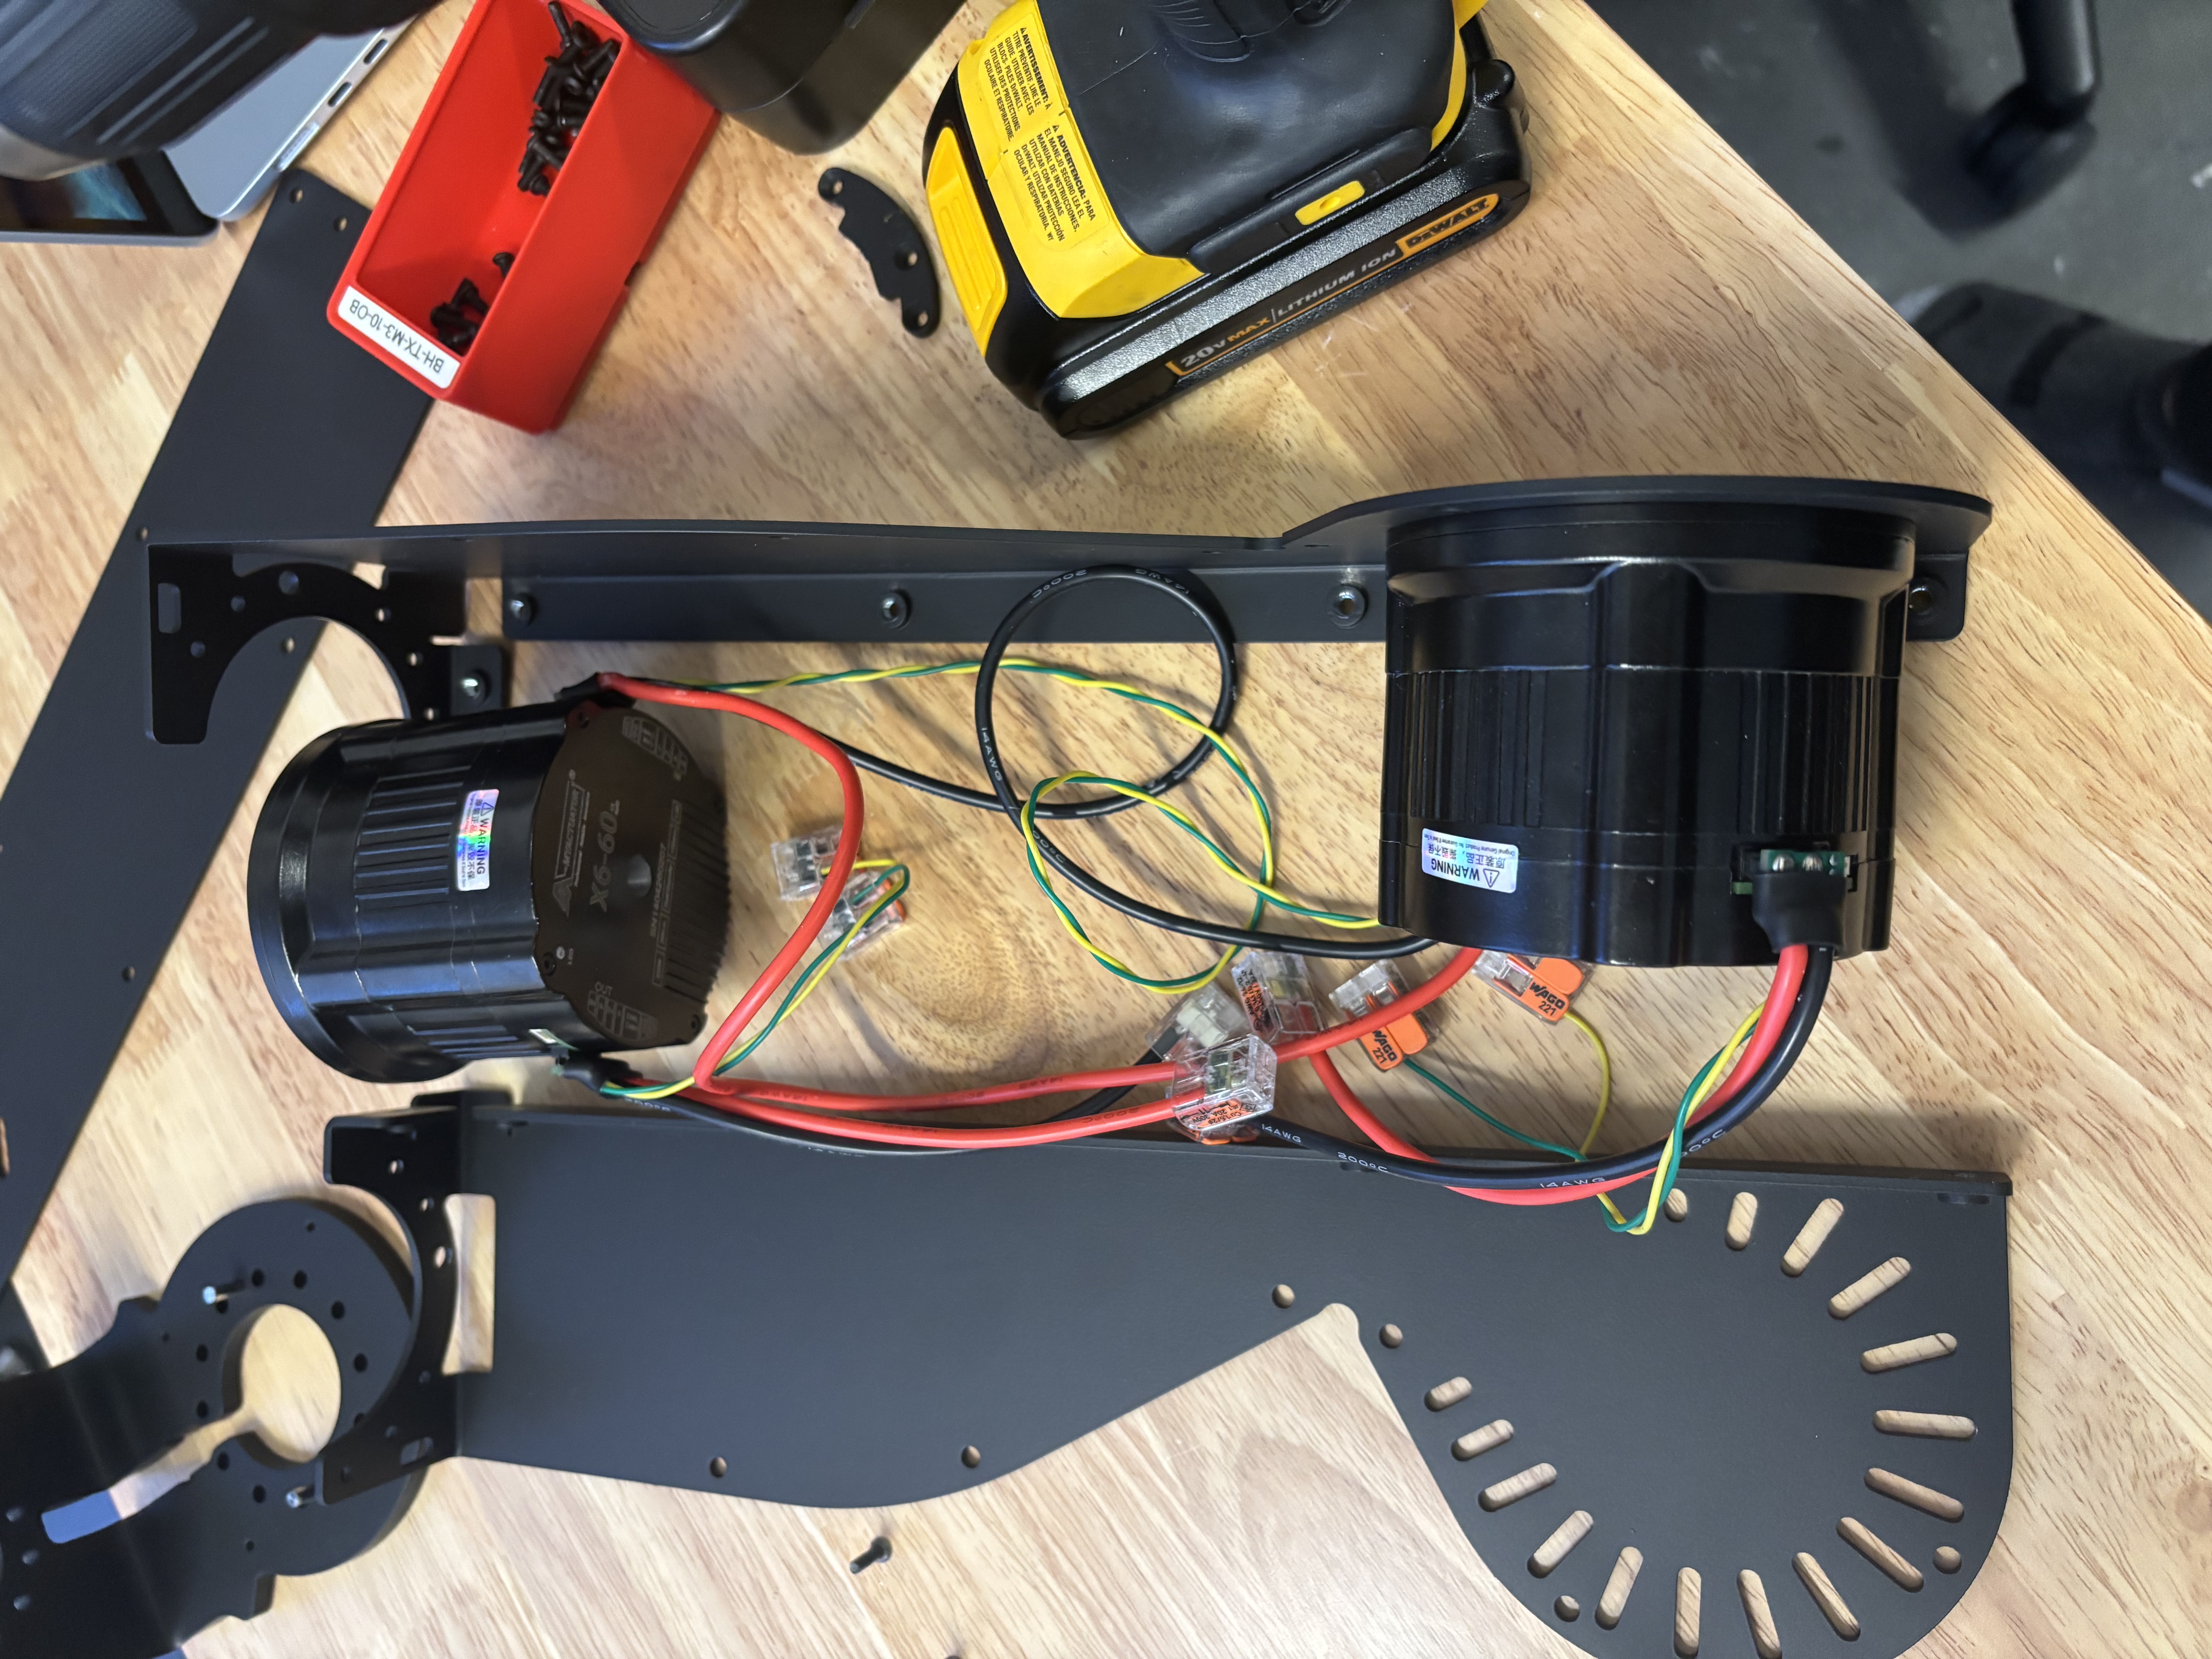
Fasten and Loctite E1 to the E1 Chassis with 7x BH-TX-M3-10. Attach end stop 3x FH-TX-M3-10.
edit step
Step 4
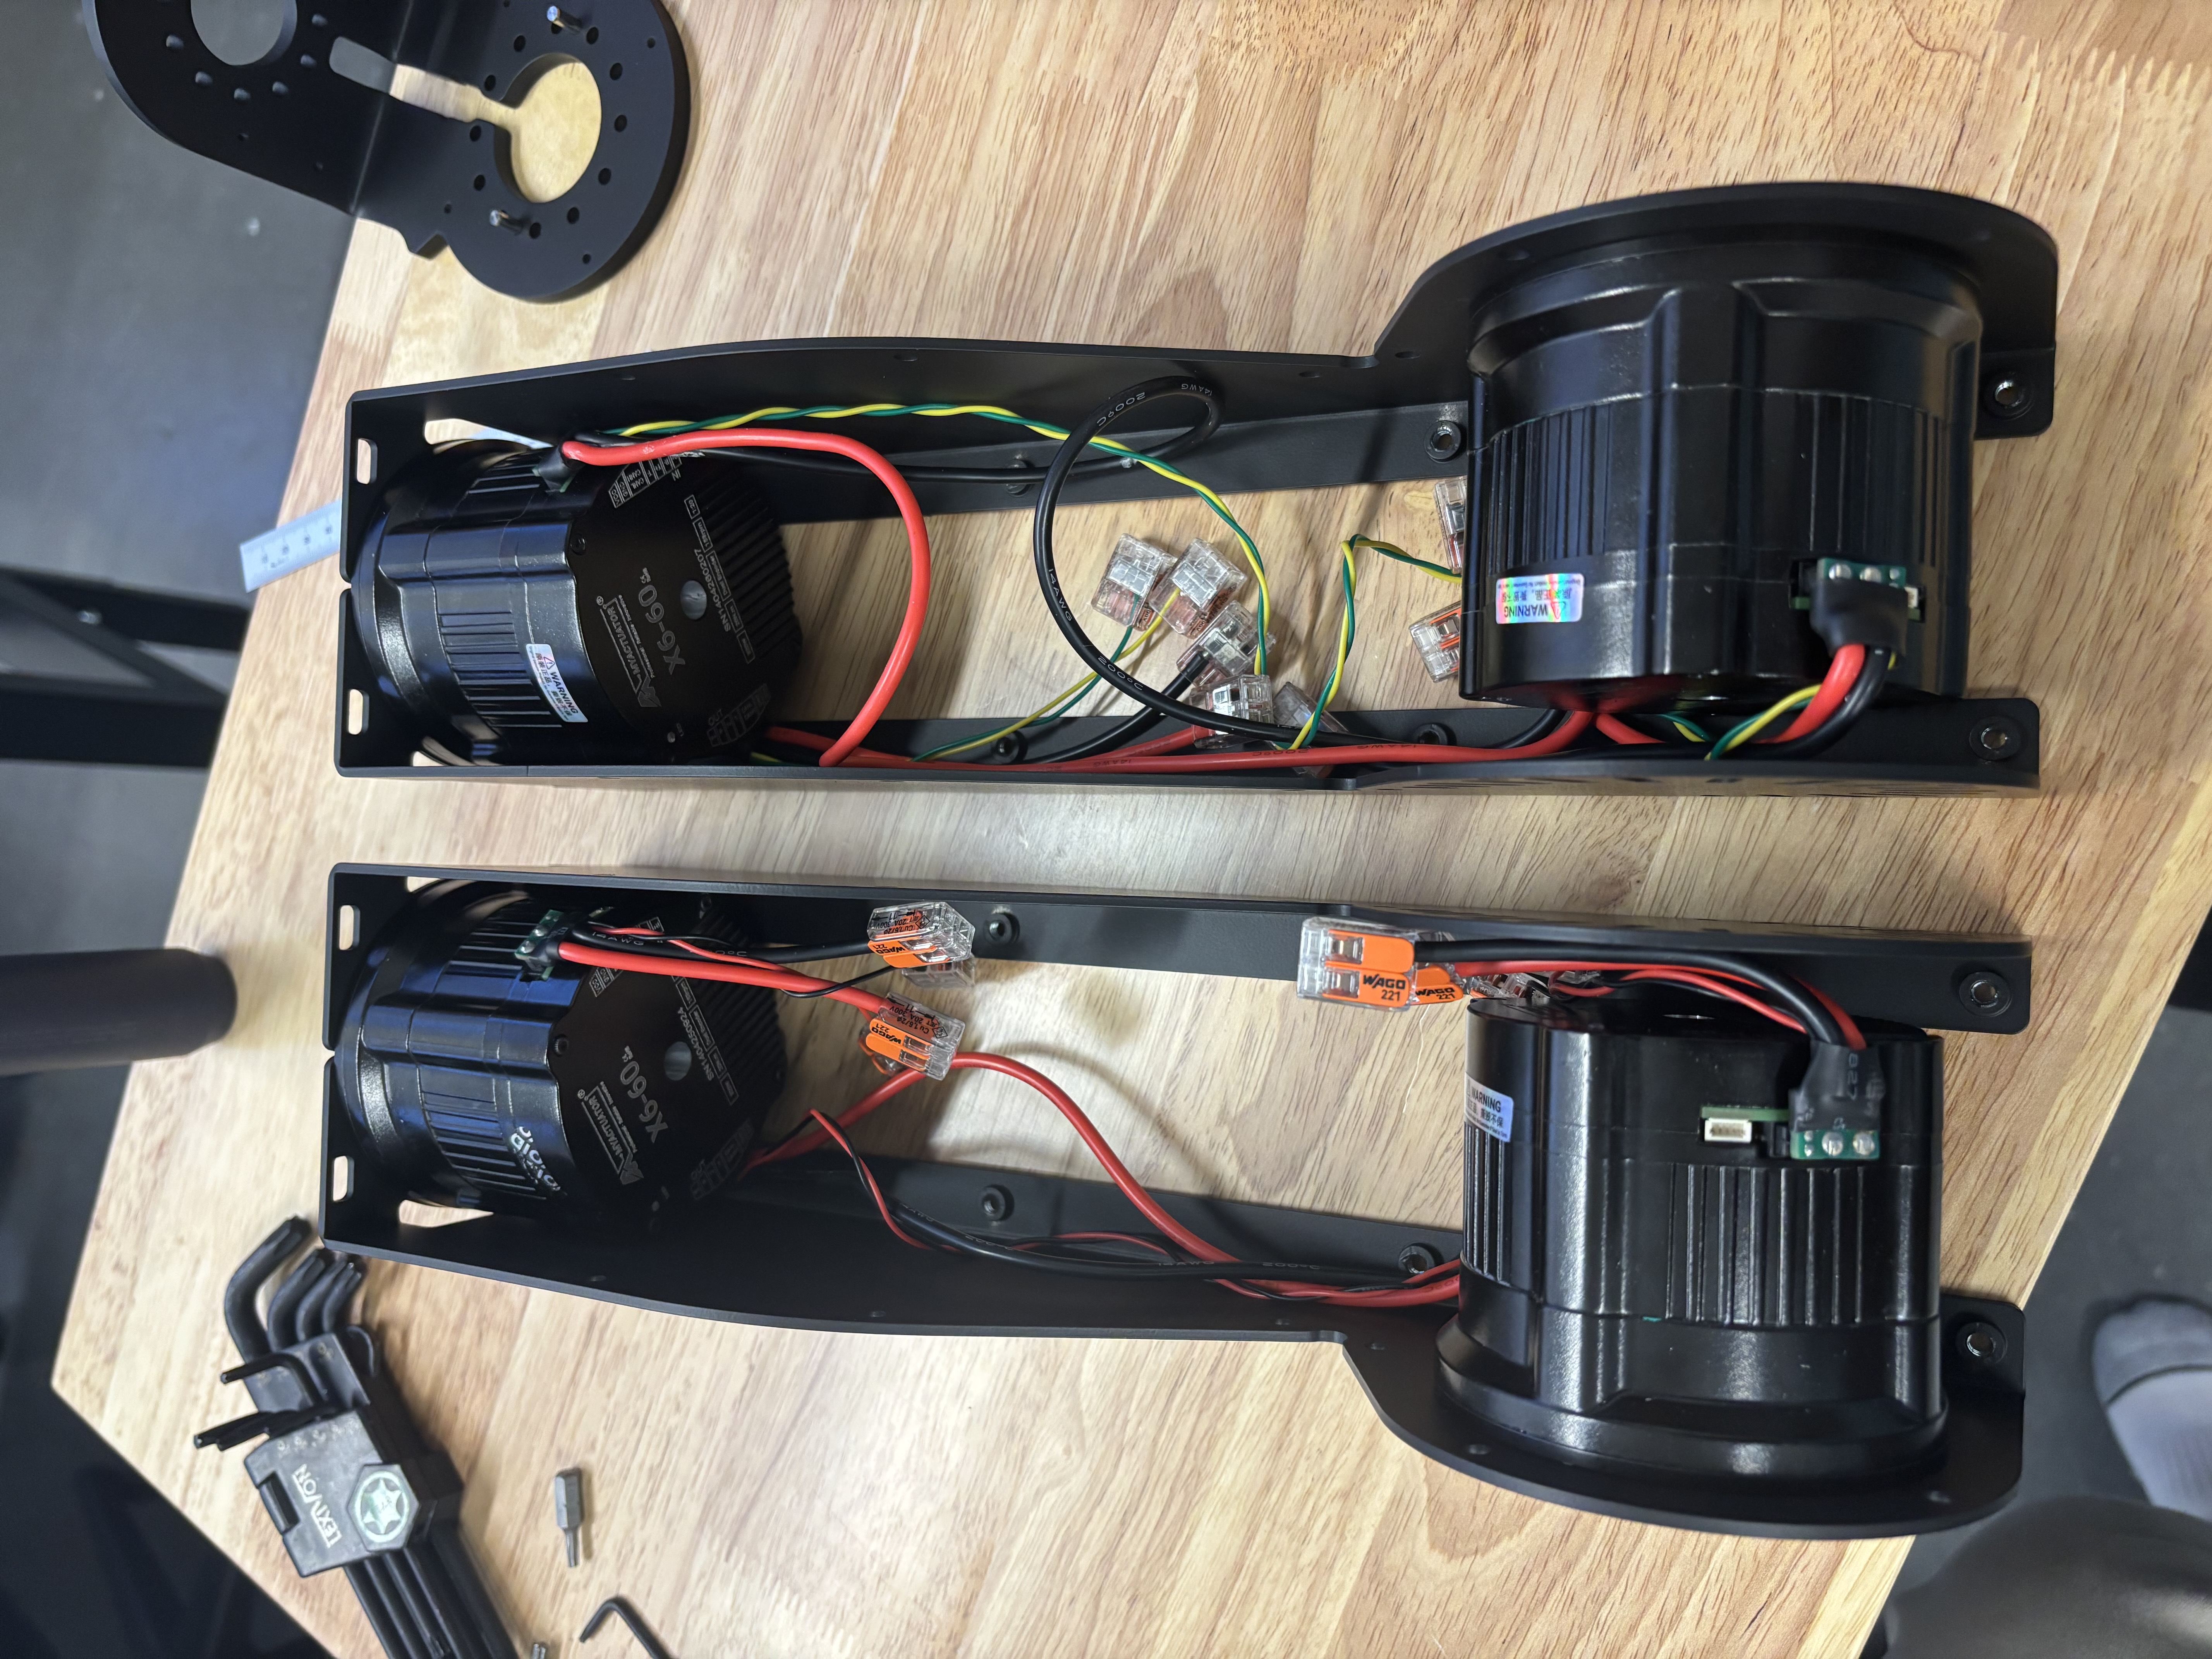
Fasten and Loctite S3 to the E1 Chassis & Chassis Support with 7x BH-TX-M3-10. Also fasten and Loctite the S3 endstop tab with 3x FH-TX-M3-12, positioned at the back of the arm. Mark screws with white chalk.
edit step
Step 5
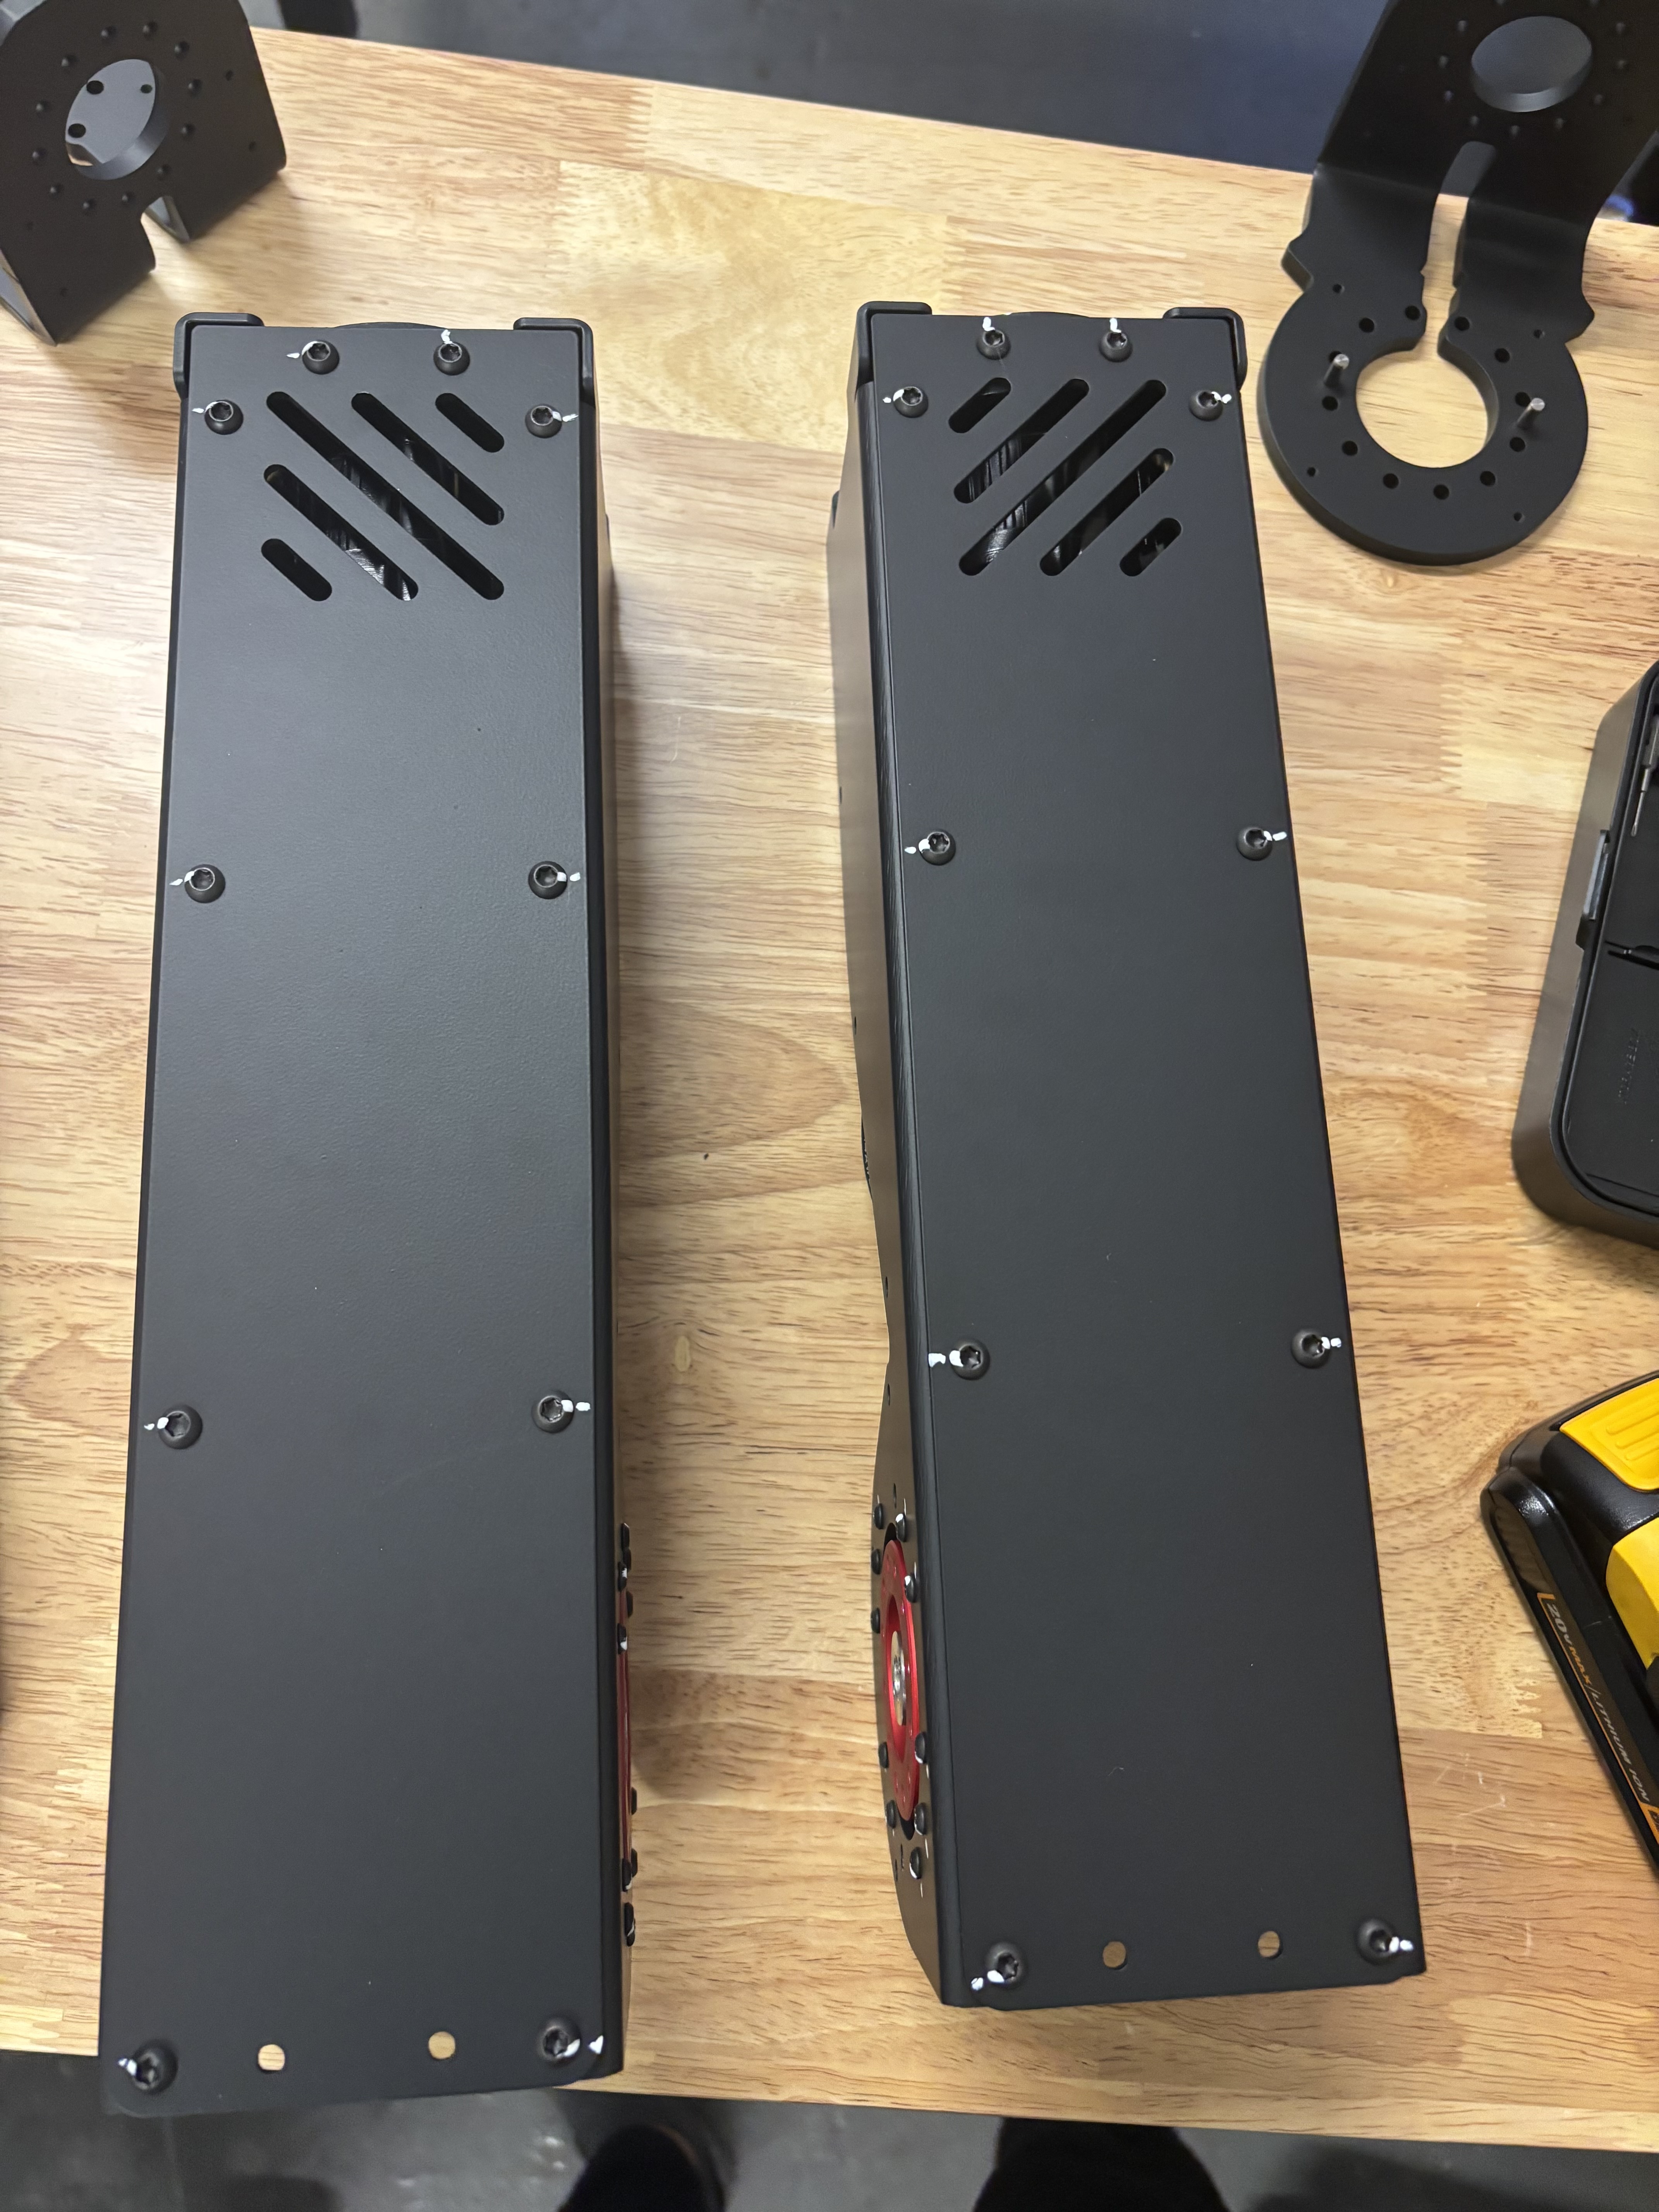
Fasten and Loctite the E1 backplate with the vent up using 10x BH-TX-M4-08. Mark with chalk.
edit step
Step 6
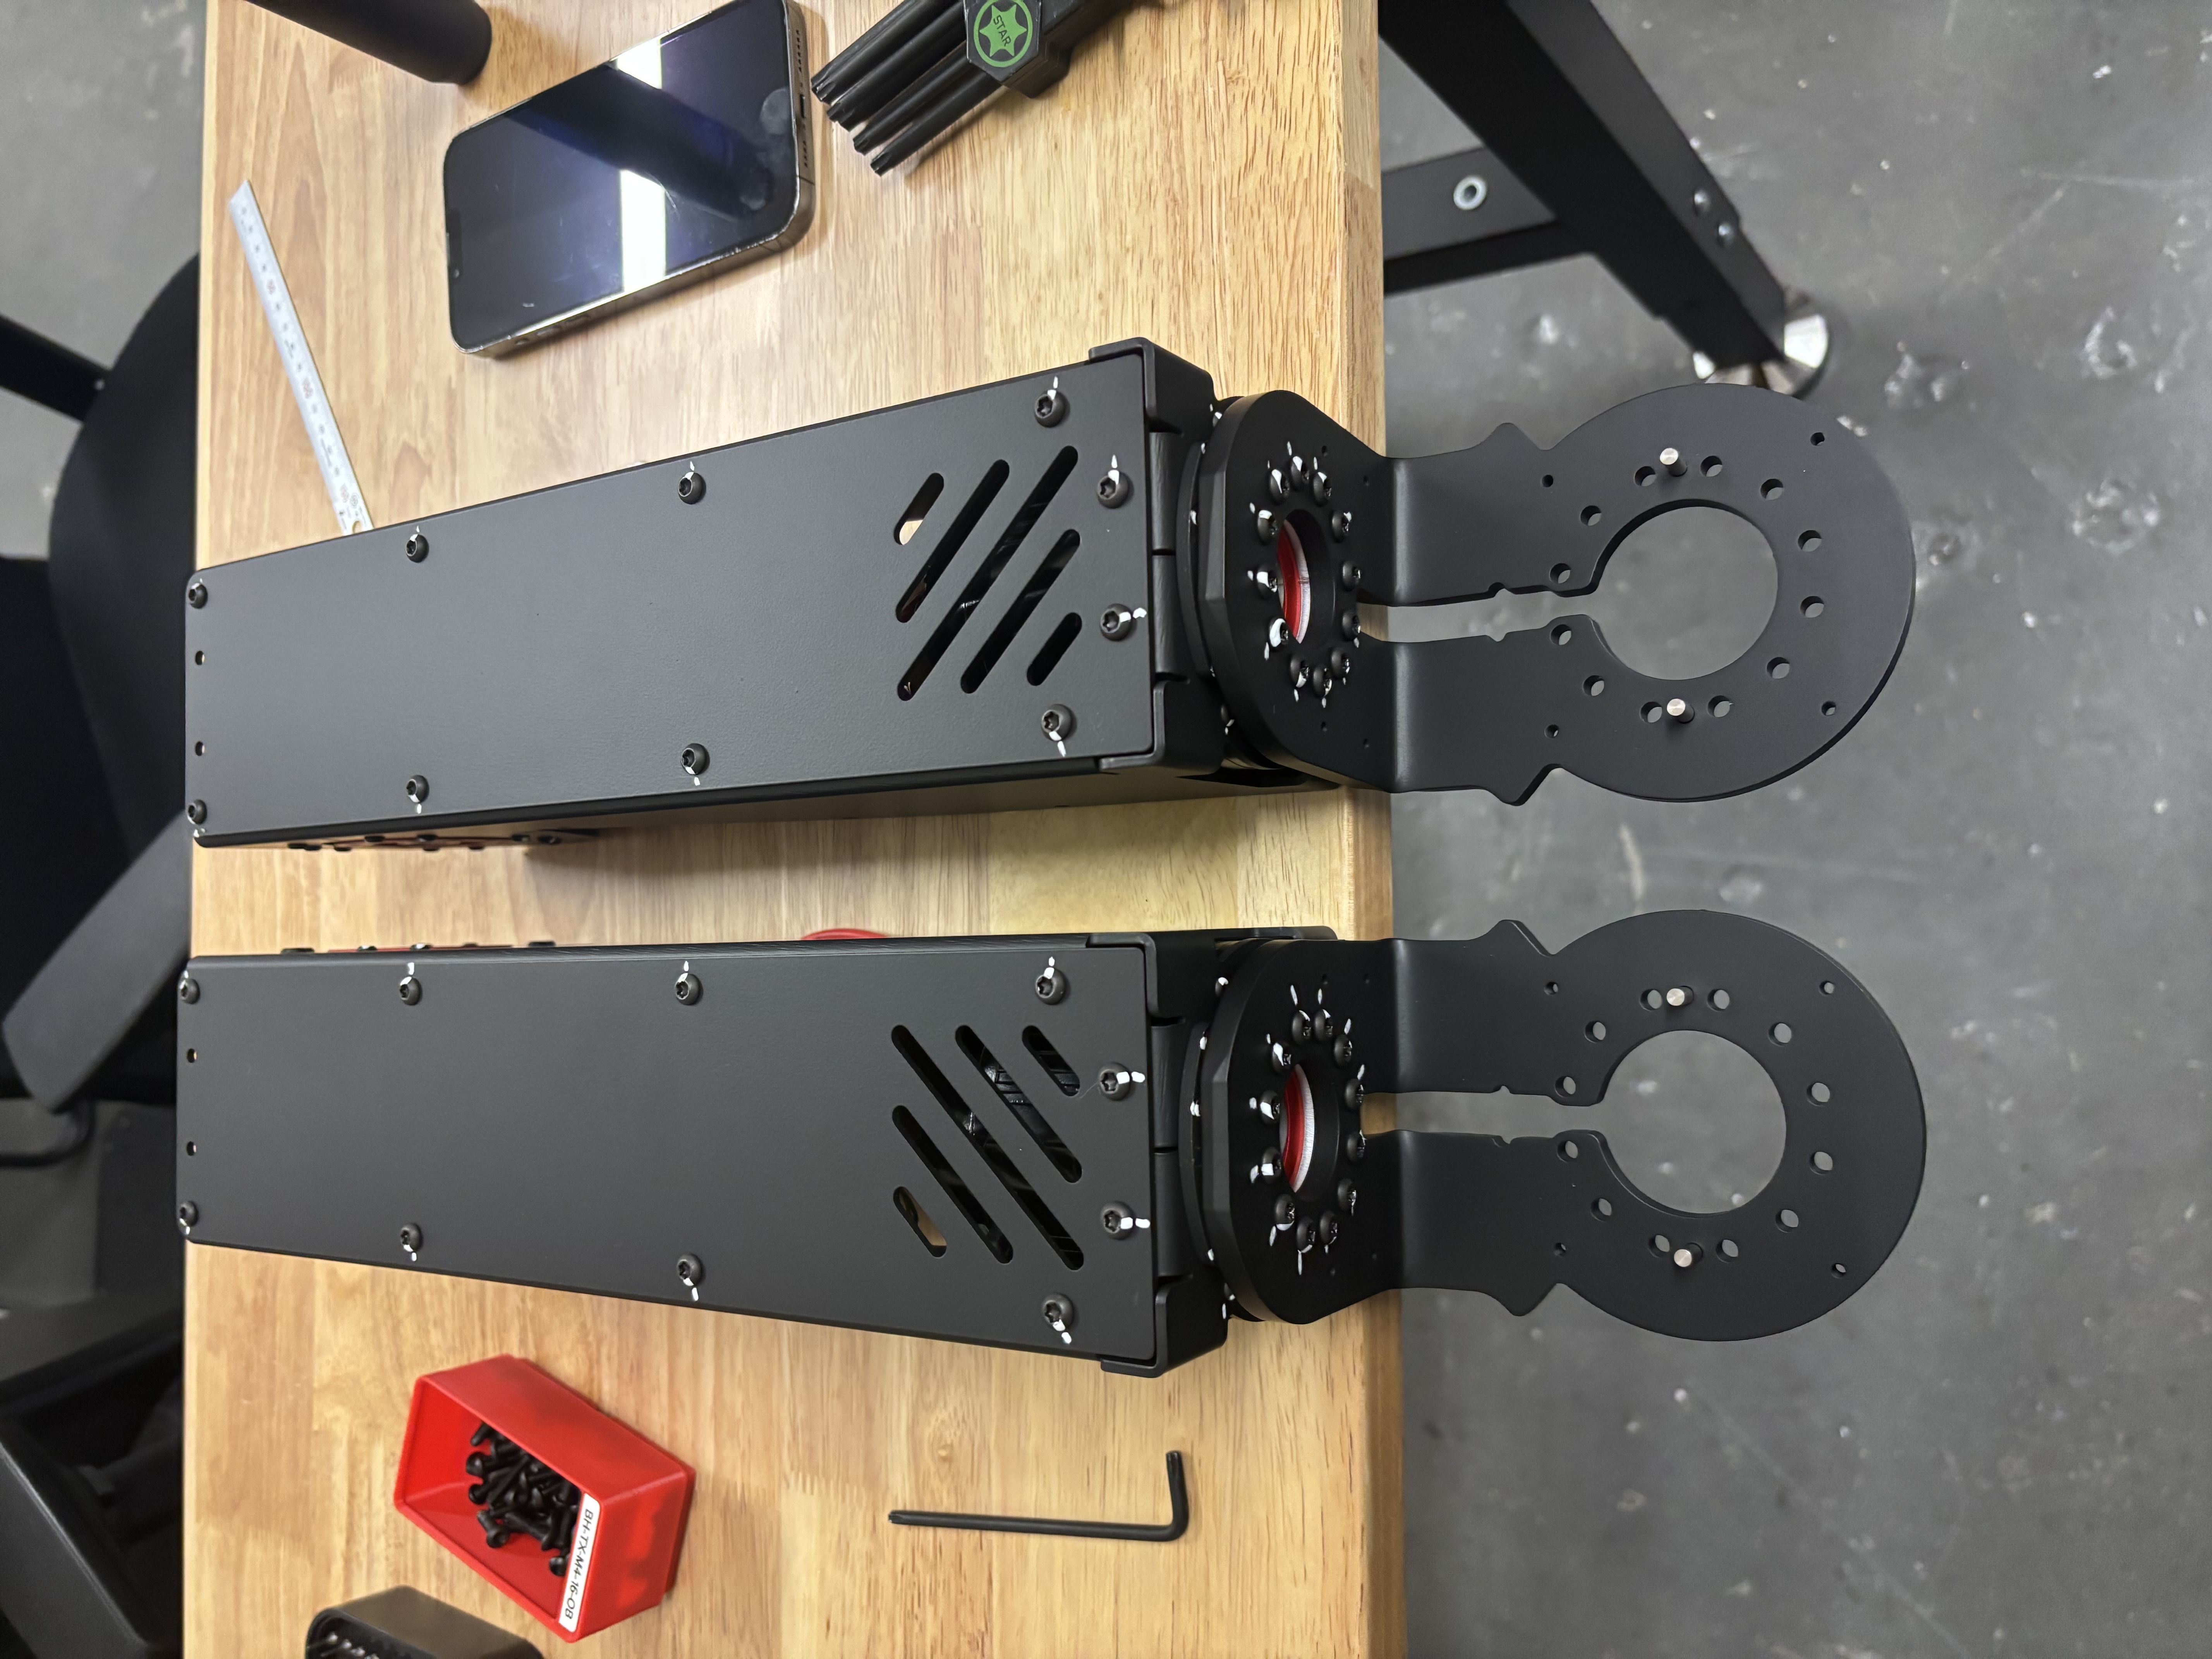
Fasten and Loctite E2 to the S3 Bracket via the S3 endstop coupler with 12x BH-TX-M4-16. Hang it off the end of the table since the S3 bracket sits a little lower. Mark with chalk.
edit step
Step 7
Fasten and Loctite 1x S3 TPU Cover Inner to the S3 bracket with 4x FH-TX-M3-10. Mark with chalk.
edit step
+ Add step
Quality checklist
- M4x16 screws into the S3 X6 are all flush. Tolerances are tight: if a bolt isn't flush after tightening, replace it with another M4x16. If the new screw is tight, toss the old screw. If the new screw isn't tight, replace it with M4x12.