Assembly instructions
Step-by-step processes with pictures. Create by hand or from a video on the Video → Steps page.
+ New instruction set
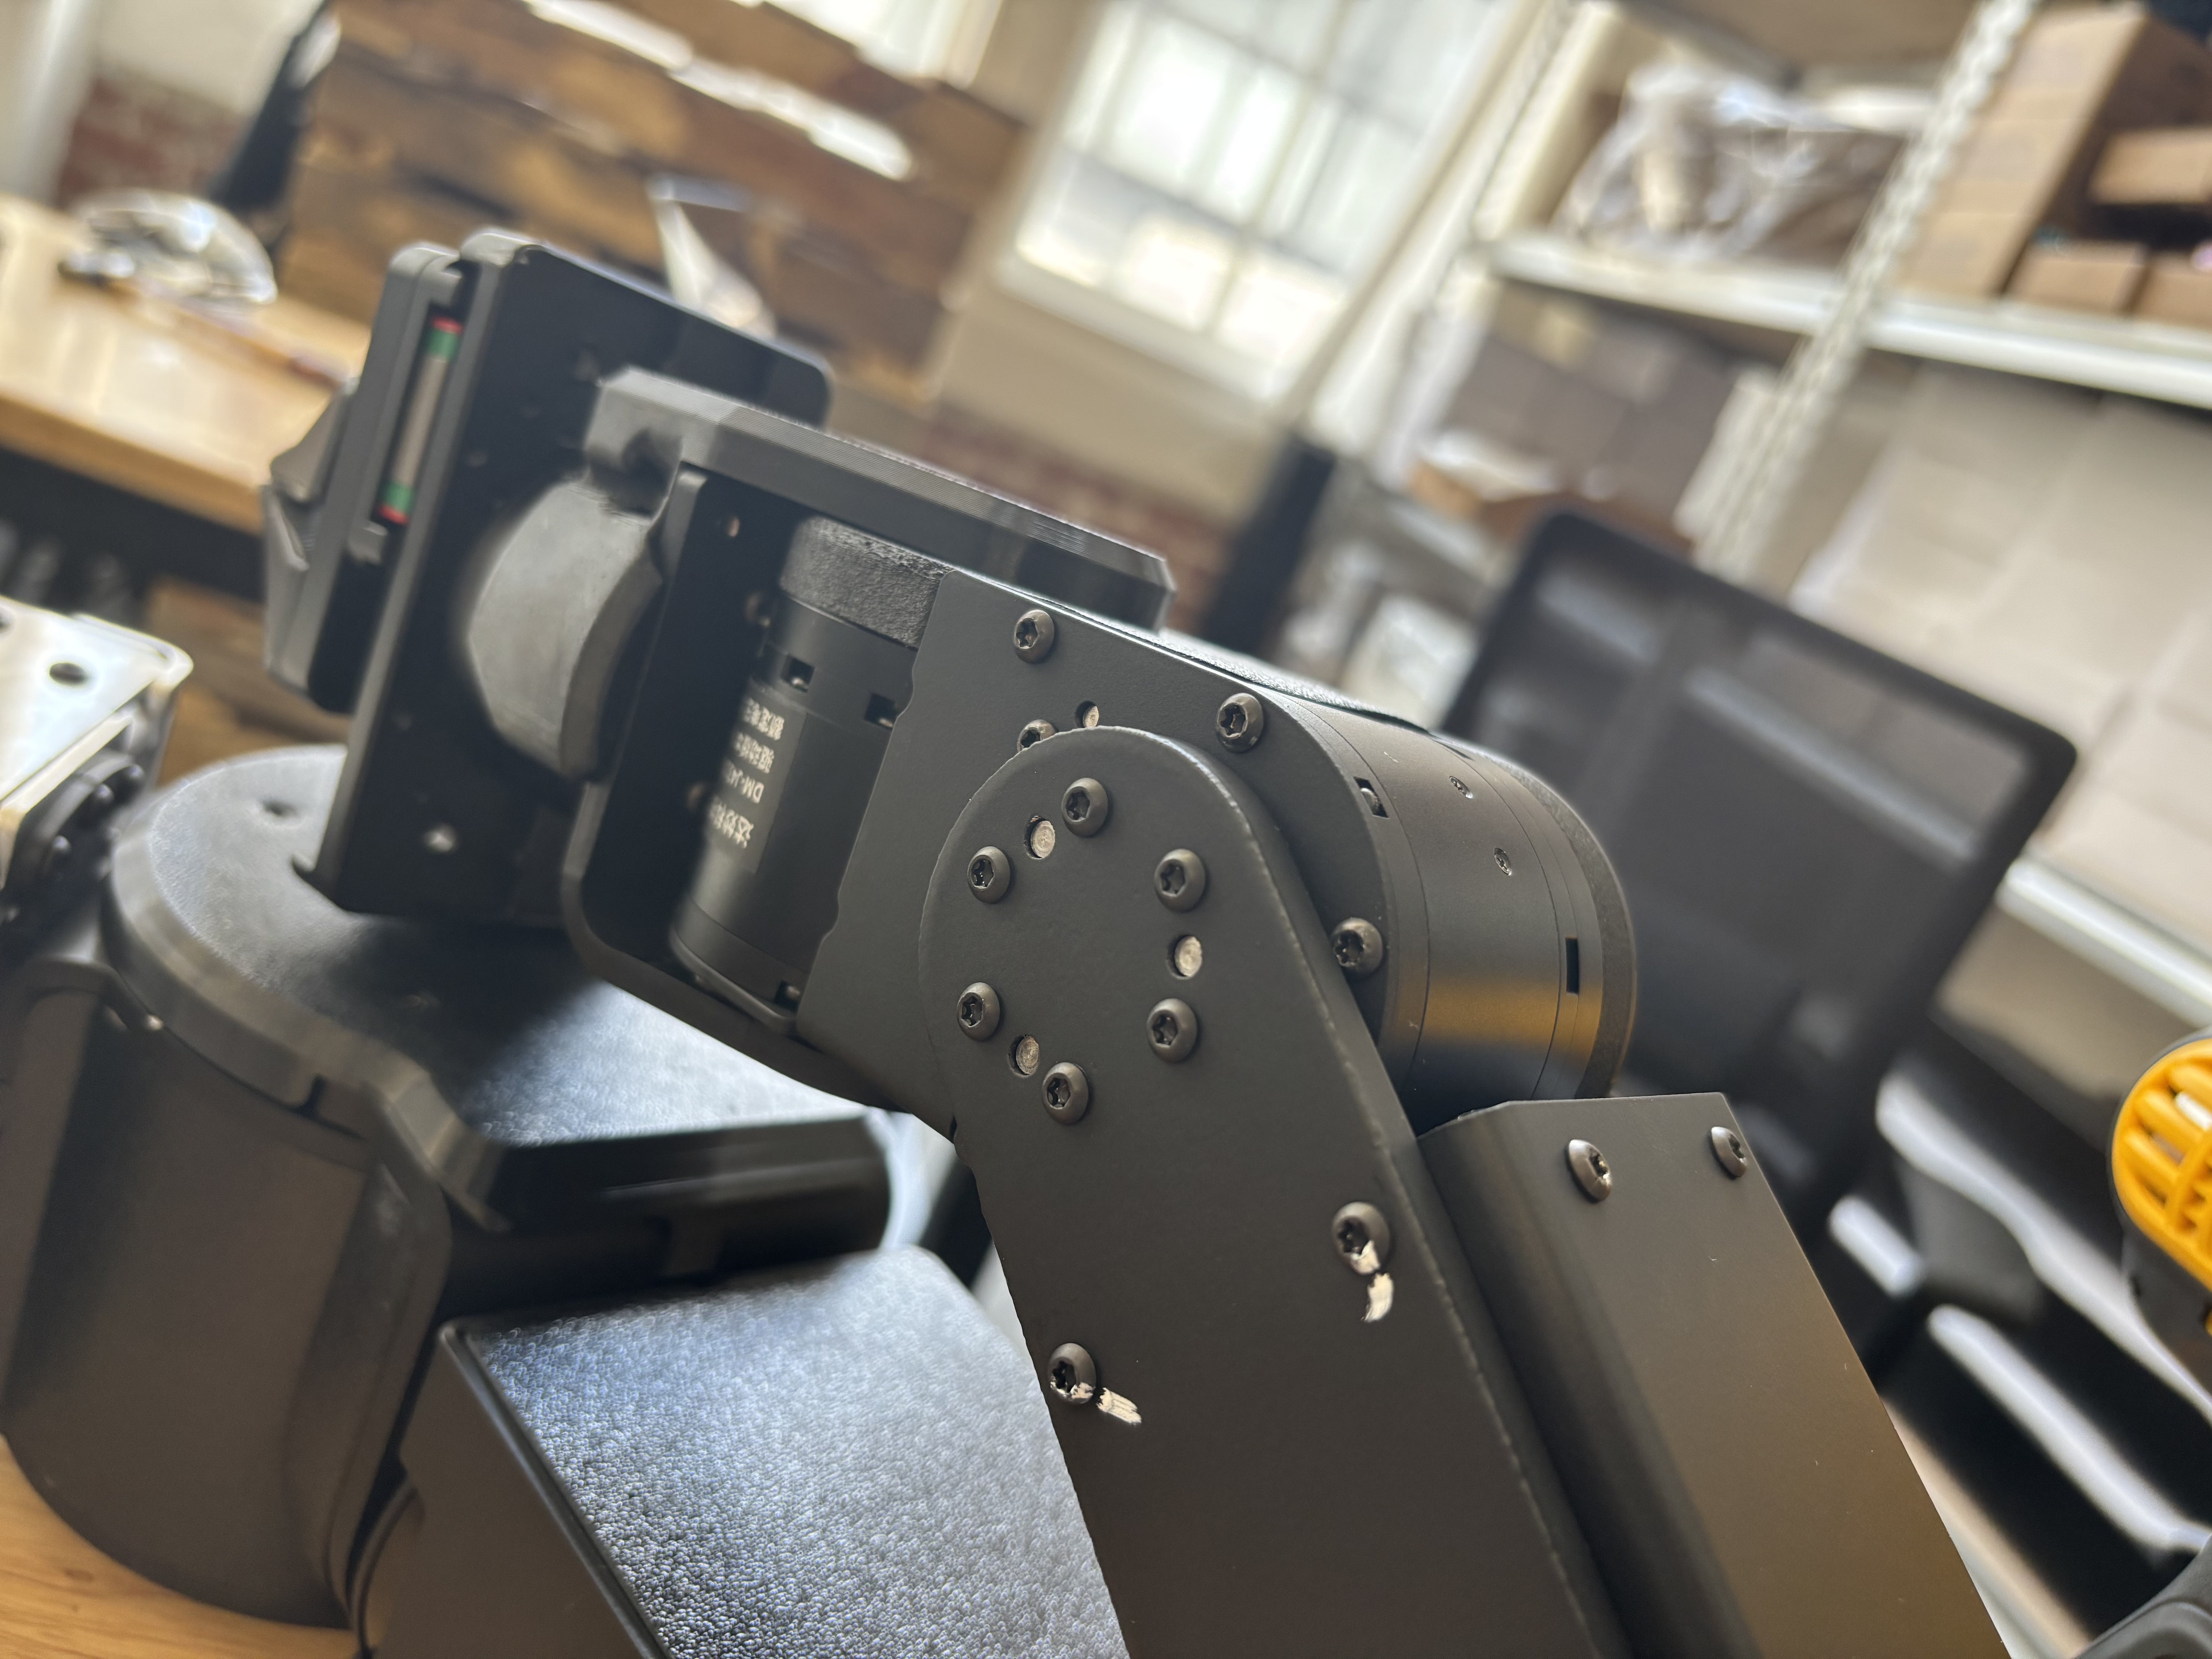
Add Wrist (Final Integration)
activeAttaches the Left and Right wrist assemblies to the rest of the robot and closes out W0. Completes the Axol robot assembly (Gate G4 before power-on). Source: Notion – Axol Assembly Instructions (migrated 2026-07-14)
Axol Base Assembly Process
activeAxol Bottom Base Assembly Process
activeAxol Bottom Base Castor Assembly Process
activeAxol Kit Assembly
activeMounts the assembled Axol on its base and packs the complete kit: Vision Kit, Power Box, USB cables, and plushy.
Axol Packaging
active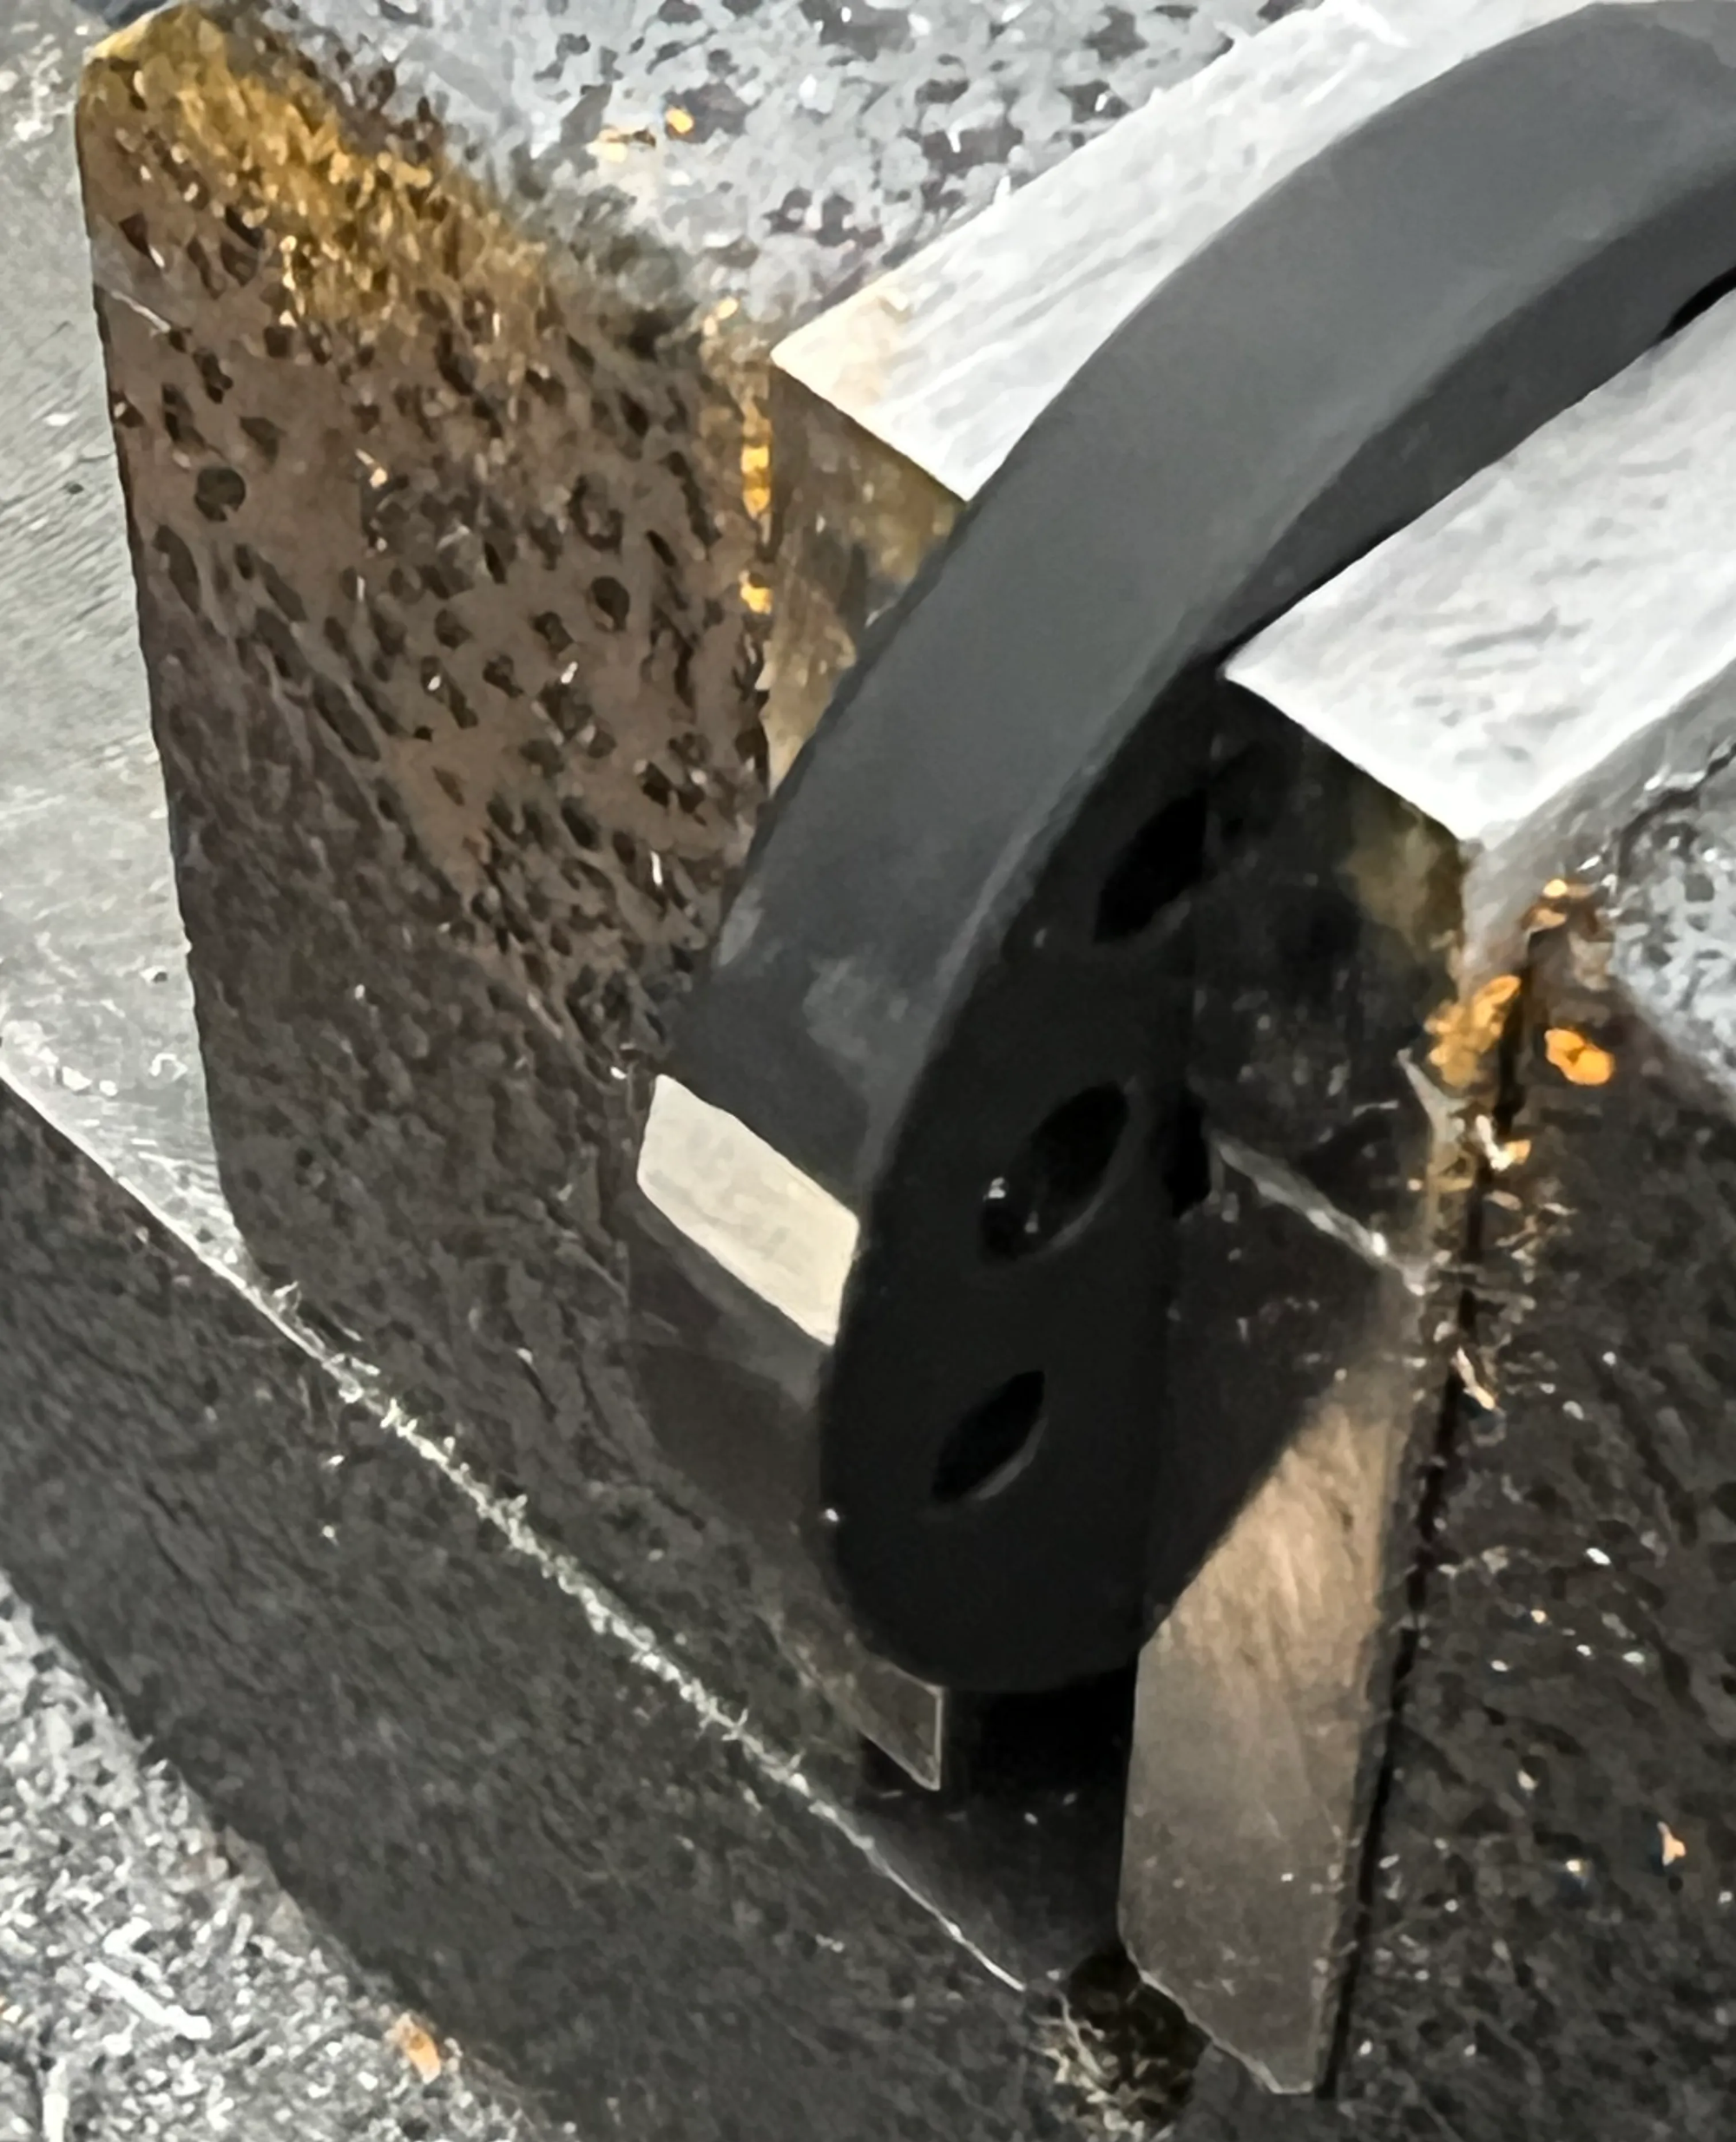
Axol Part Preparation
activeGate G1 – Part Prep: all parts inspected, threads chased, edges deburred, tabs removed before the build starts. Tools: alcohol pads, paint pen, file. Source: Notion – Axol Assembly Instructions (migrated 2026-07-14)
Axol Top Base Assembly Process
activeAxol Top Base Leg Assembly Process
activeAxol-process
activeBus Bar Assembly
activeCut Axol Base Hex Bar
active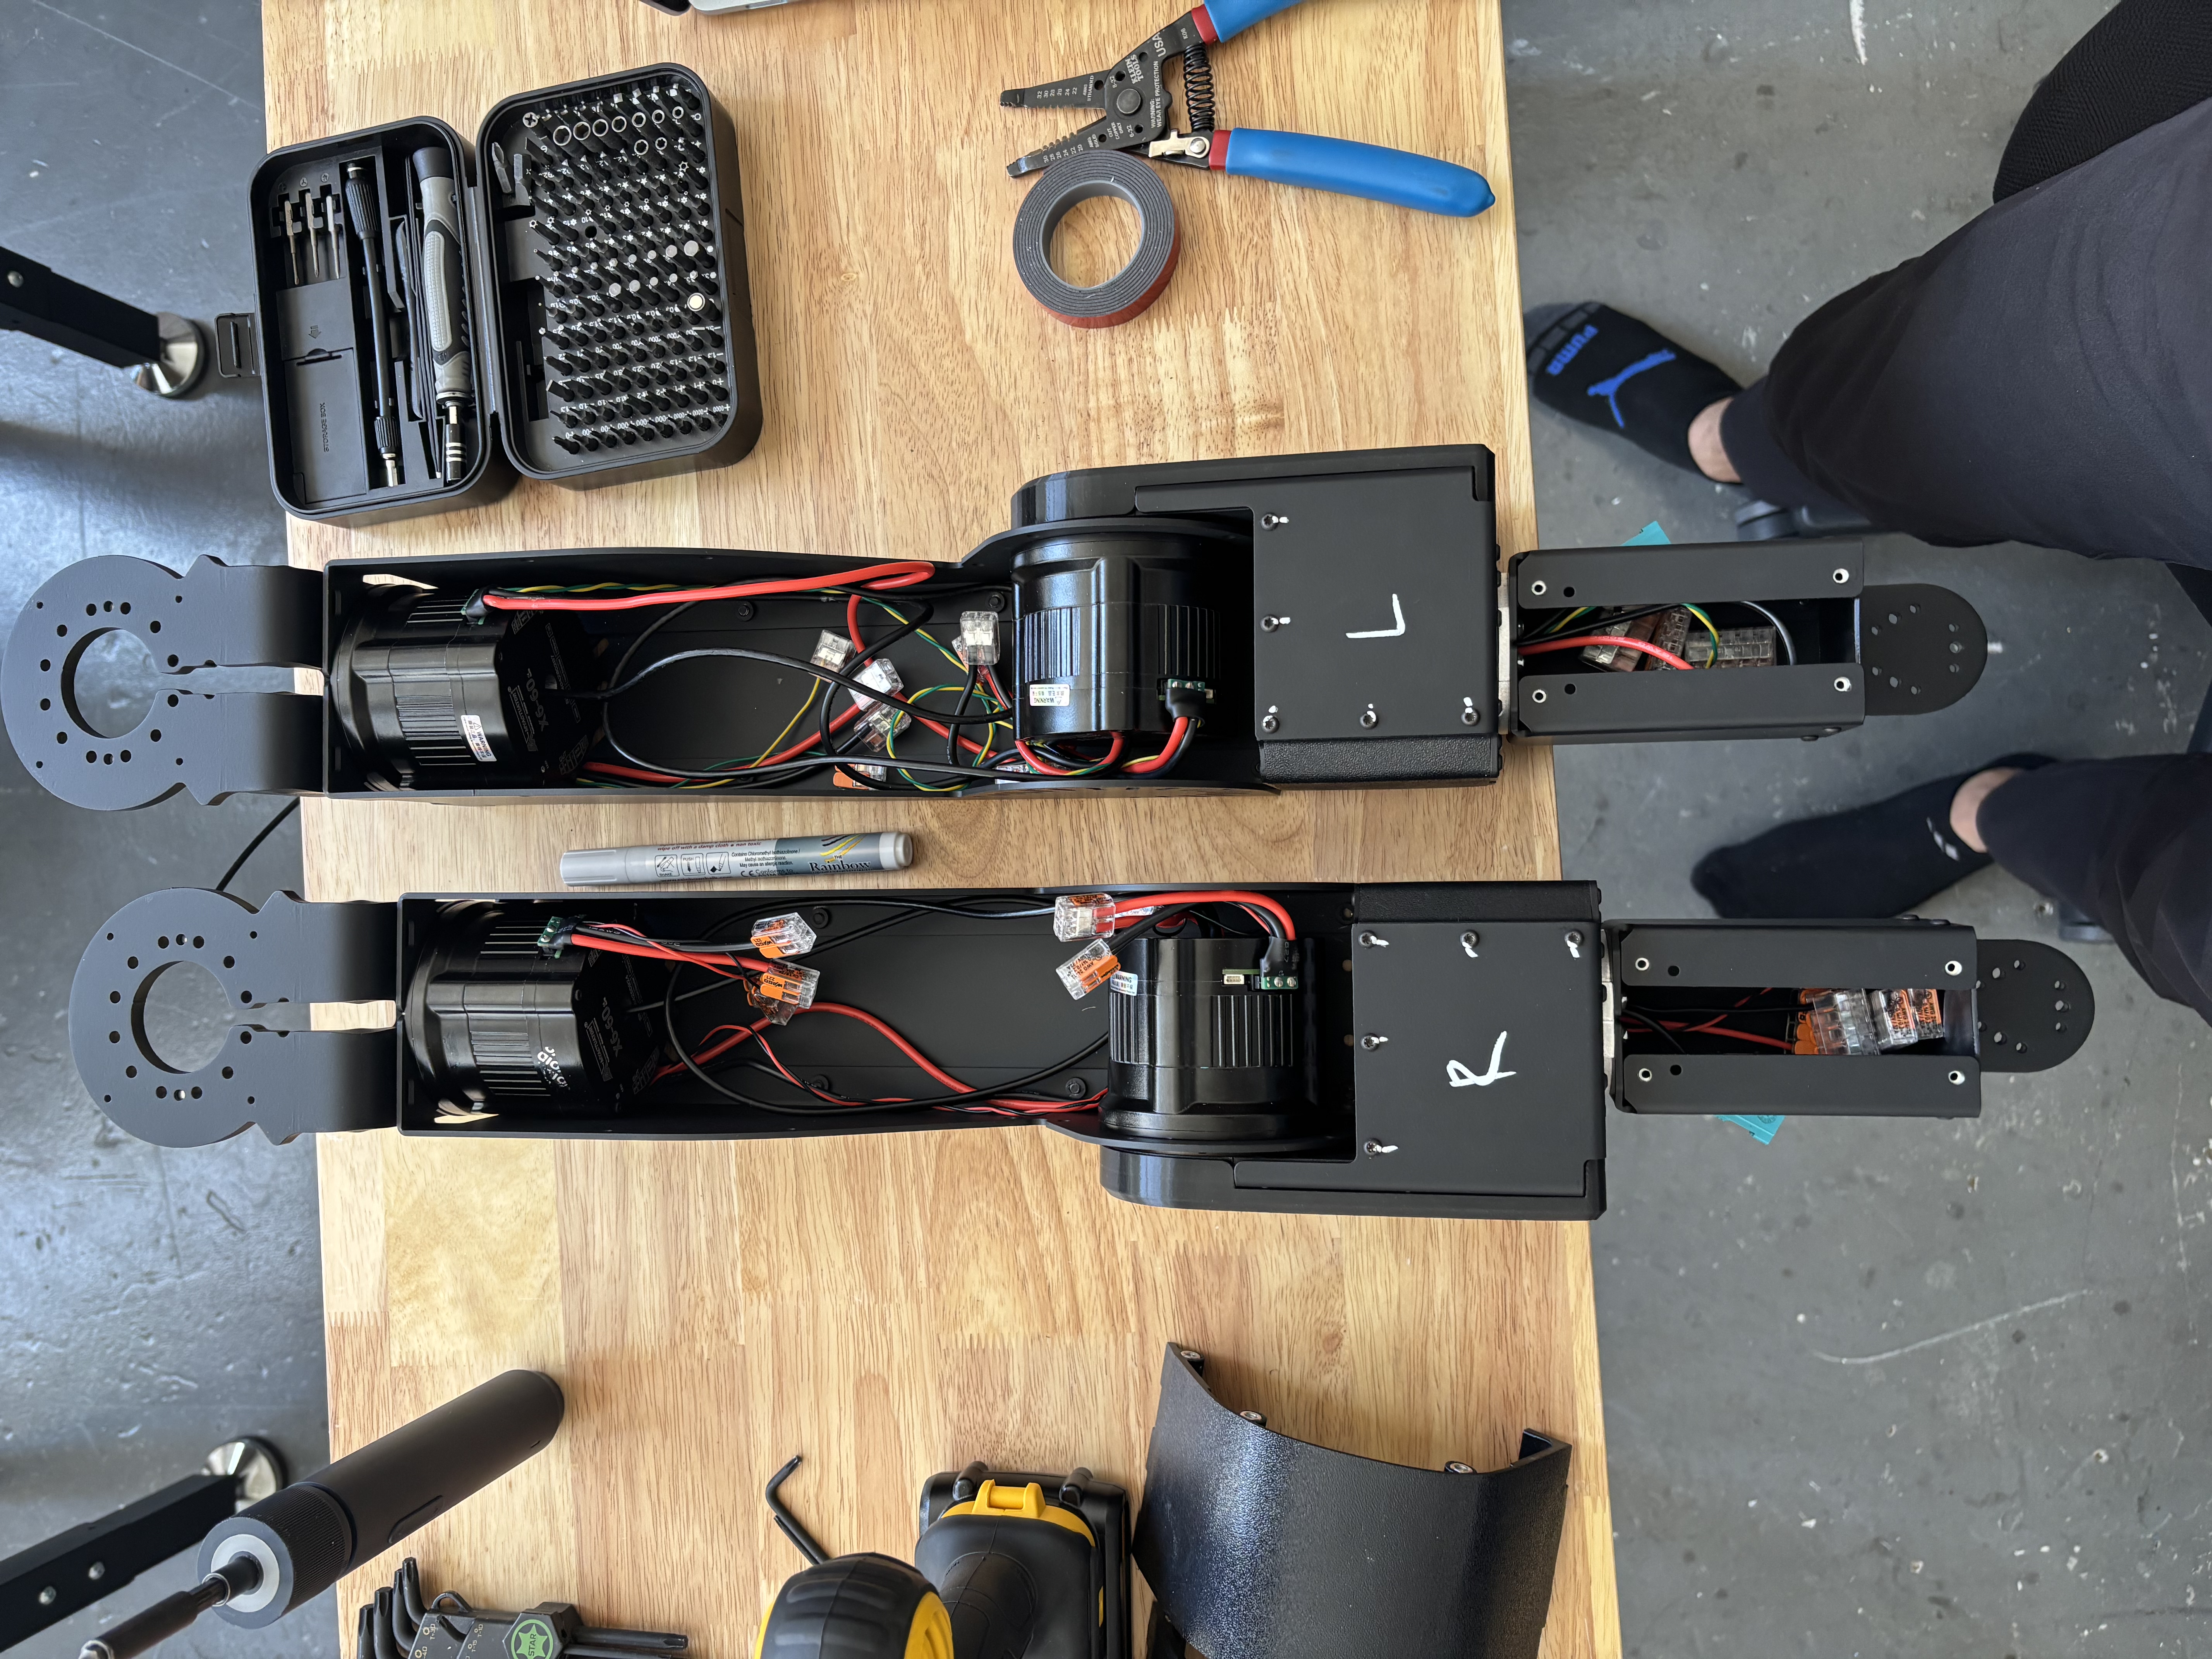
Elbow Assembly (E1 + E2 Join)
activeJoins the upperarm (E1) and forearm (E2) into the Left and Right elbow assemblies. Tools: T20 wrench. Source: Notion – Axol Assembly Instructions (migrated 2026-07-14)
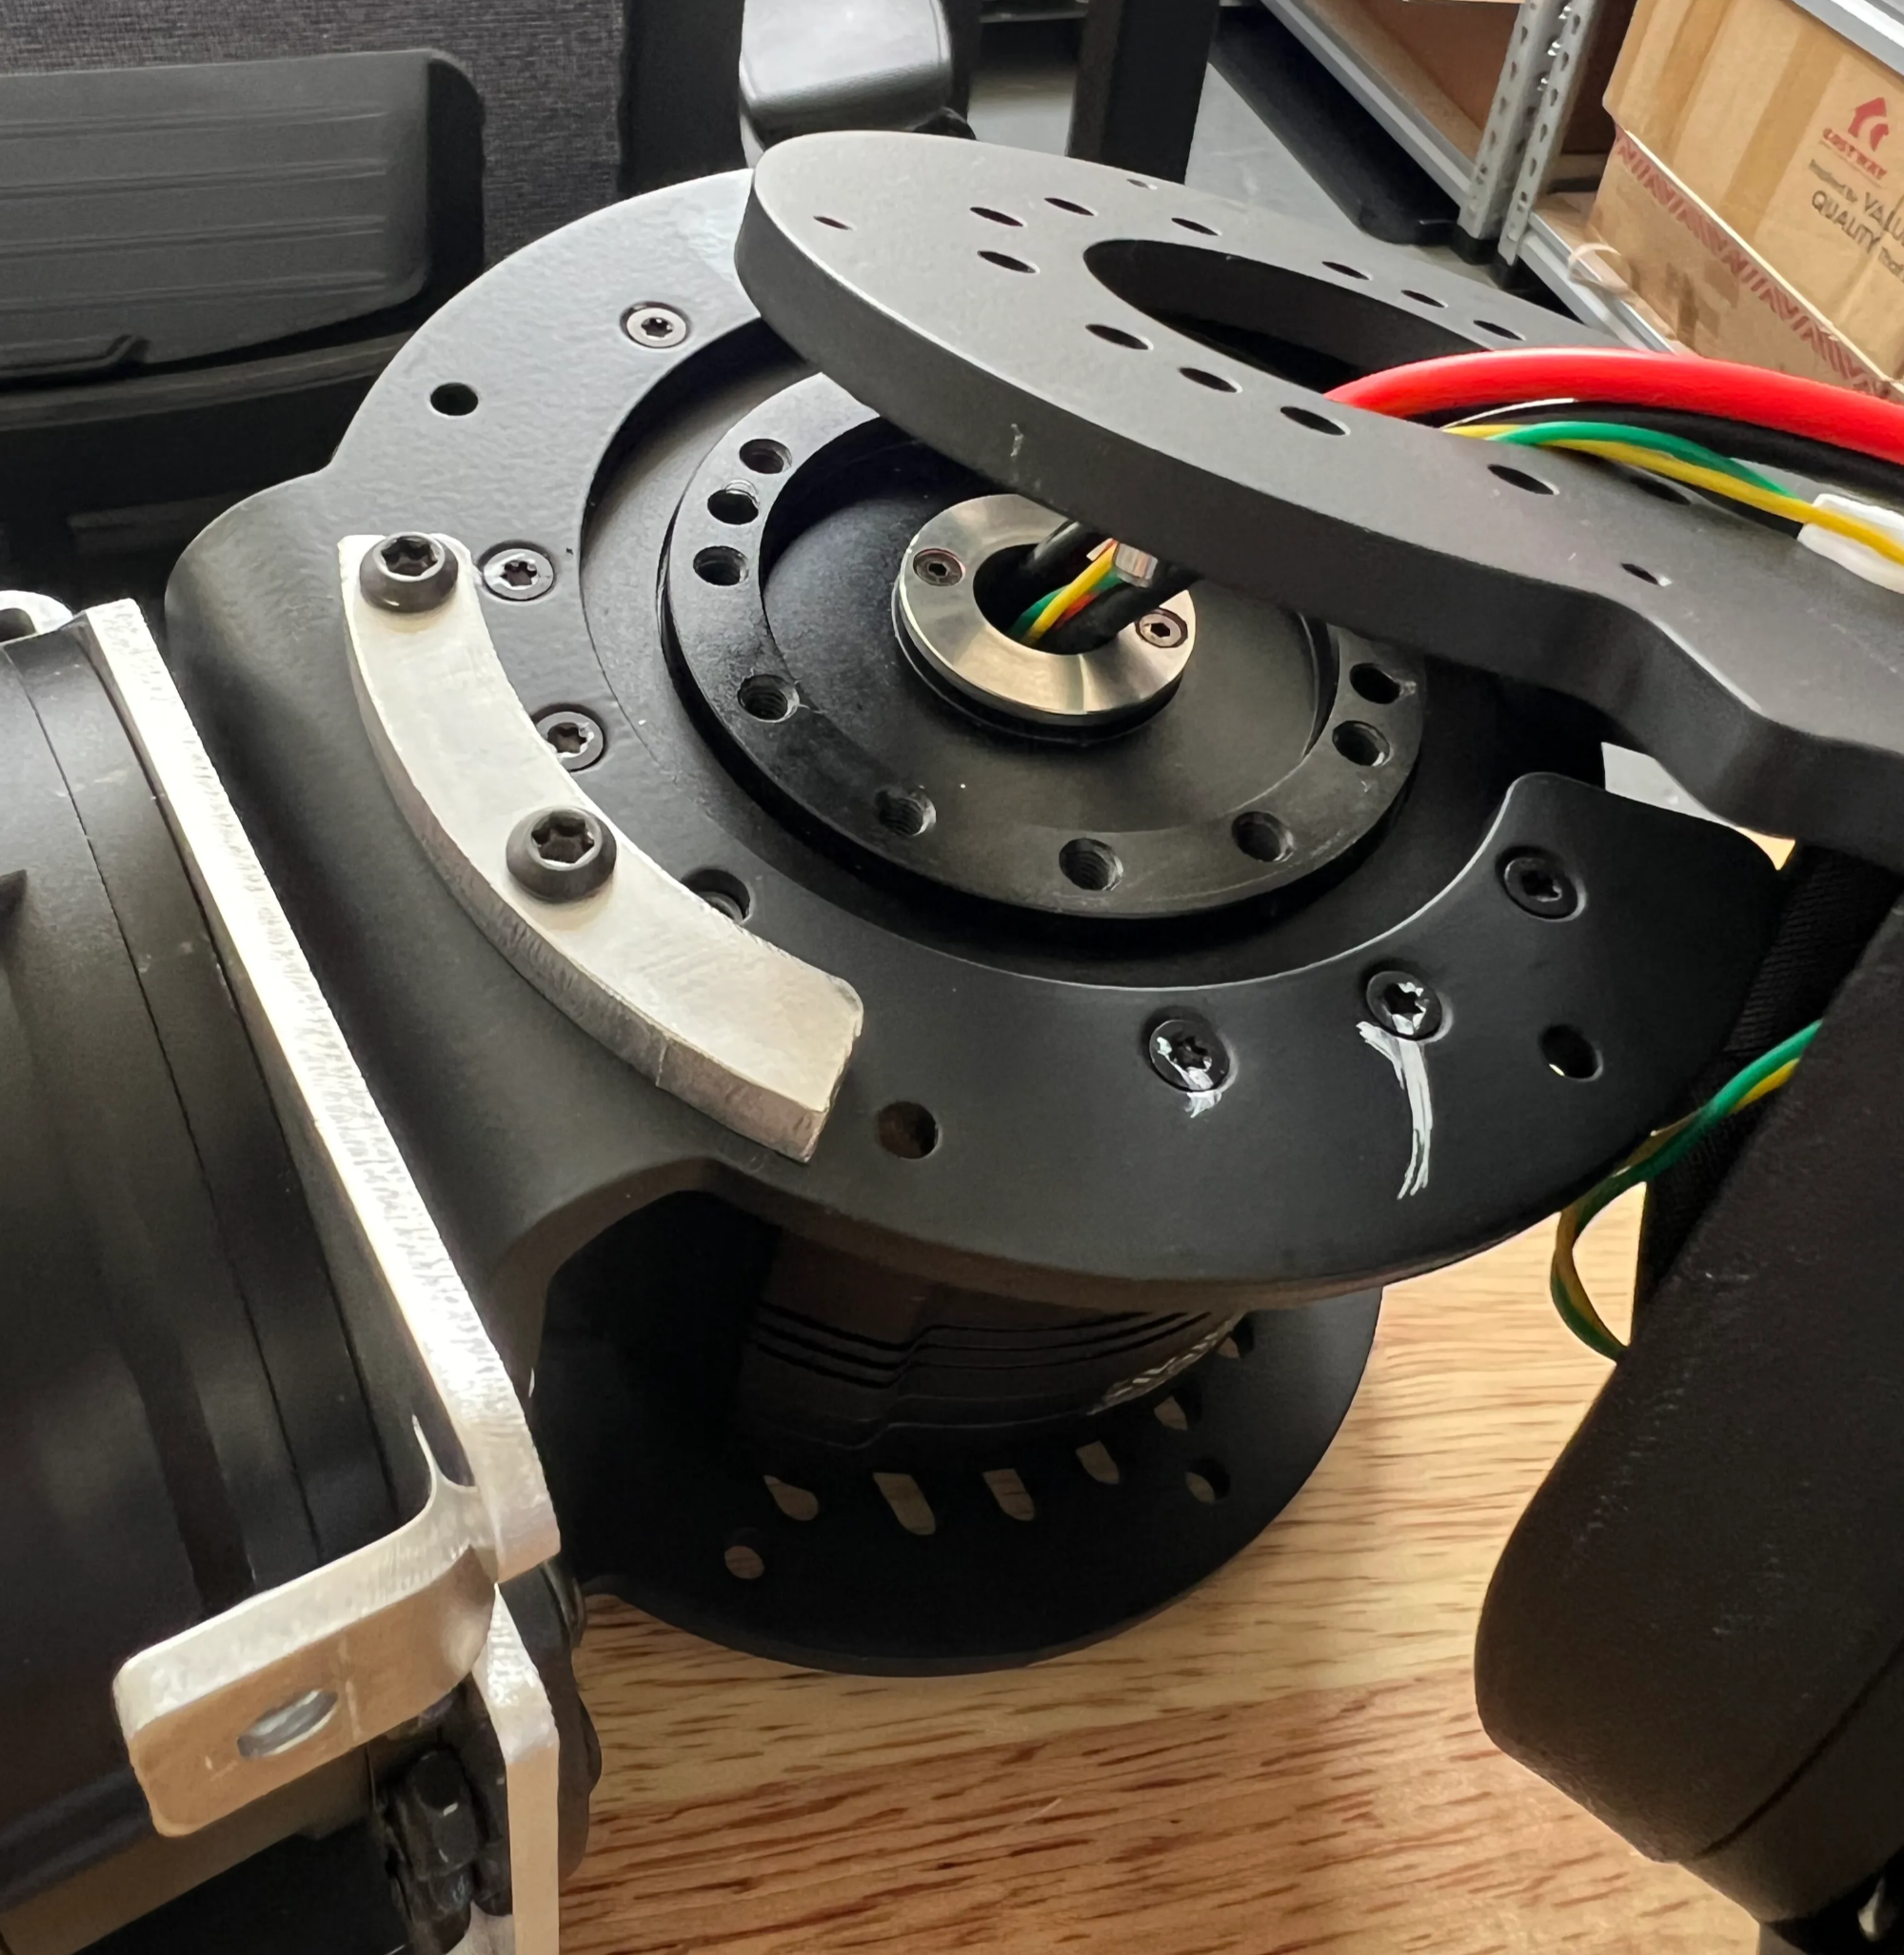
Elbow to Shoulder Attachment
activeAttaches the Left and Right elbow assemblies to the shoulder (S1/S2 combo) and closes out the TPU covers and chest cover. Tools: T20 wrench, T10 wrench. Source: Notion – Axol Assembly Instructions (migrated 2026-07-14)
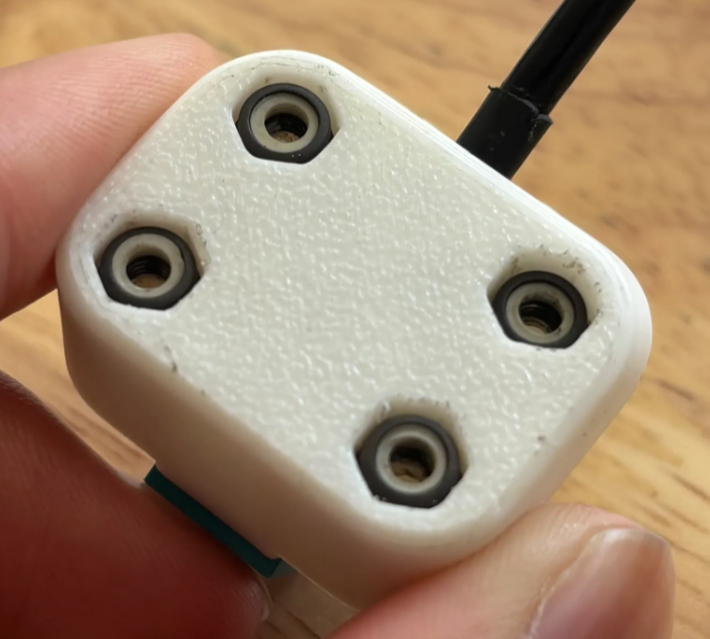
Forearm Assembly (W0 + E2)
activeBuilds the Left and Right forearm assemblies (stations W0 + E2). Tools: CA Glue, T20 Torx Allen Wrench, T10 Torx Allen Wrench, White Liquid Chalk Marker, RTV162 glue, Wire Strippers. Quantities below are per arm unless stated. Source: Notion – Axol Assembly Instructions (migrated 2026-07-14)
Perception kit packaging
activePower Box AC Power Receptacle Assembly
activePower Box Assembly
active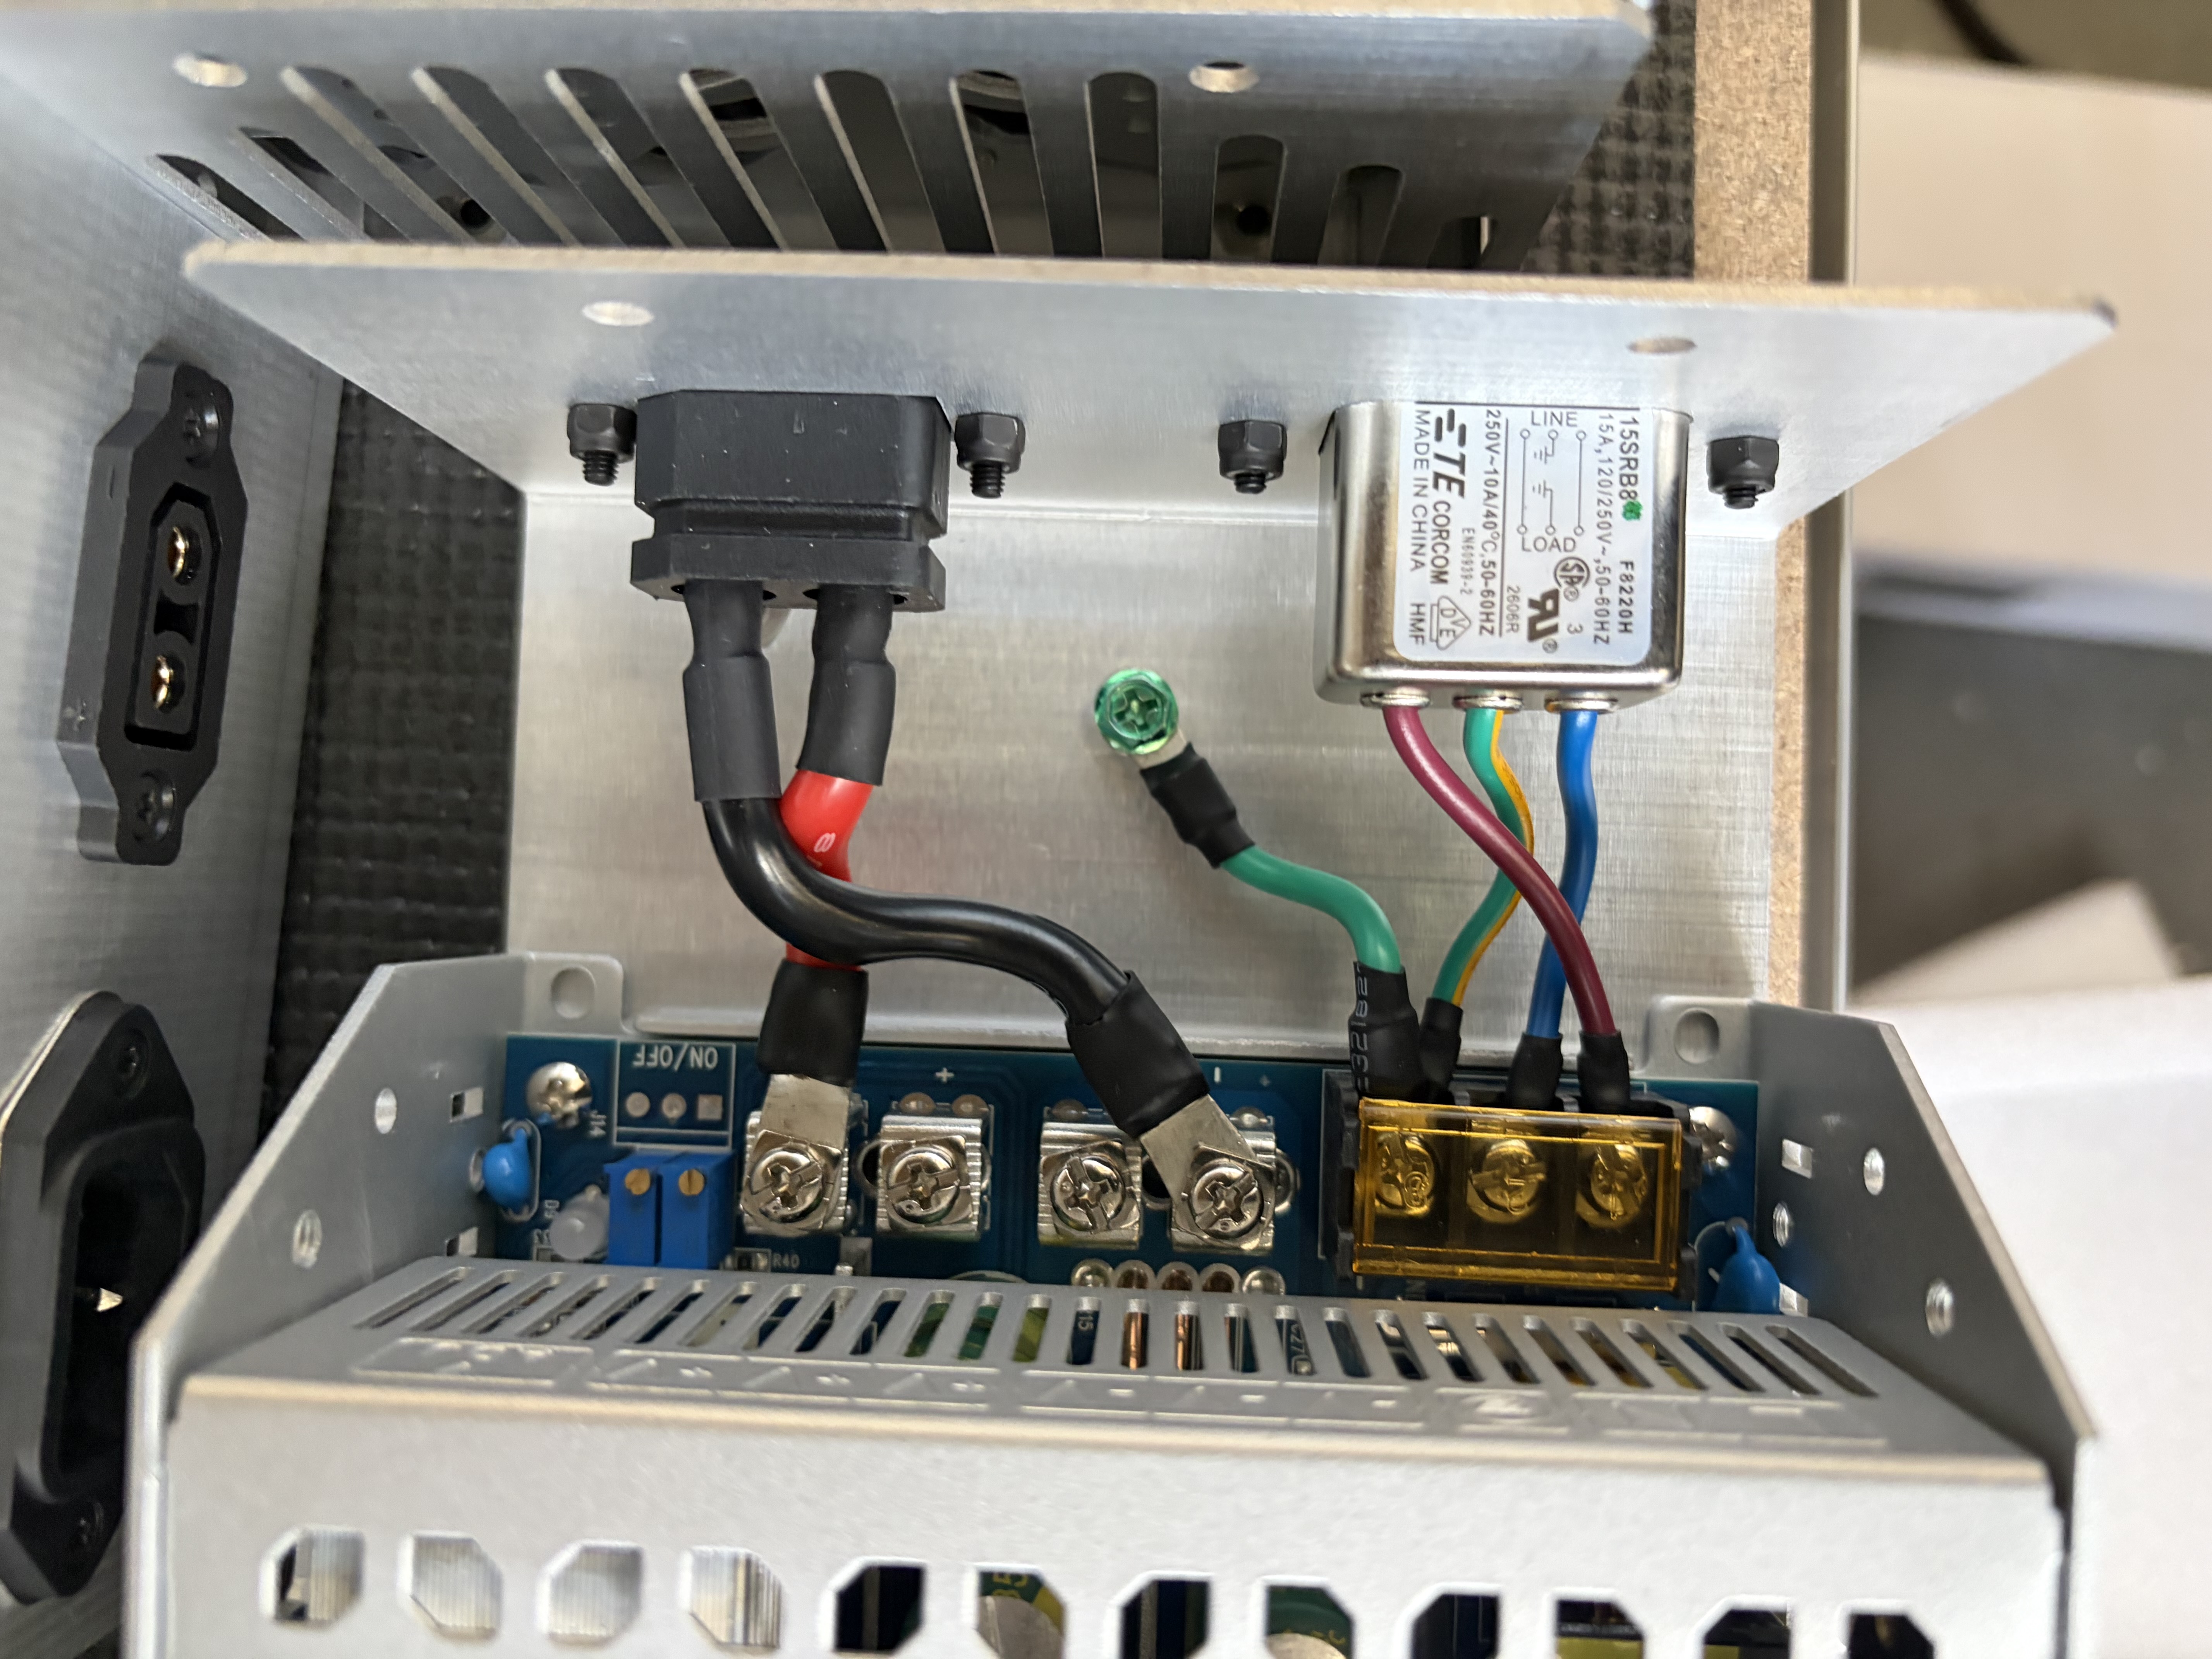
Power Box Base Assembly
activePower Box Earth Ground Assembly
activePower Box XT90-F Receptacle Assembly
activePrint Axol Base Parts
active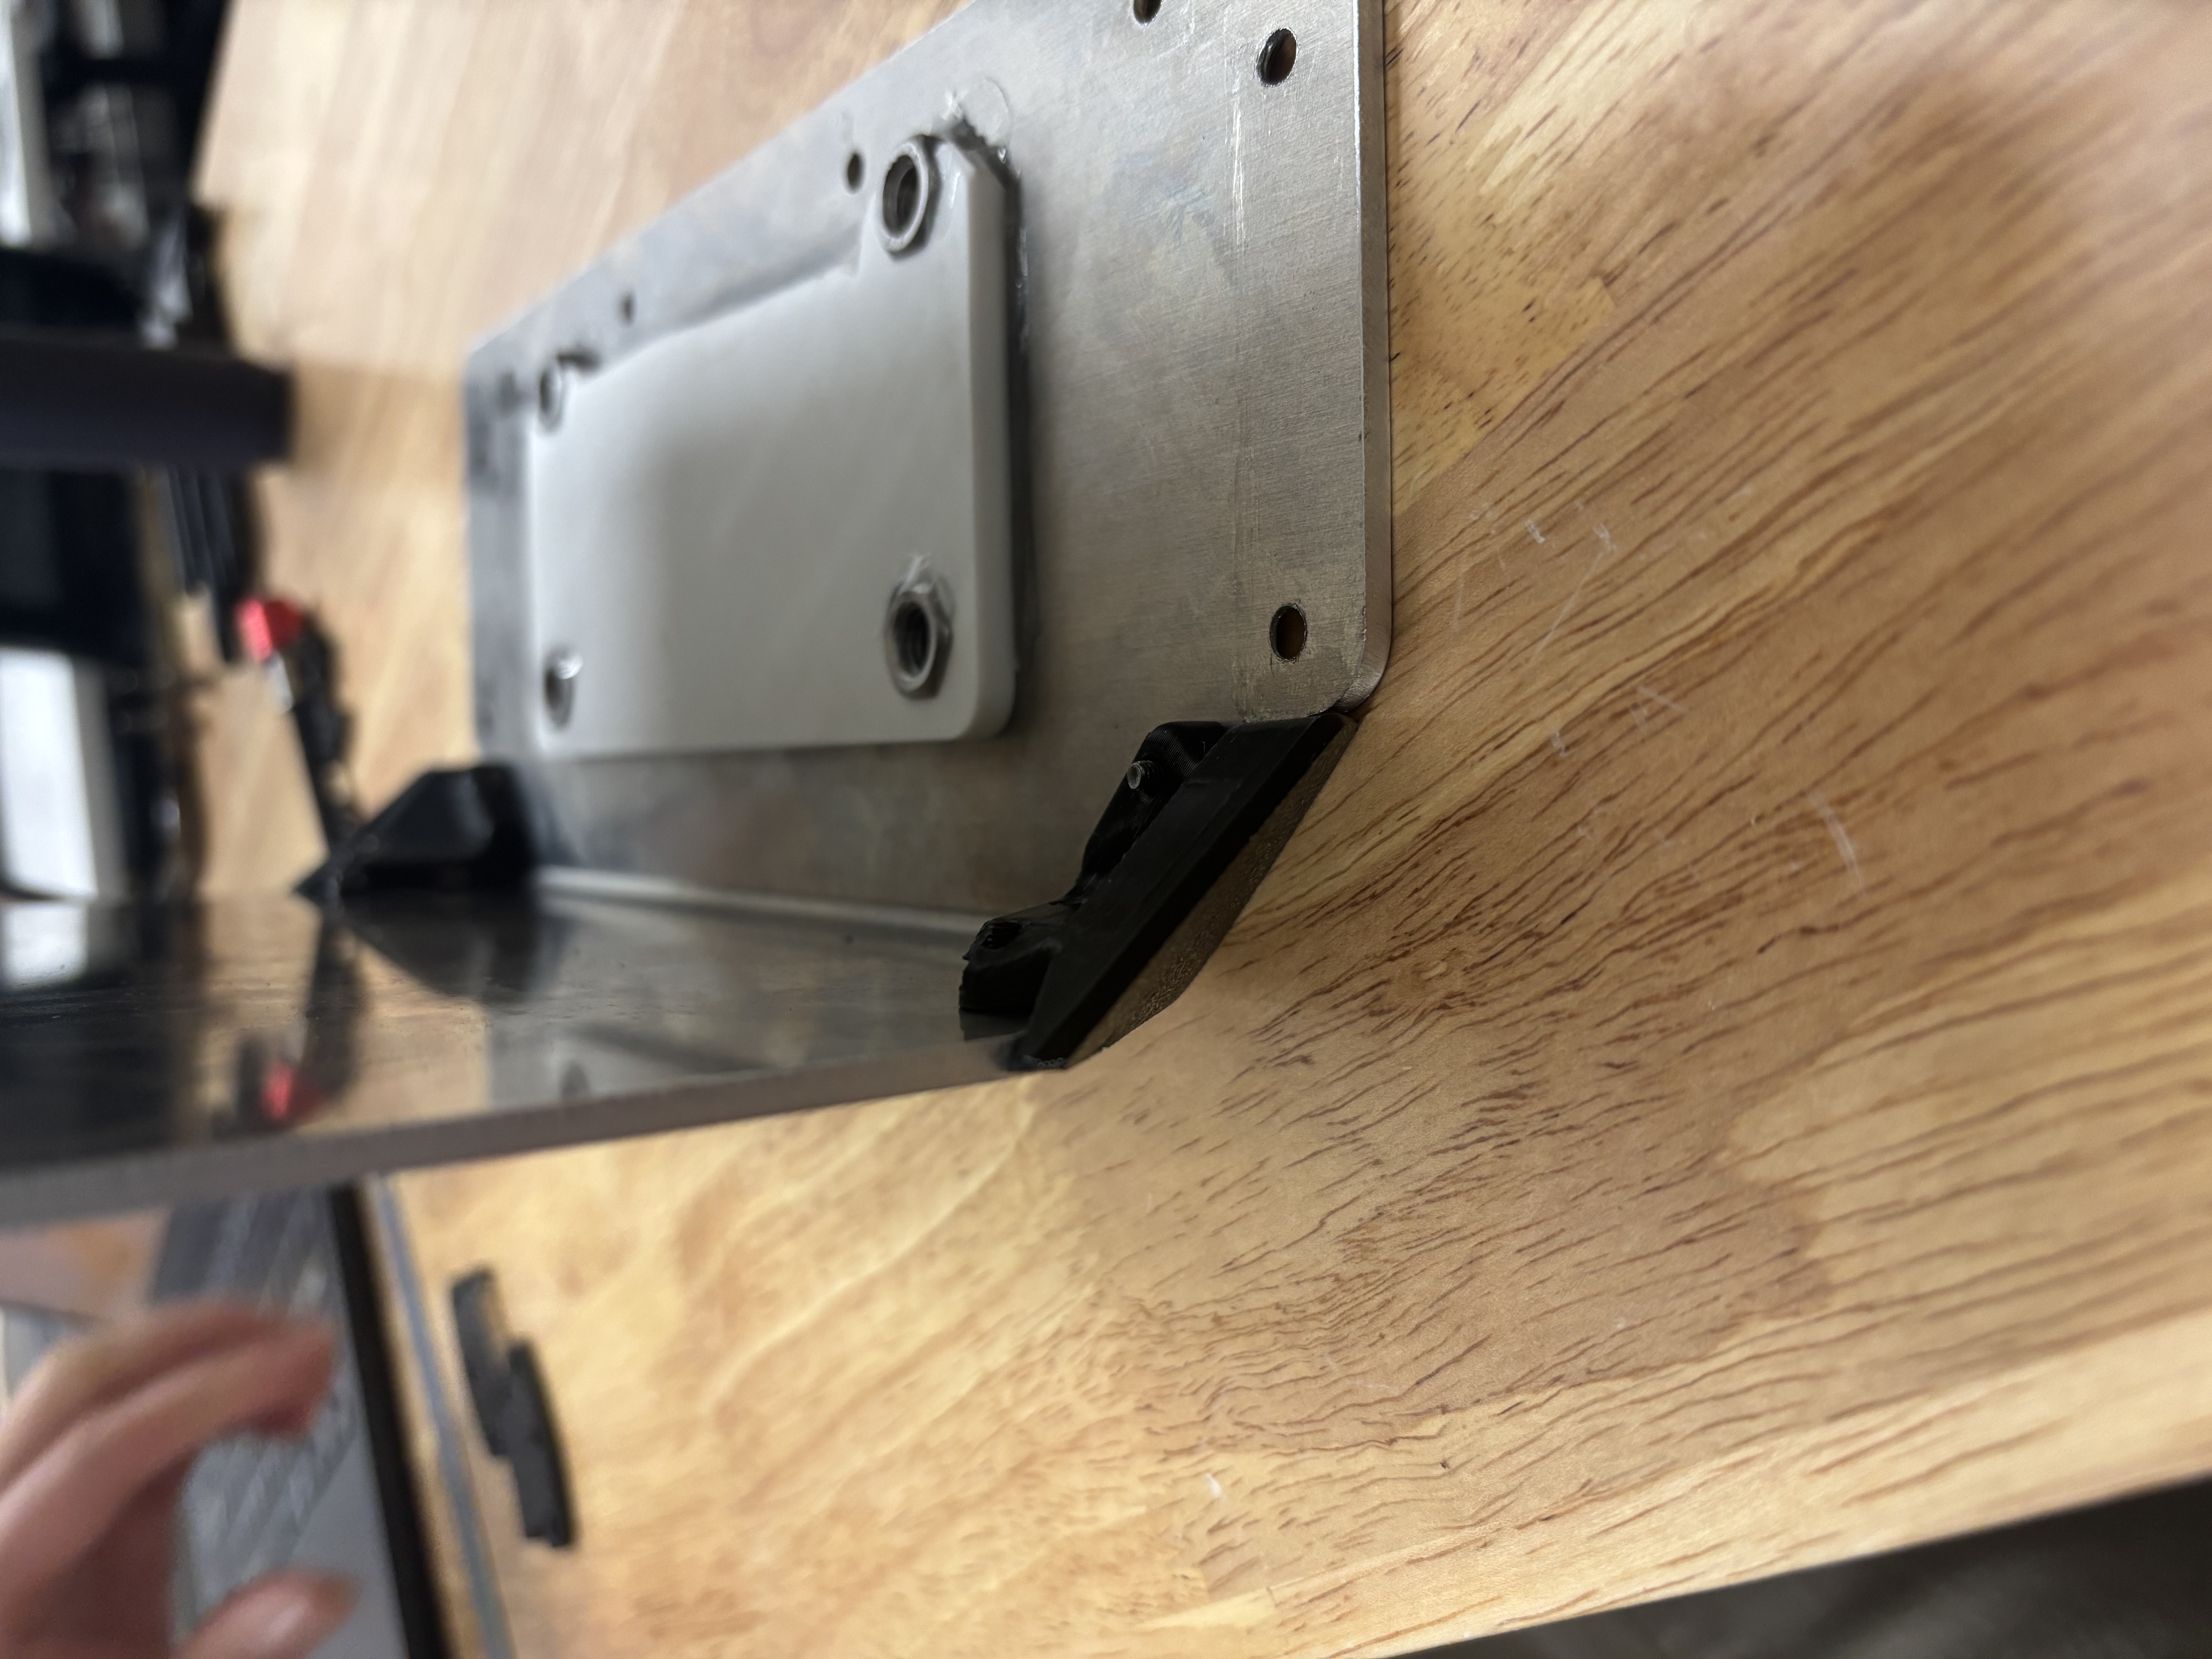
Shoulder Assembly (S1 + S2)
activeBuilds the shoulder/chest (stations S1 + S2): chest cover, bus bars, CAN board, X8 motors, and S2 brackets. Tools: RTV162 glue, M4/M3/M5 socket wrenches, T20 wrench, T10 wrench. Source: Notion – Axol Assembly Instructions (migrated 2026-07-14)
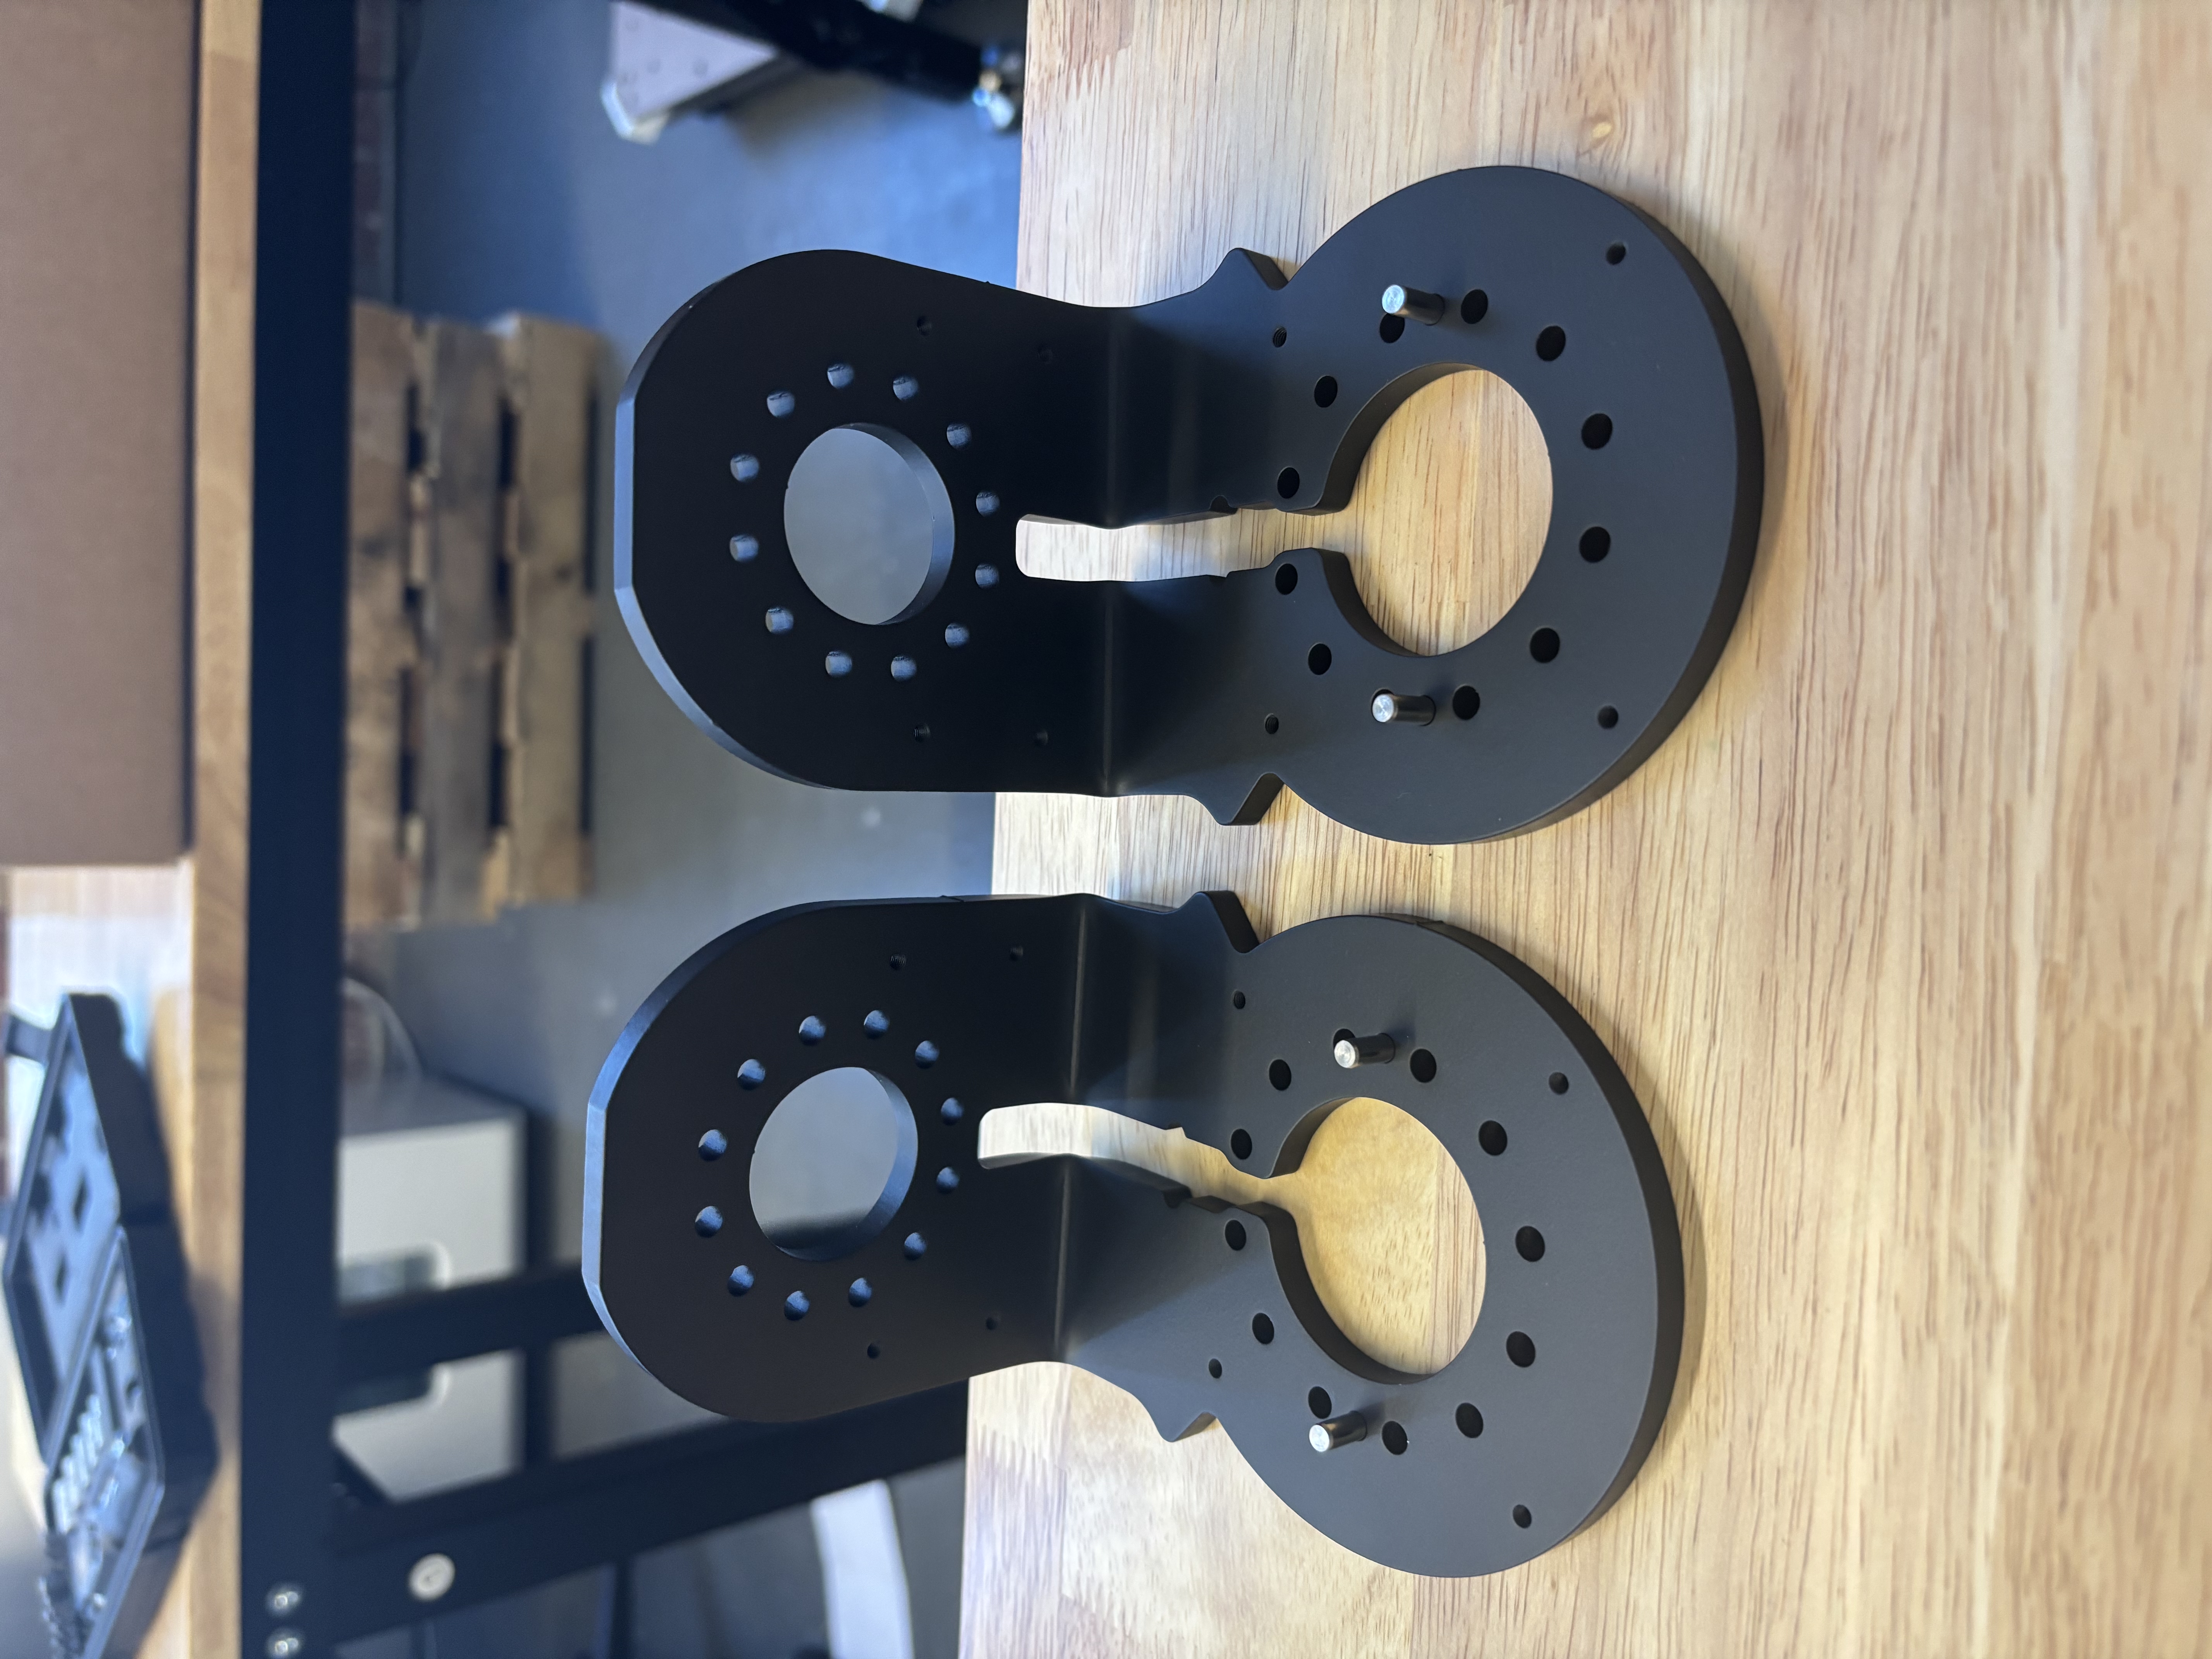
Upperarm Assembly (S3 + E1)
activeBuilds the Left and Right upperarm assemblies (stations S3 + E1). Tools: Wire Strippers, RTV162 glue, T10 Torx Allen Wrench, T20 Torx Allen Wrench. Source: Notion – Axol Assembly Instructions (migrated 2026-07-14)
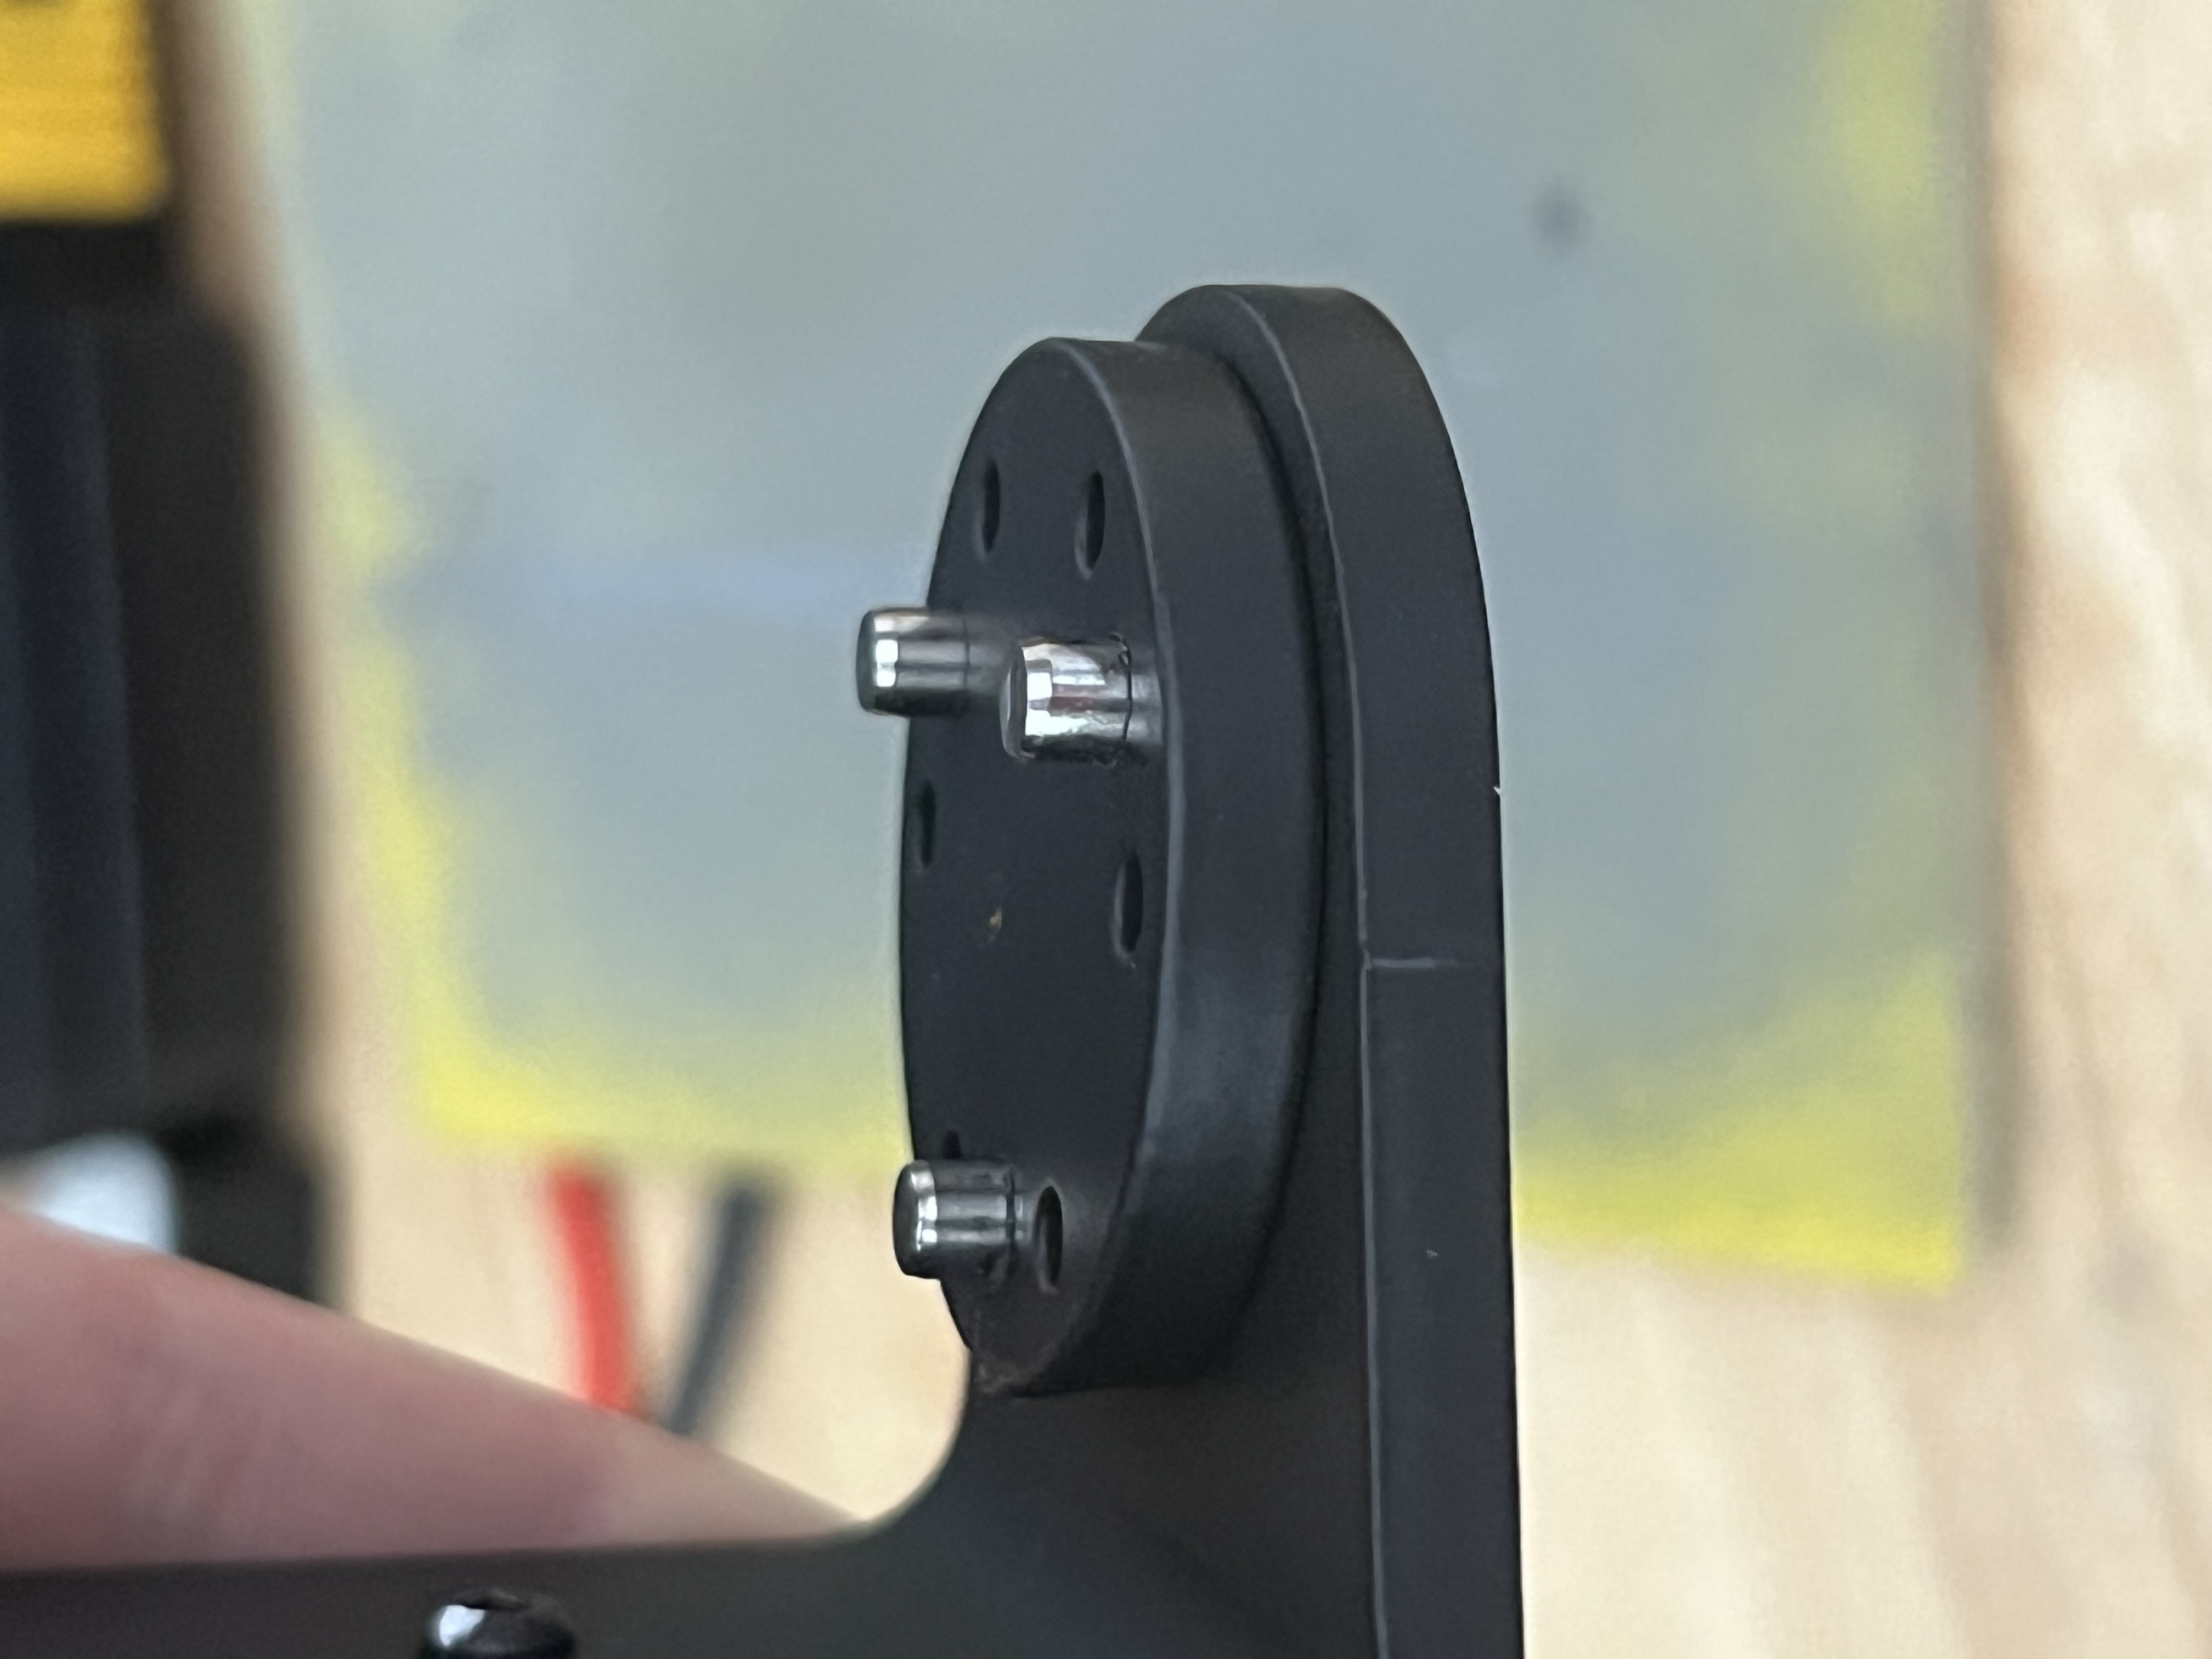
Wrist Assembly (W1 + W2)
activeBuilds the Left and Right wrist assemblies (stations W1 & W2). Tools: T10 Torx Allen Wrench, Blue Loctite, Needle Nose Pliers, Alcohol Pads, Wet-Erase Marker, Press or Vice, Coupler Jig. Source: Notion – Axol Assembly Instructions (migrated 2026-07-14)