Elbow to Shoulder Attachment
Attaches the Left and Right elbow assemblies to the shoulder (S1/S2 combo) and closes out the TPU covers and chest cover. Tools: T20 wrench, T10 wrench. Source: Notion – Axol Assembly Instructions (migrated 2026-07-14)
Parts used
 1× S2 - X8 Motor Coupler 3.175mm (2 pack)
 2× S2 TPU Cover
 2× S3 TPU Cover Outer
 2× S3 Wire Guard
 2× Bicep TPU Cover Upper
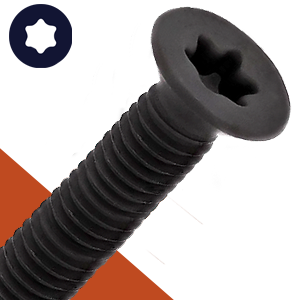 8× FH-TX-M3-10
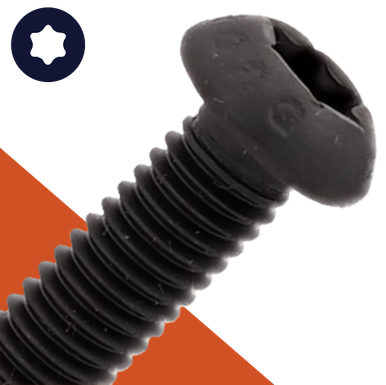 12× BH-TX-M4-10
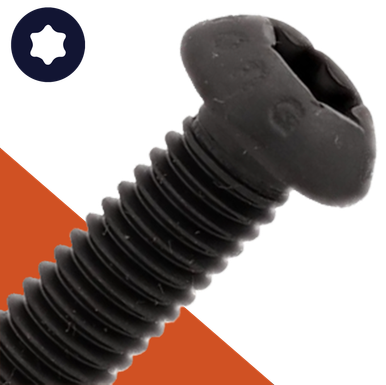 14× BH-TX-M4-12
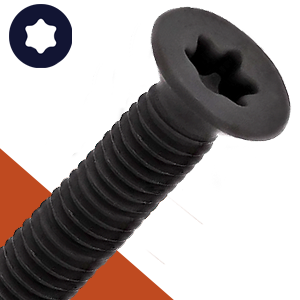 20× FH-TX-M3-12
 14× FH-TX-M4-12
 2× S2 -> S3 Cable
 4× Wago 221-412
 1× Elbow Assembly Left
 1× Elbow Assembly Right
 18× SO-HX-M4-07-80-AL
Step 1
Attach 1x S2-to-S3 cable to S2's X8 Motor, glue the connector, and feed it through the hollow bore.
edit step
Step 2
Route the GMSL cable through the S2 X8 and S1 X8.
edit step
Step 3
Place the S2 X8 motor inside the S2 bracket, plug in the other XT30 cable, and glue.
edit step
Step 4
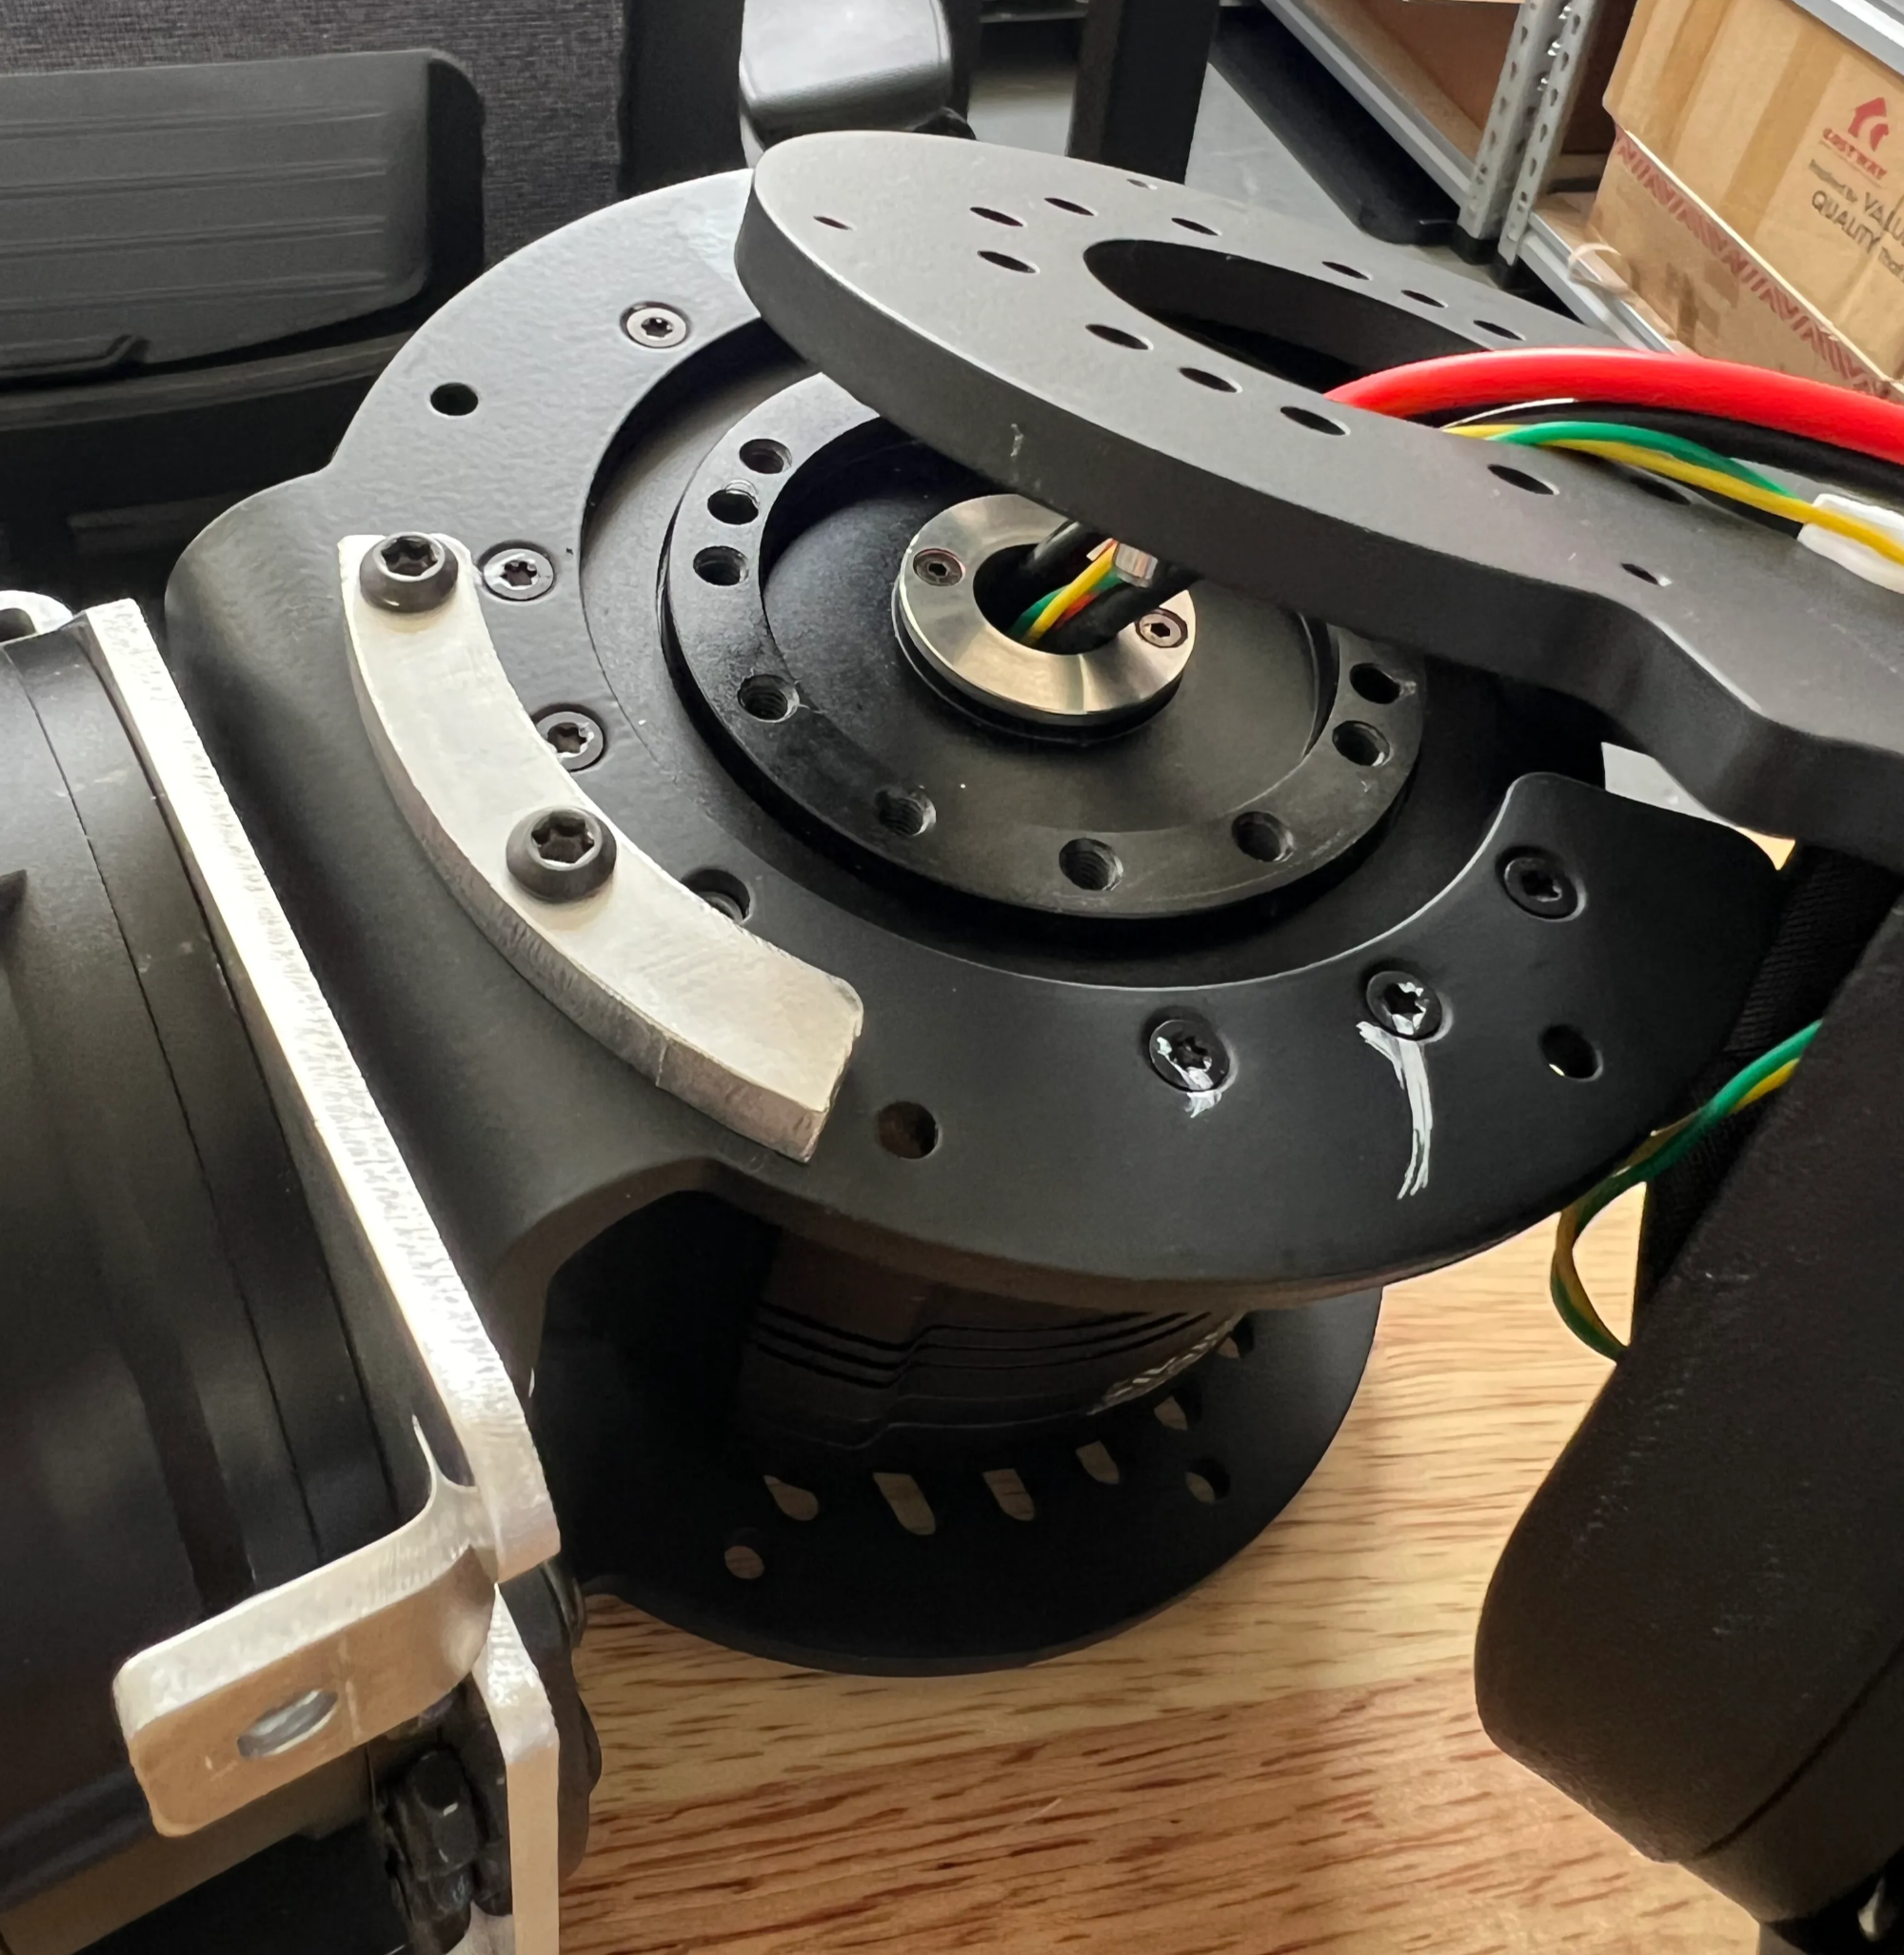
Fasten and Loctite the S2 X8 motor to the S2 bracket with 10x FH-TX-M3-12. GO SLOW — not a lot of threads, they strip easily.
edit step
Step 5
Route the cables through E1 and insert the wire guard.
edit step
Step 6
Slide the X8 Motor Coupler 3.175mm between S2 and S3.
edit step
Step 7
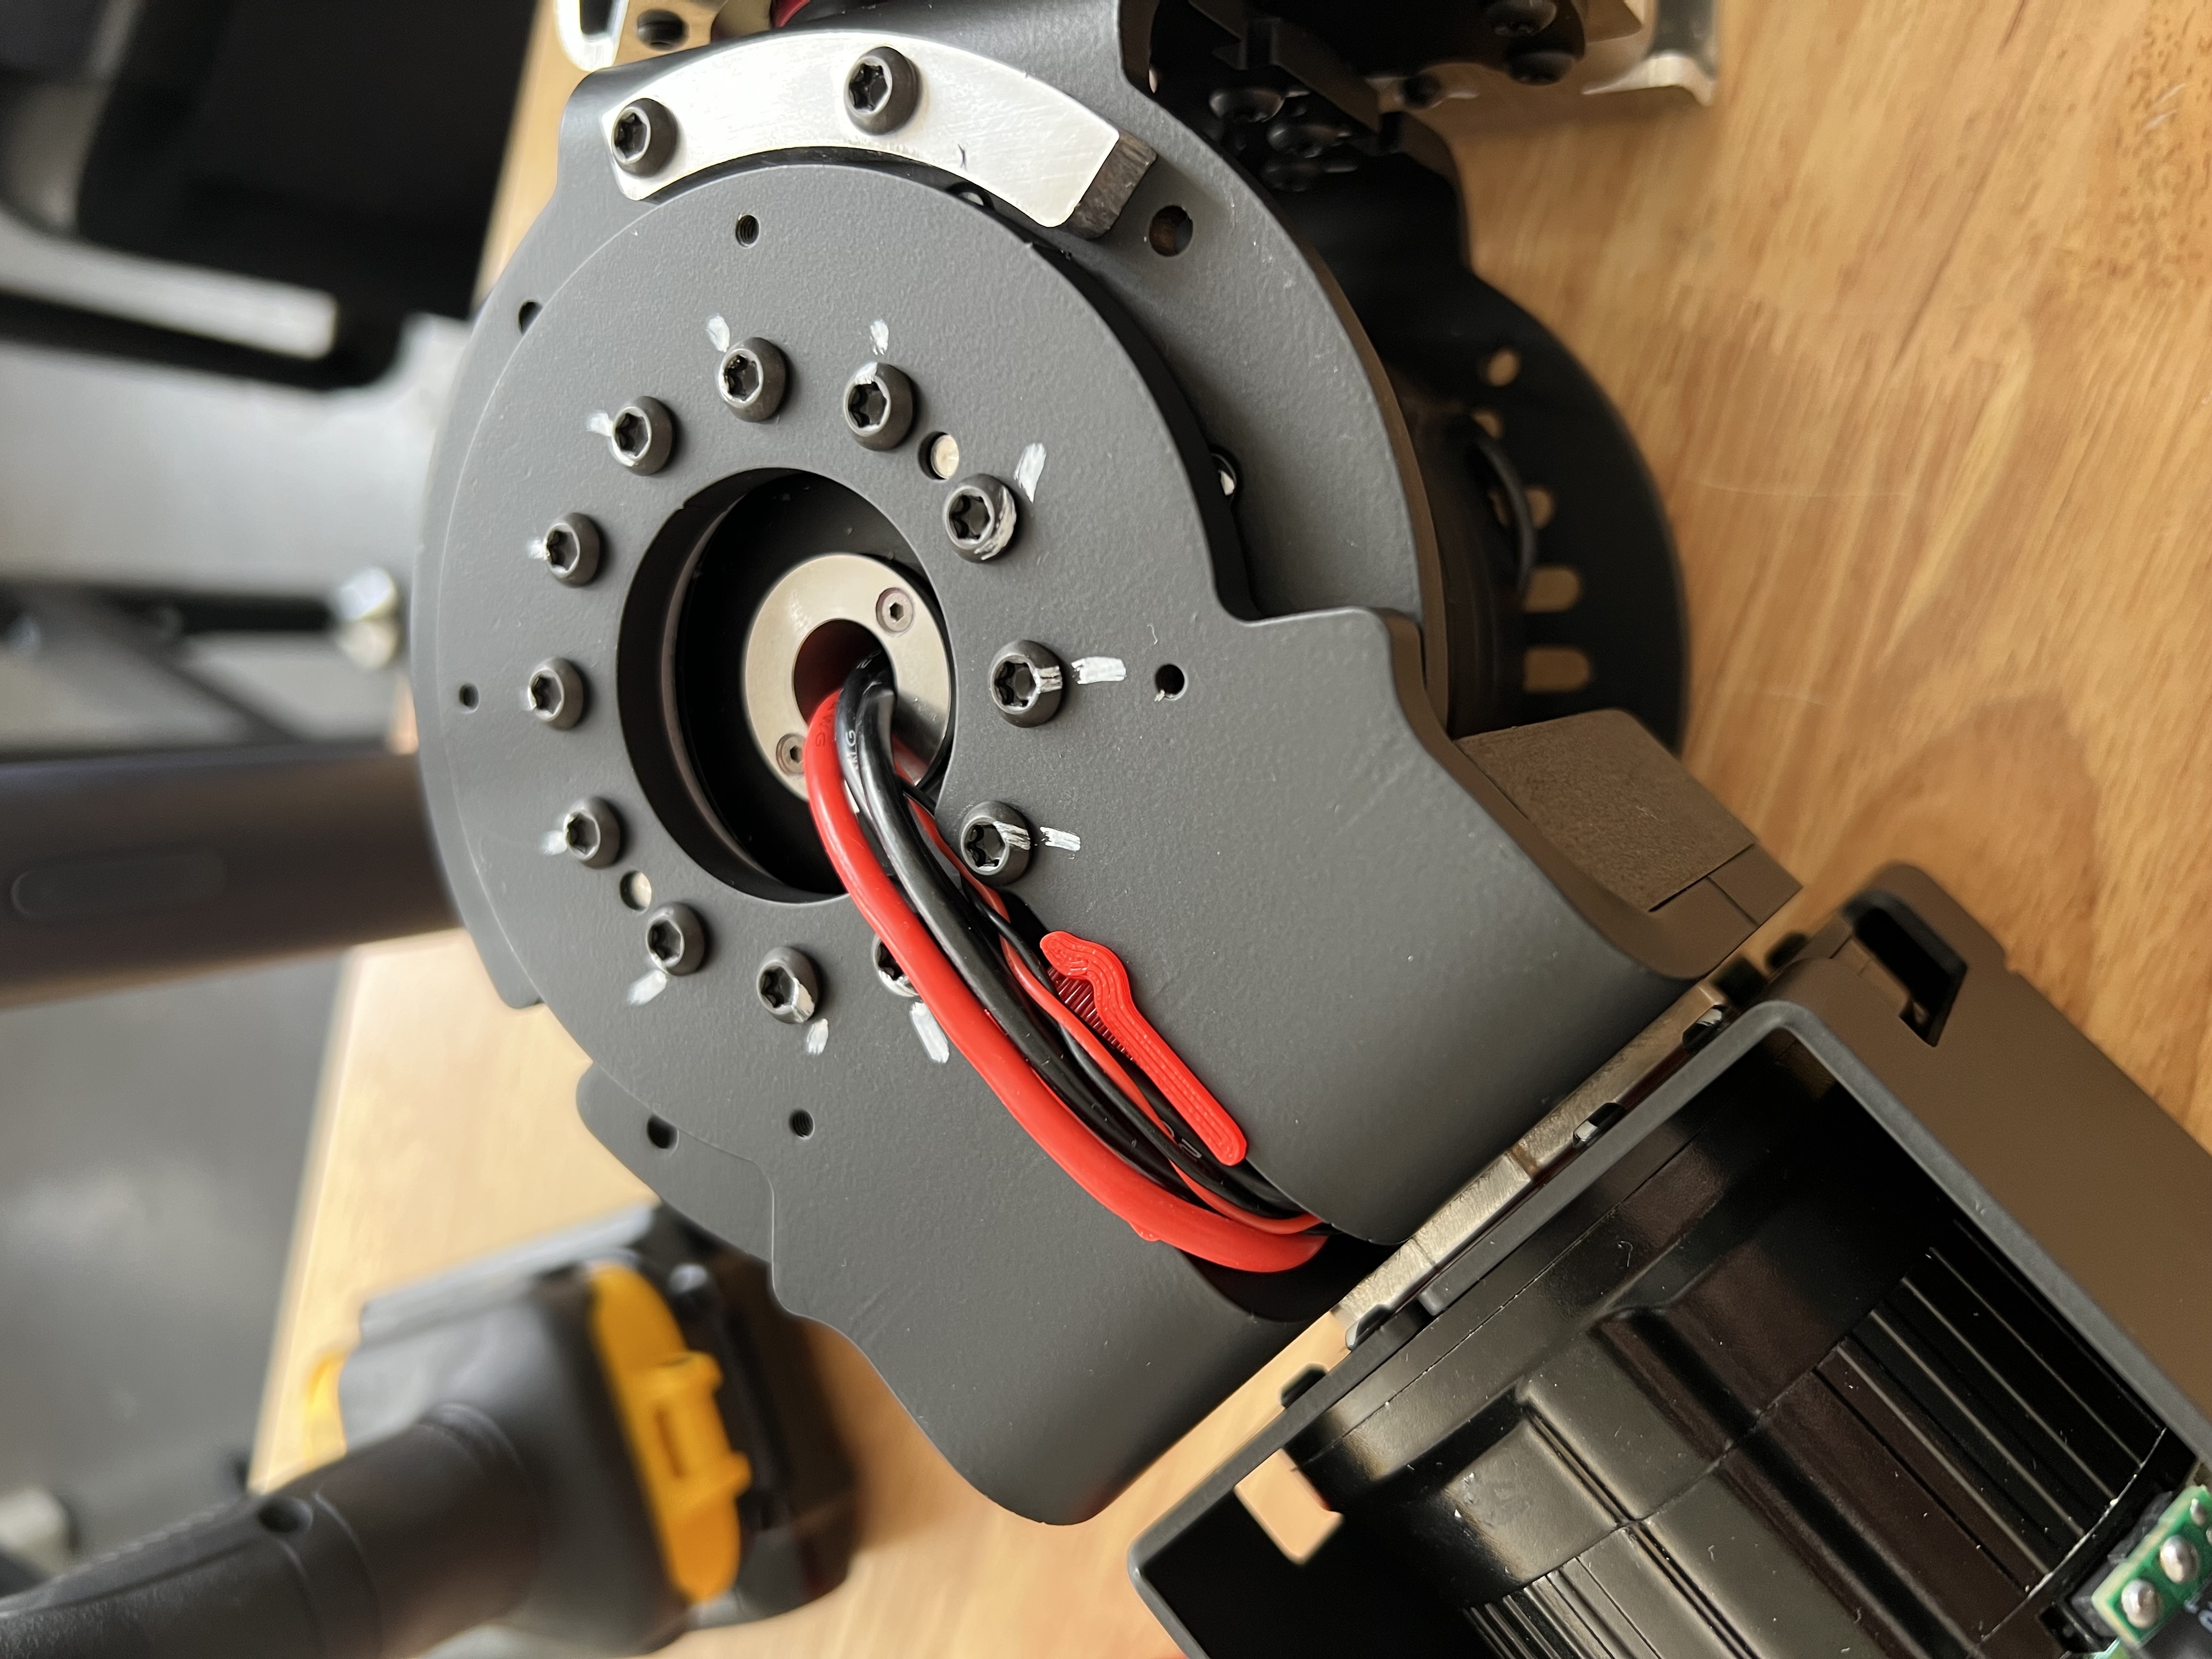
Fasten S3 to S2 with 12x BH-TX-M4-14 and Loctite. Mark the fasteners.
edit step
Step 8
Tighten the cables across the wire guard by gently pushing and pulling on them.
edit step
Step 9
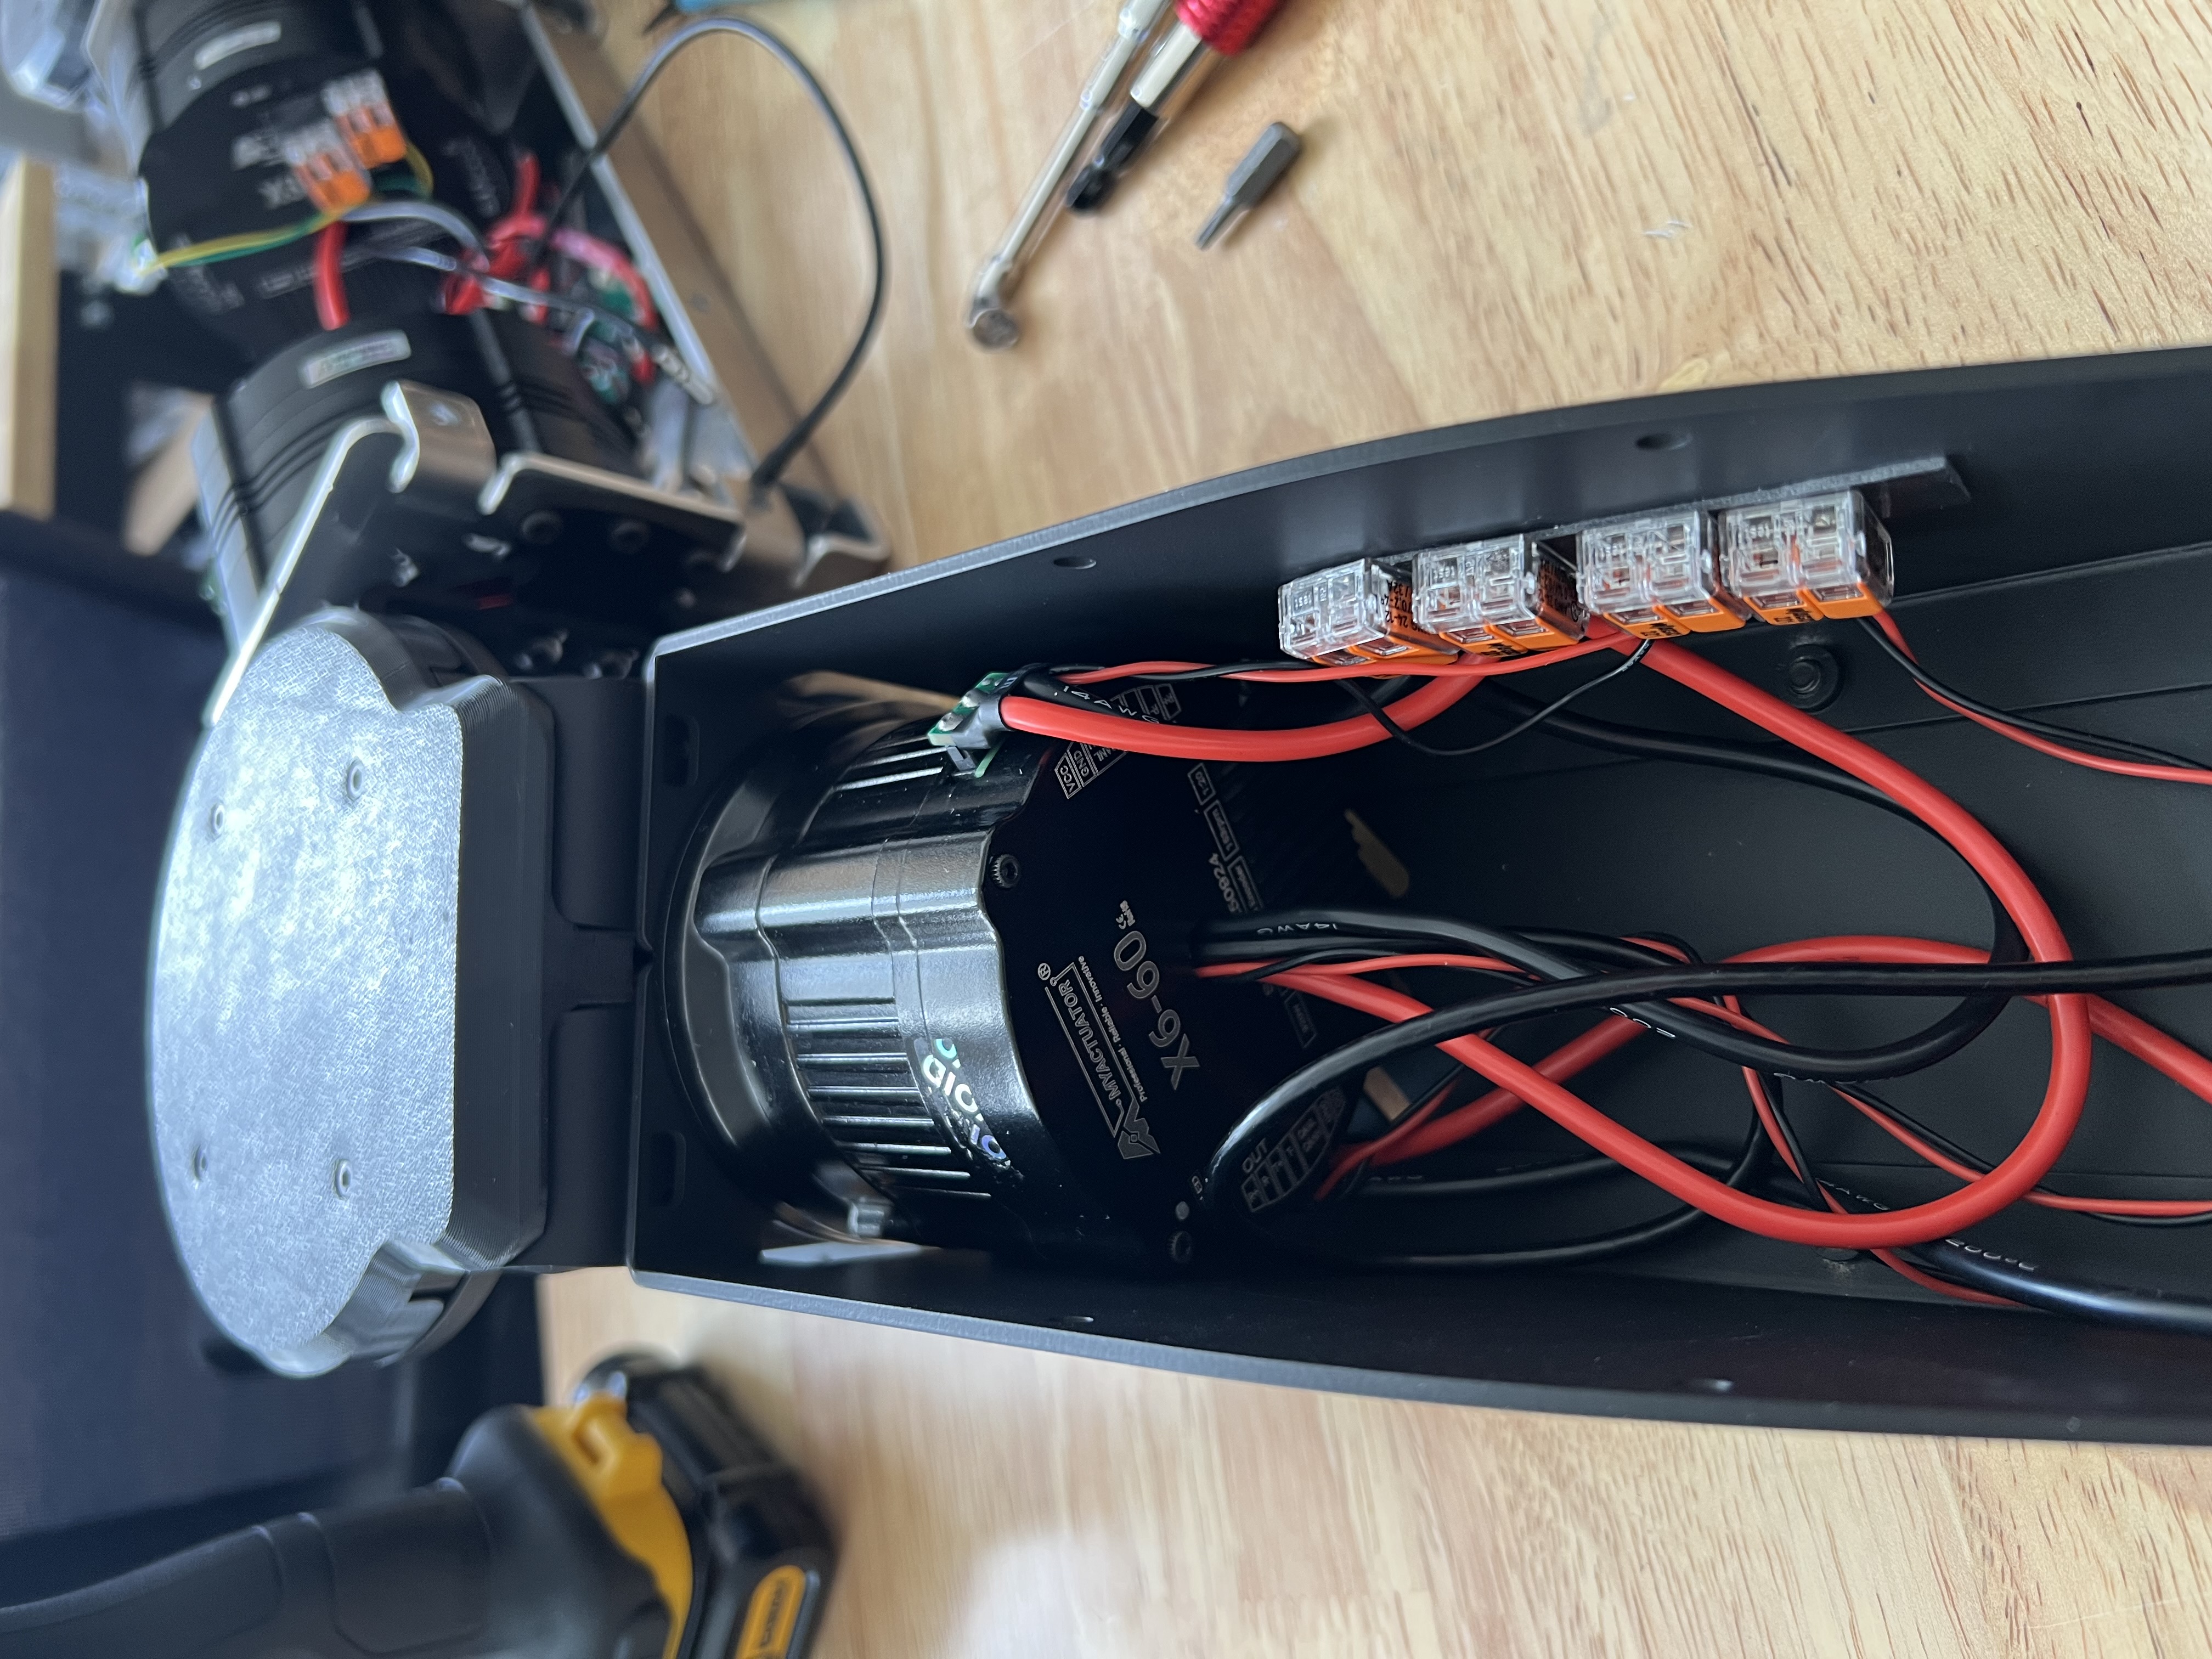
Connect the WAGOs together and fasten them all to the side of E1.
edit step
Step 10
Fasten the E1 TPU Cover with 6x BH-TX-M4-10 on each side through 3x SO-HX-M4-07-80-AL.
edit step
Step 11
Fasten the S2 TPU Cover with 6x BH-TX-M4-12 and 6x FH-TX-M4-12 through 6x SO-HX-M4-07-80-AL.
edit step
Step 12
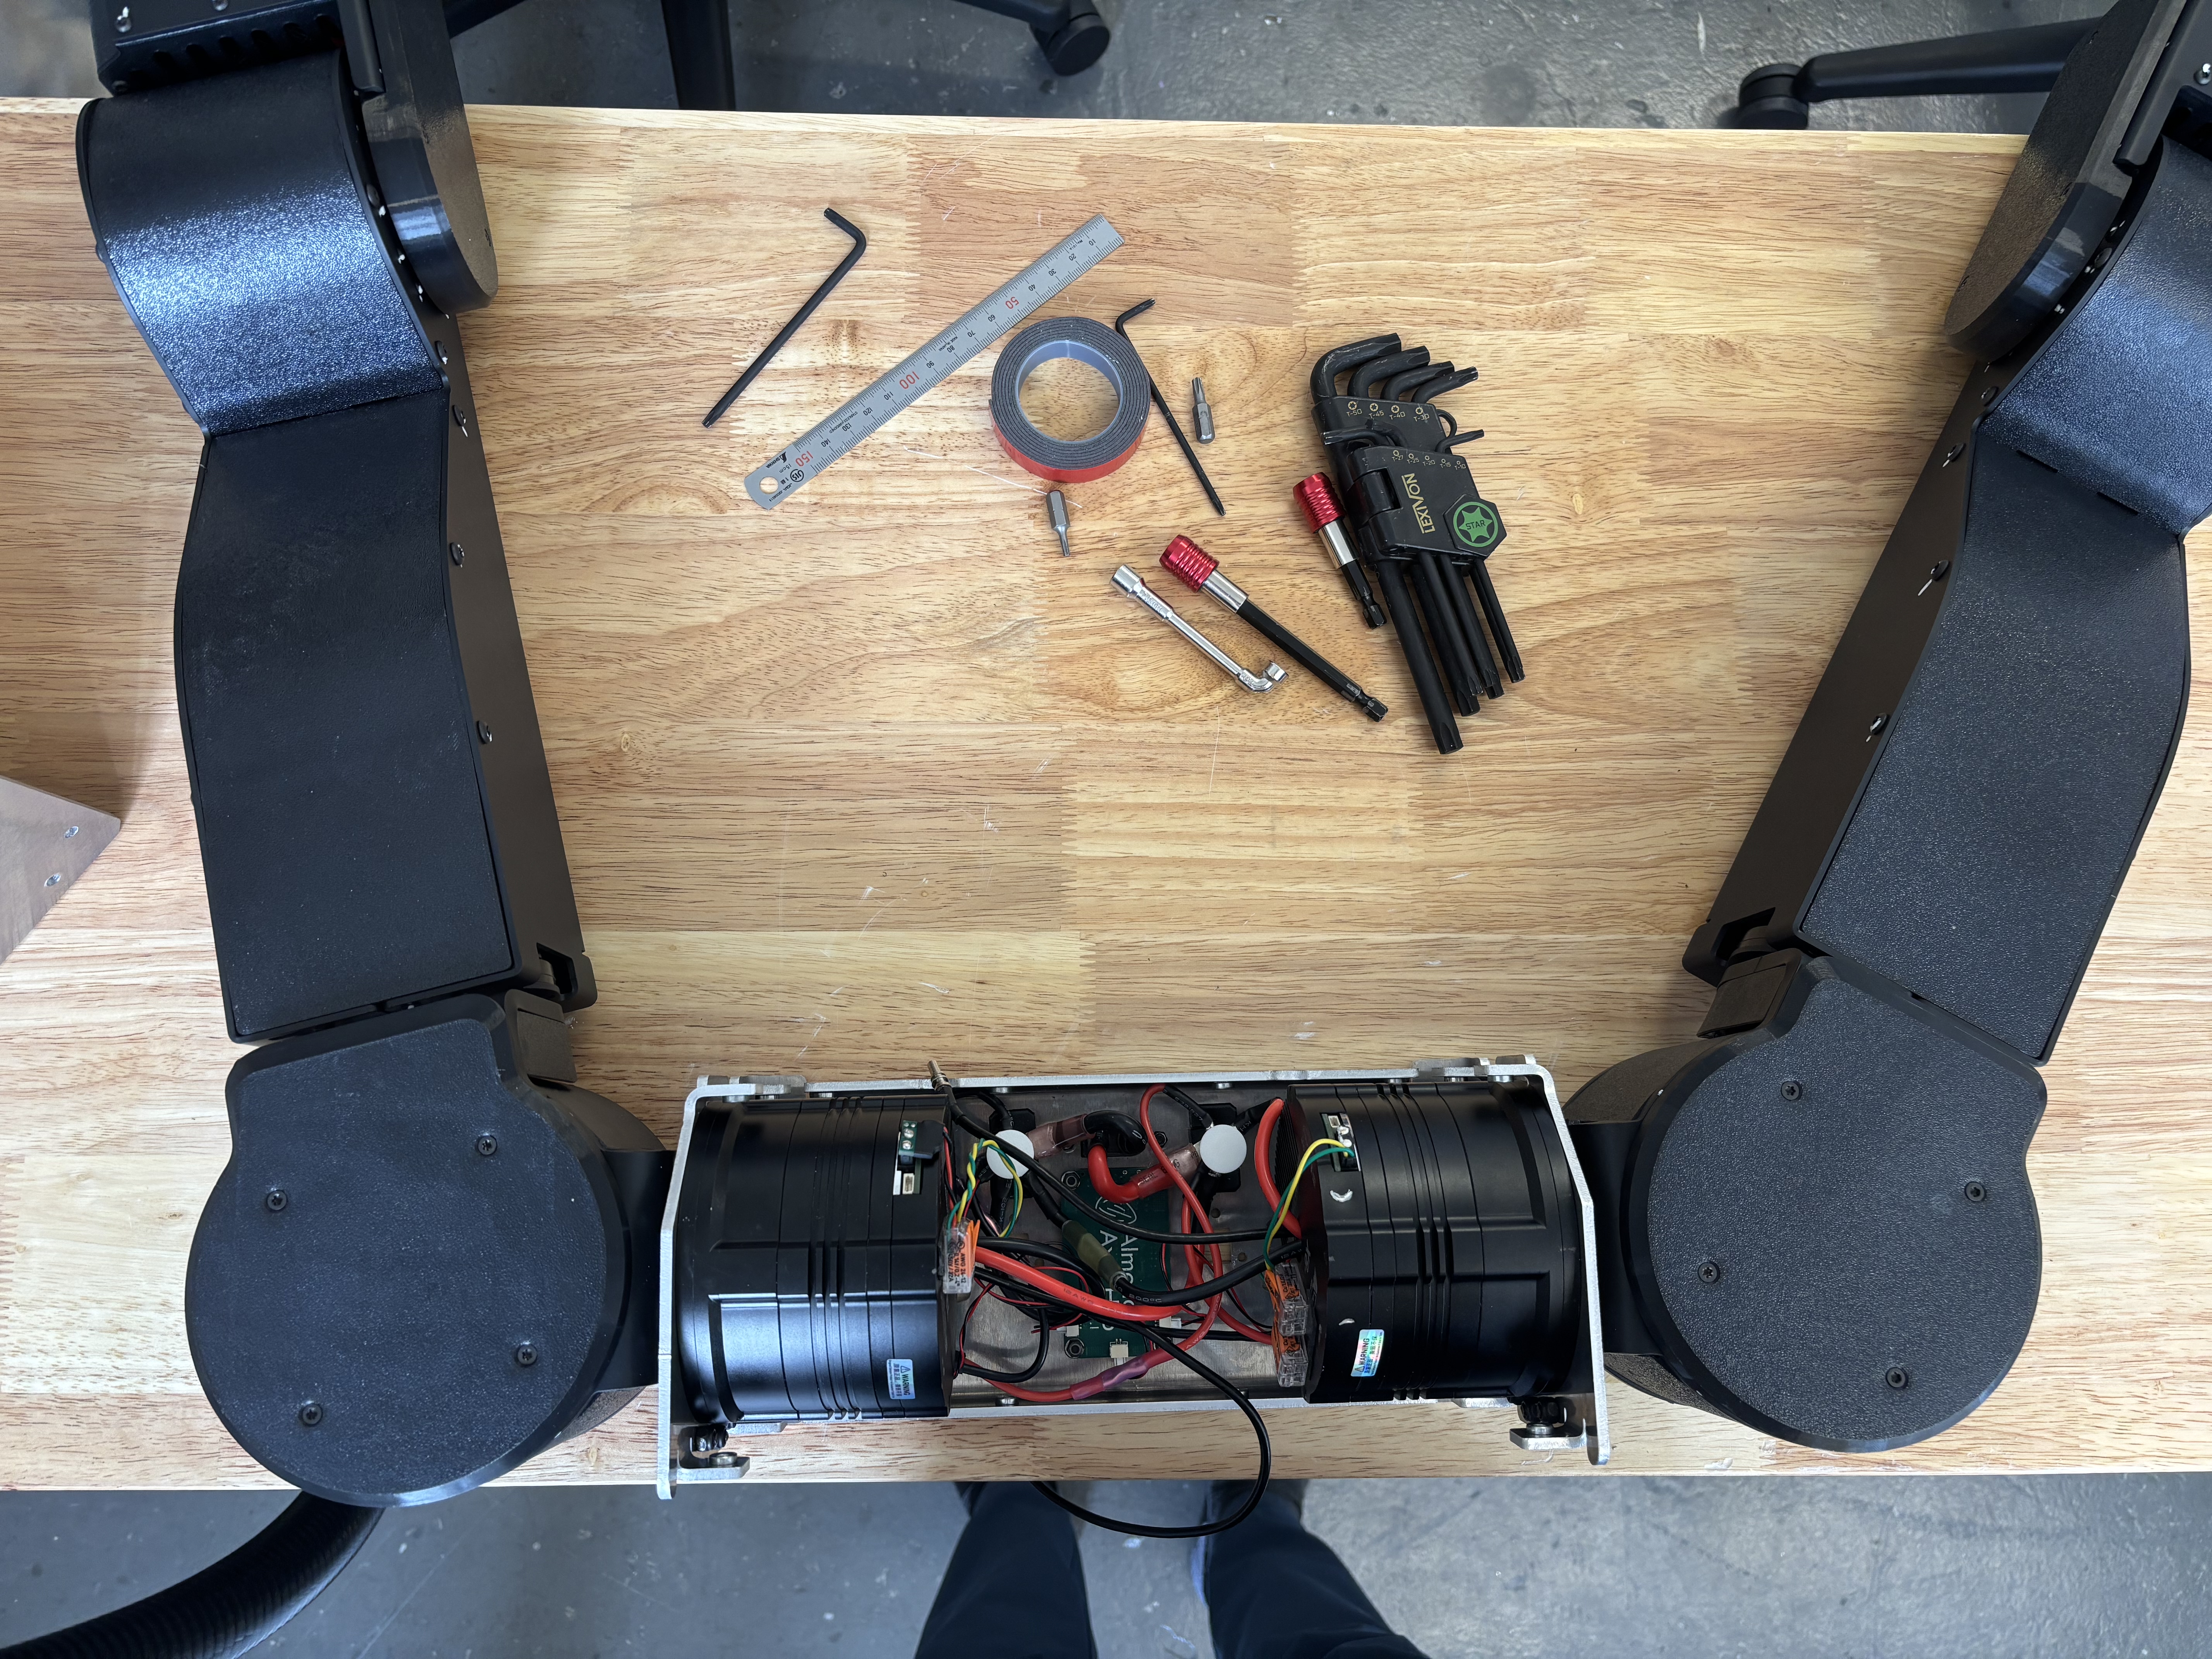
Fasten the S3 TPU Cover Outer to S3 with 4x FH-TX-M3-10.
edit step
Step 13
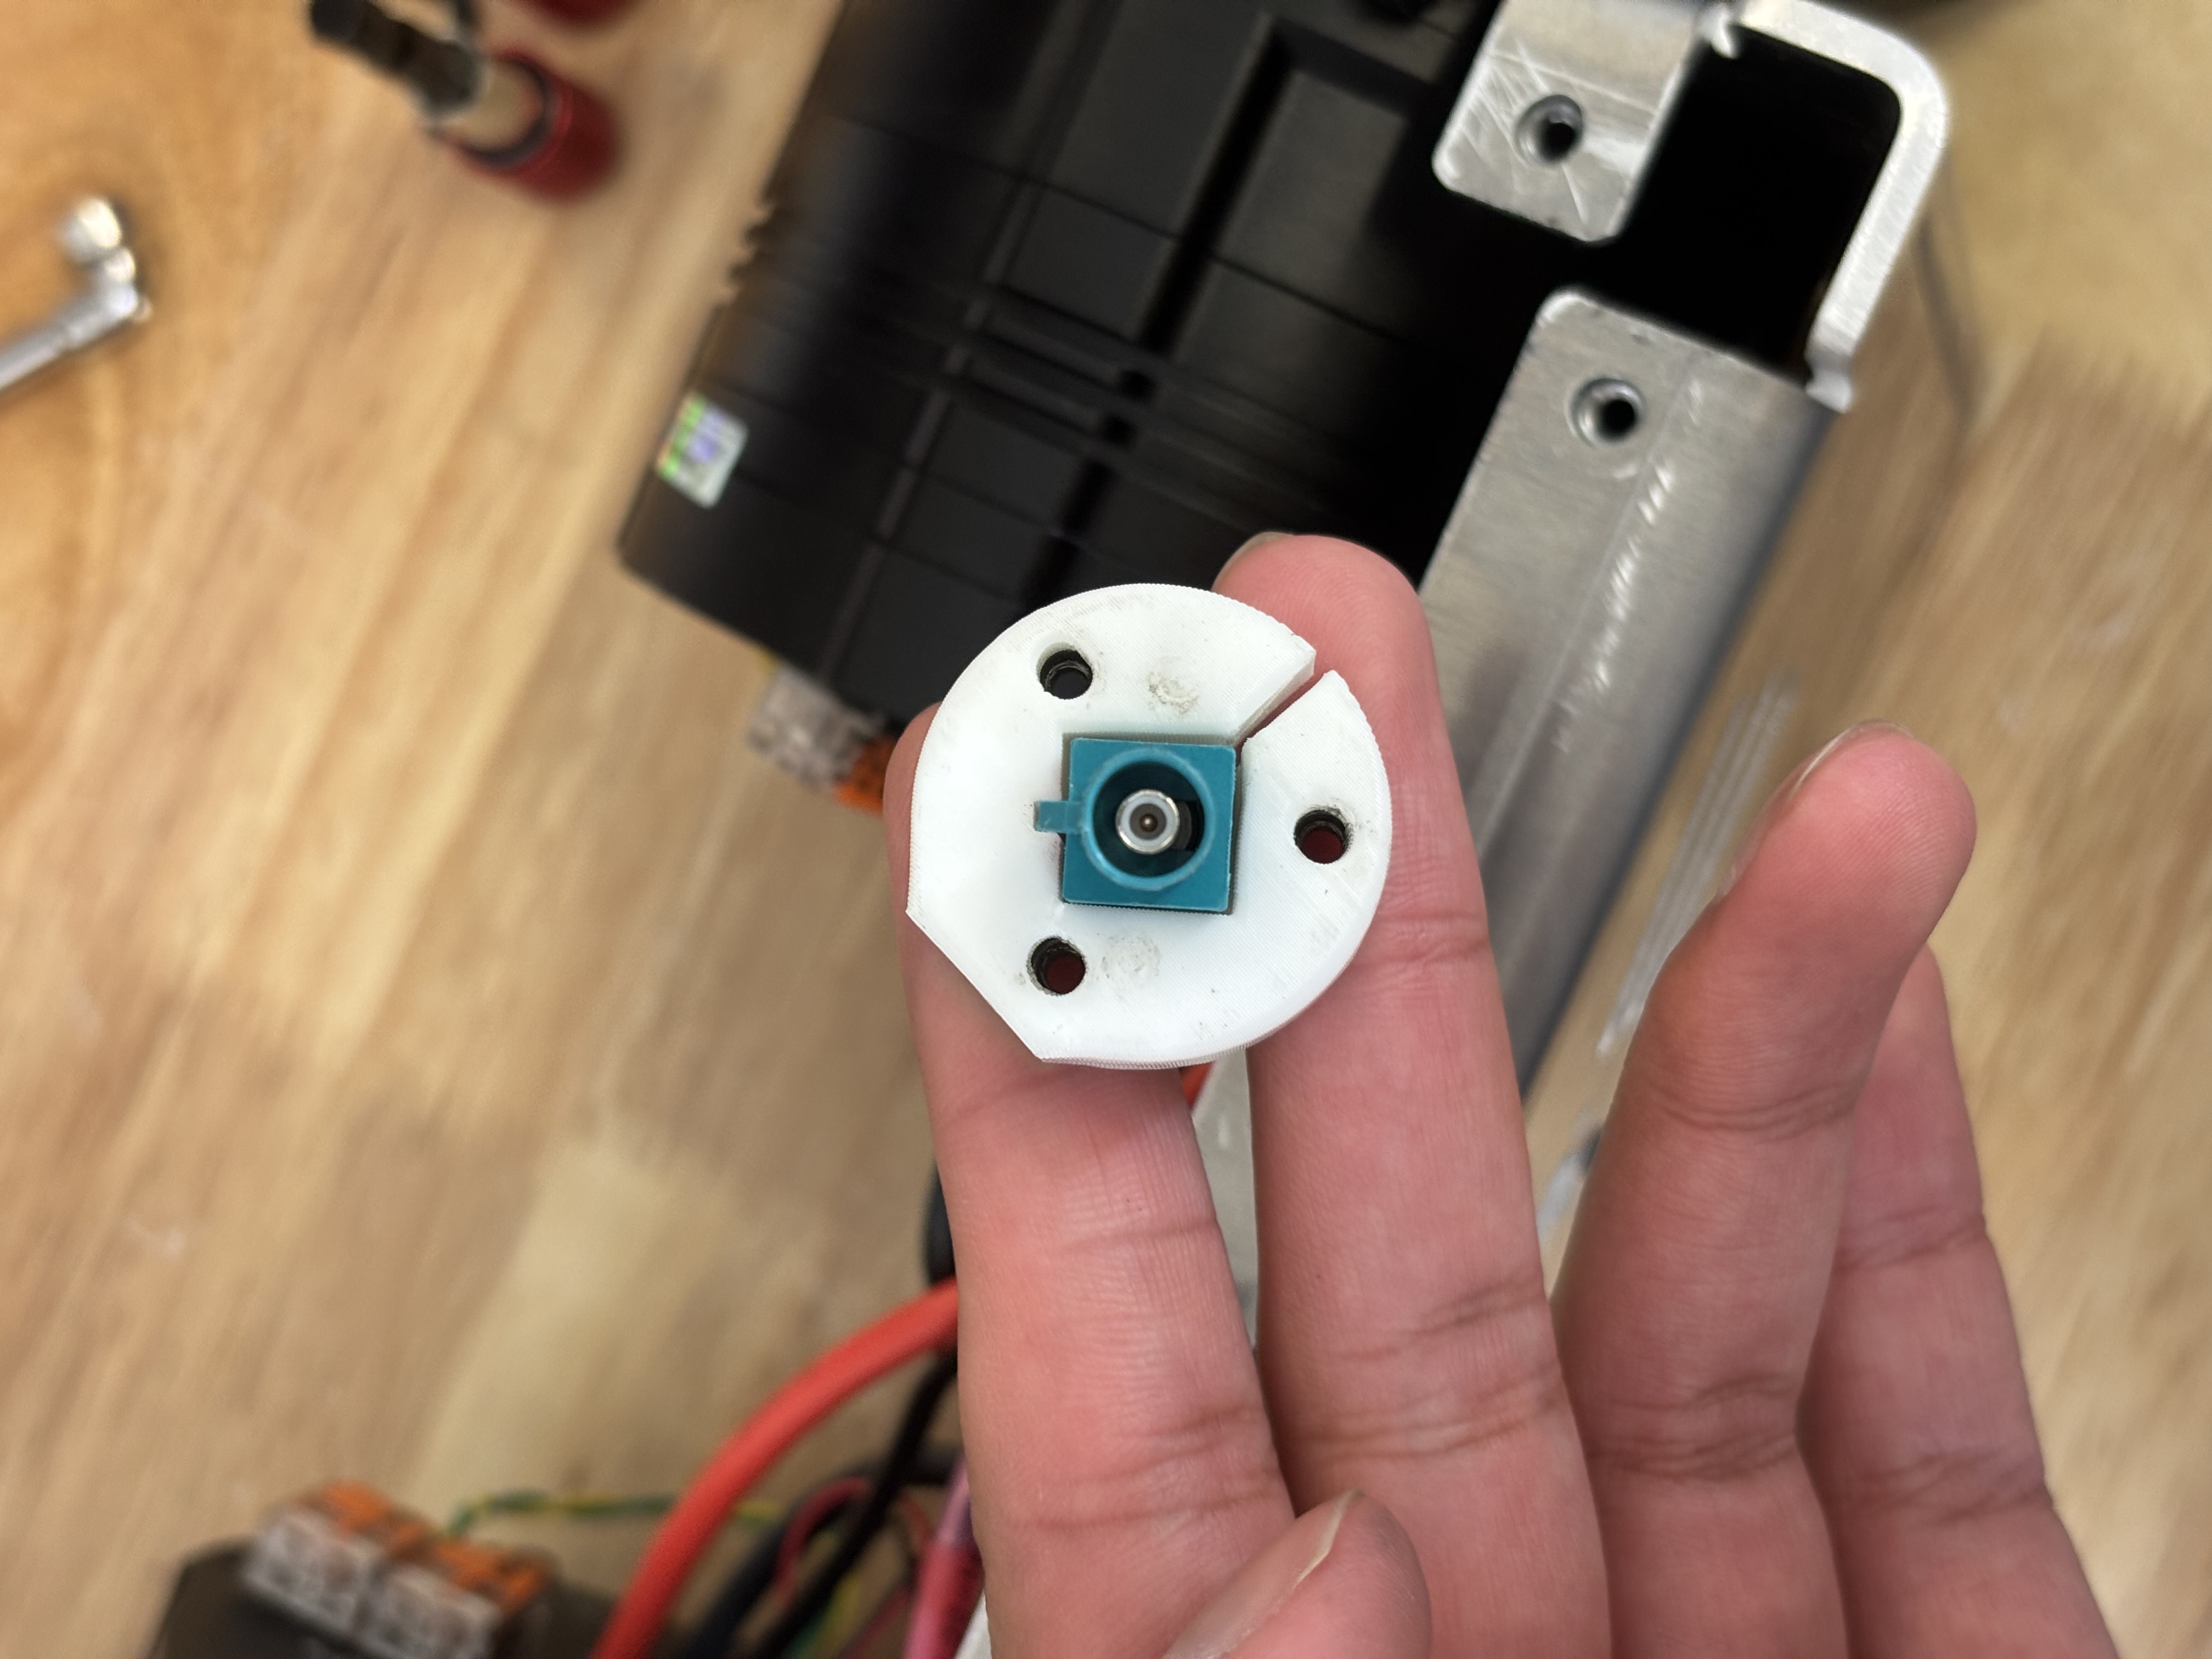
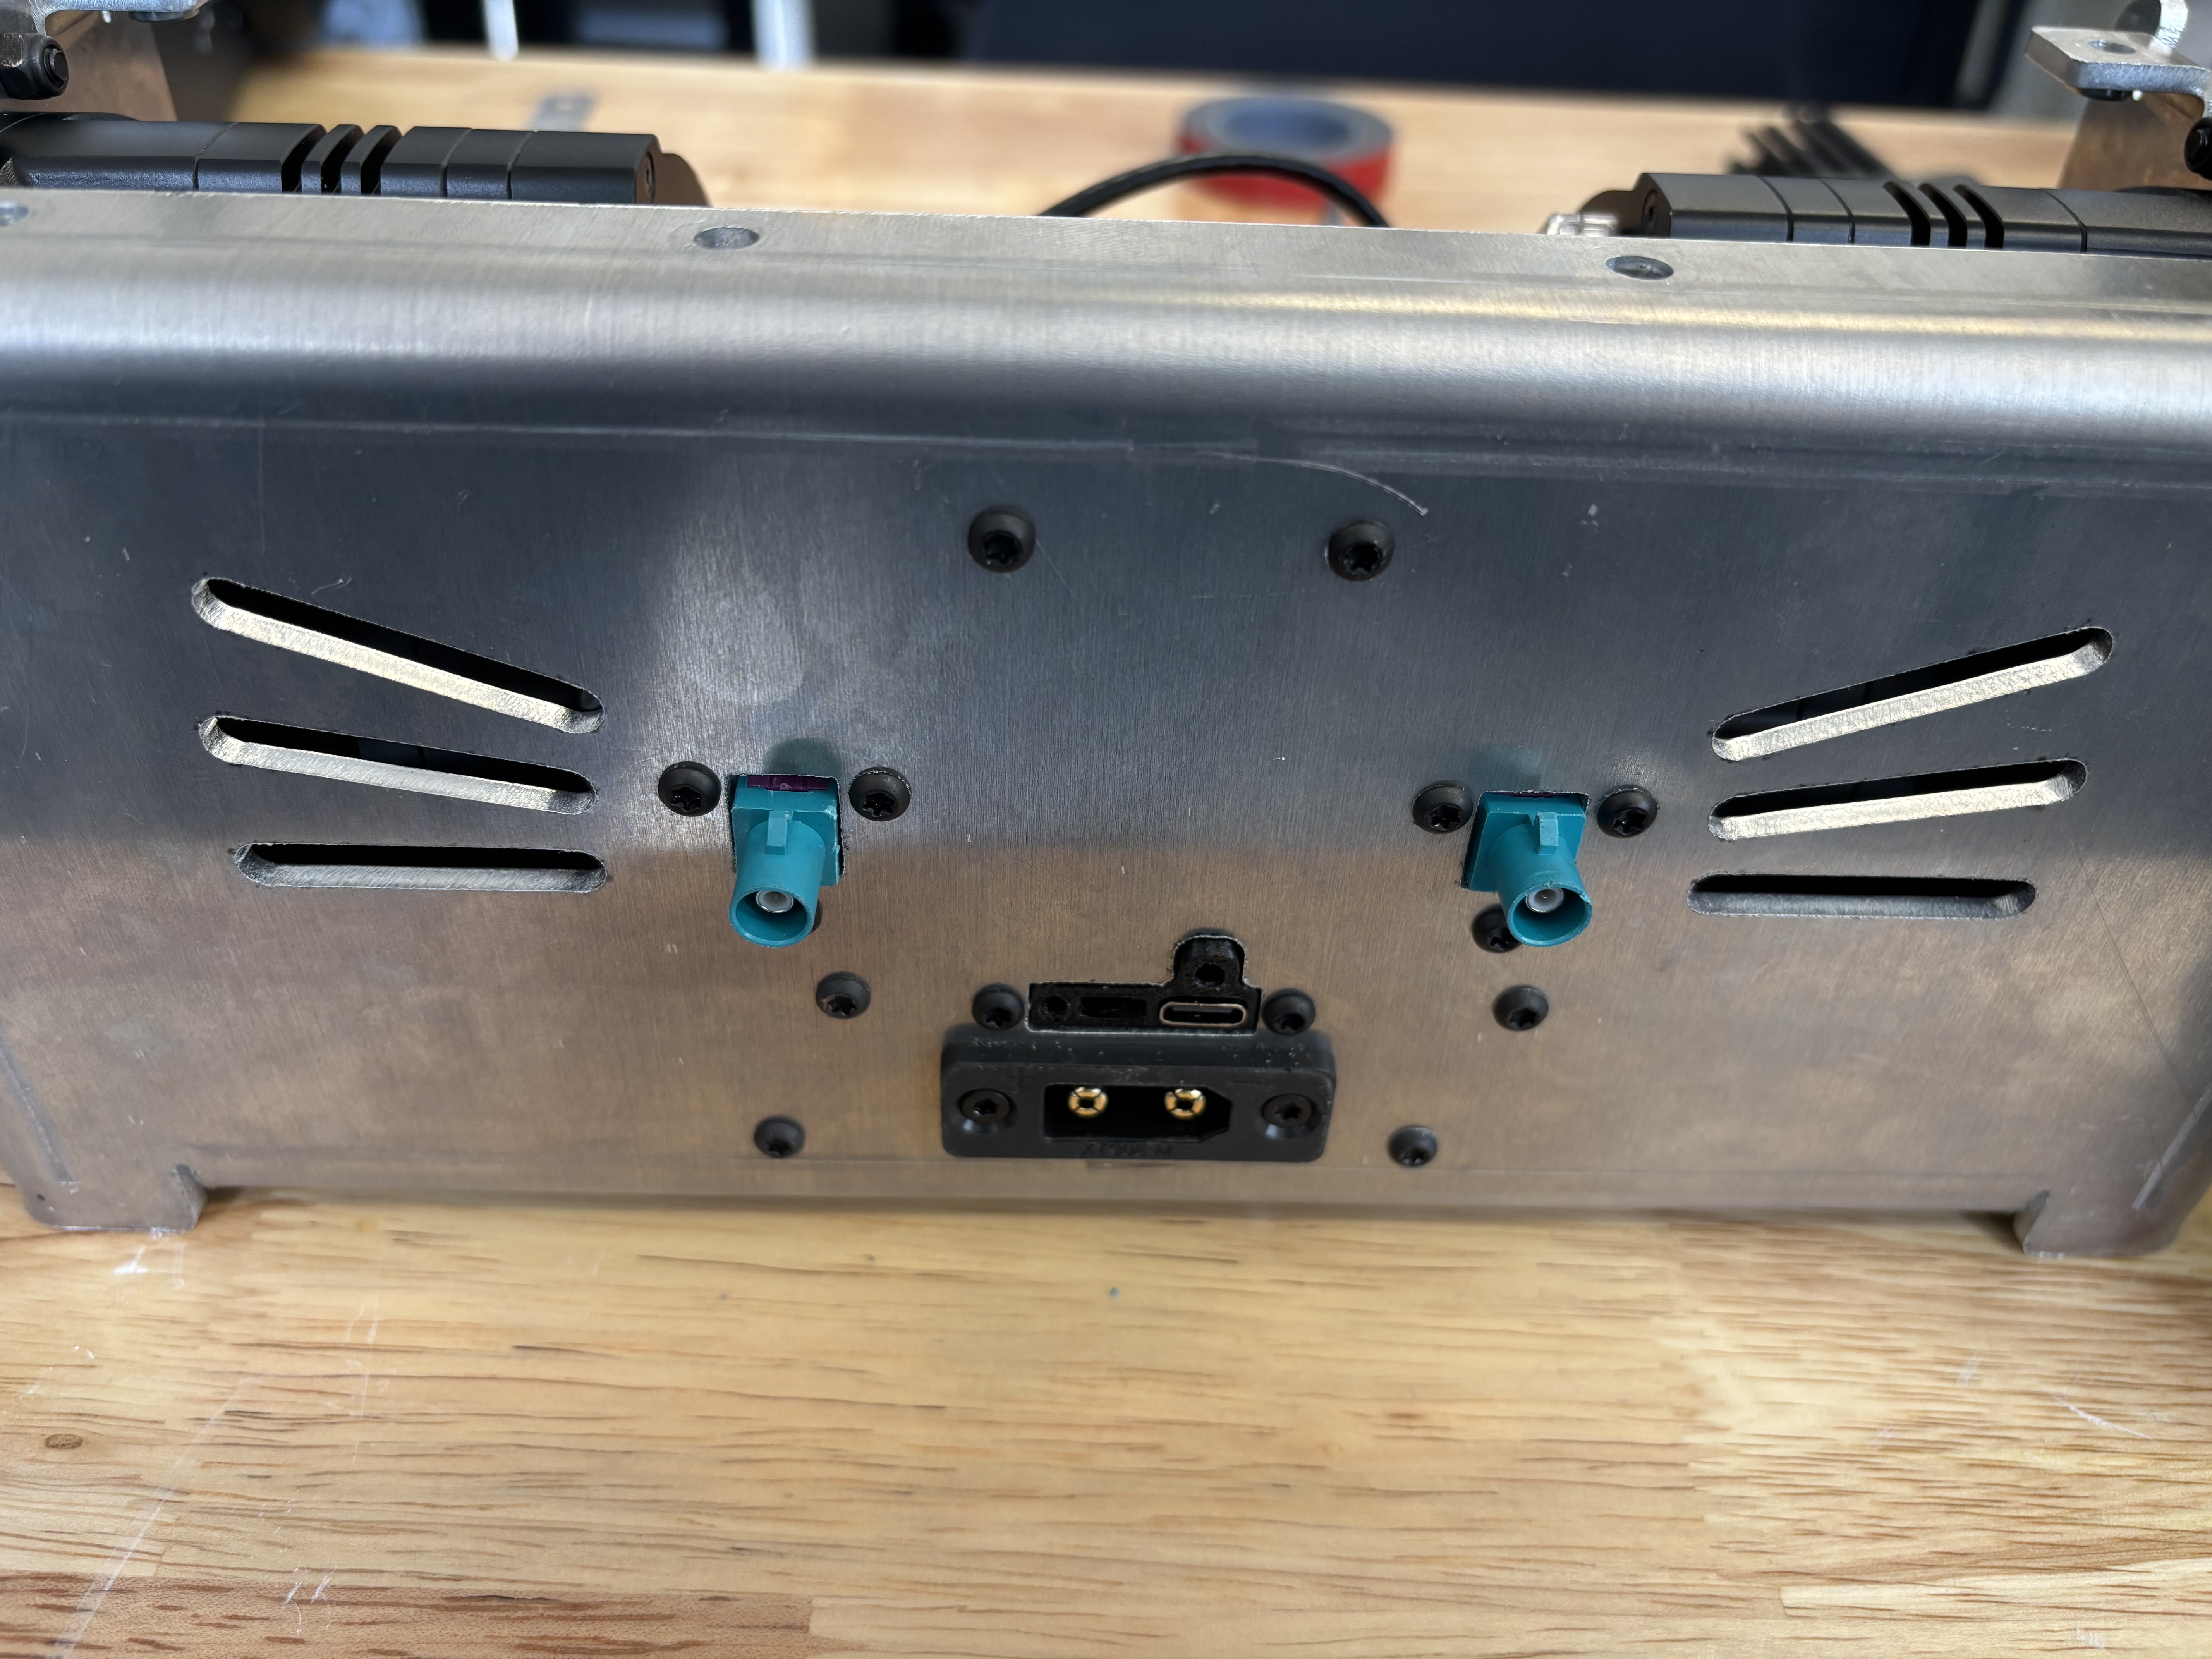
Install the GMSL male housing and 1x GMSL Holder into S1 with 4x NNY-M3 and 4x BH-TX-M3-12.
edit step
Step 14
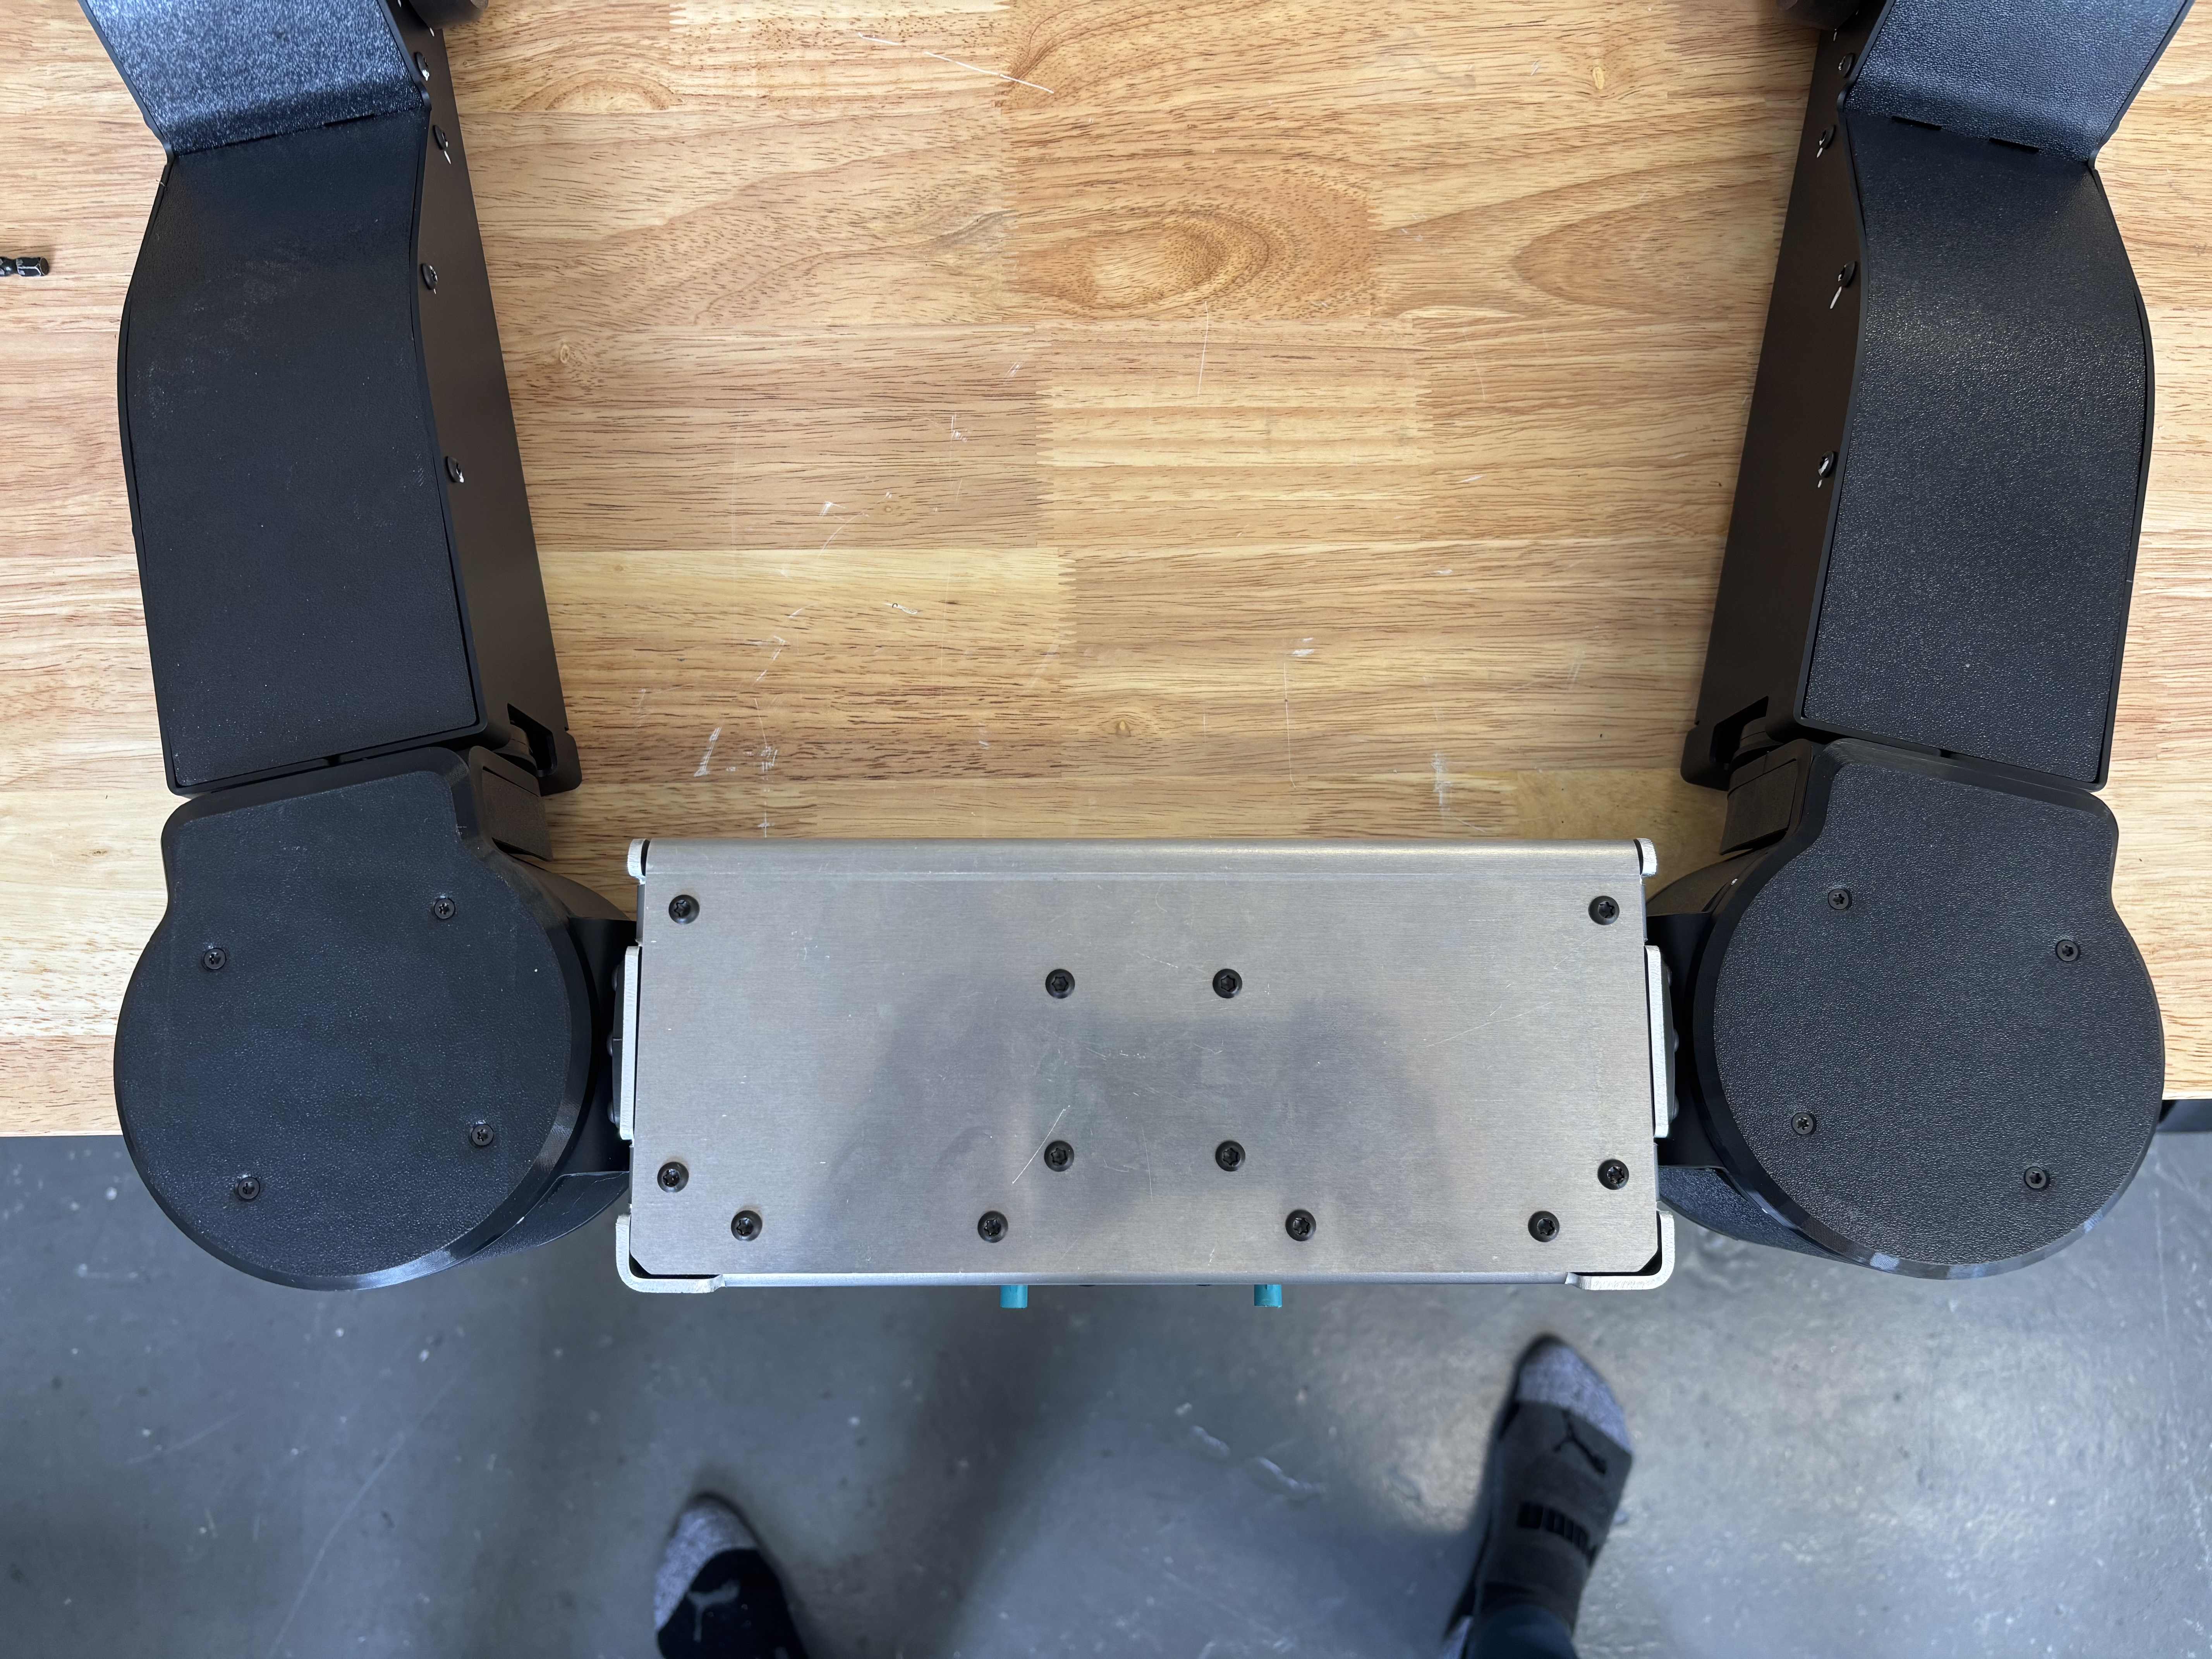
Install 1x S1 Chest Cover with 8x FH-TX-M4-12 and 8x BH-TX-M4-12.
edit step
+ Add step
Quality checklist
- Gate G3 – Pre-TPU: all connectors attached to motors, GMSL connector slack-free, no criss-crossing wires